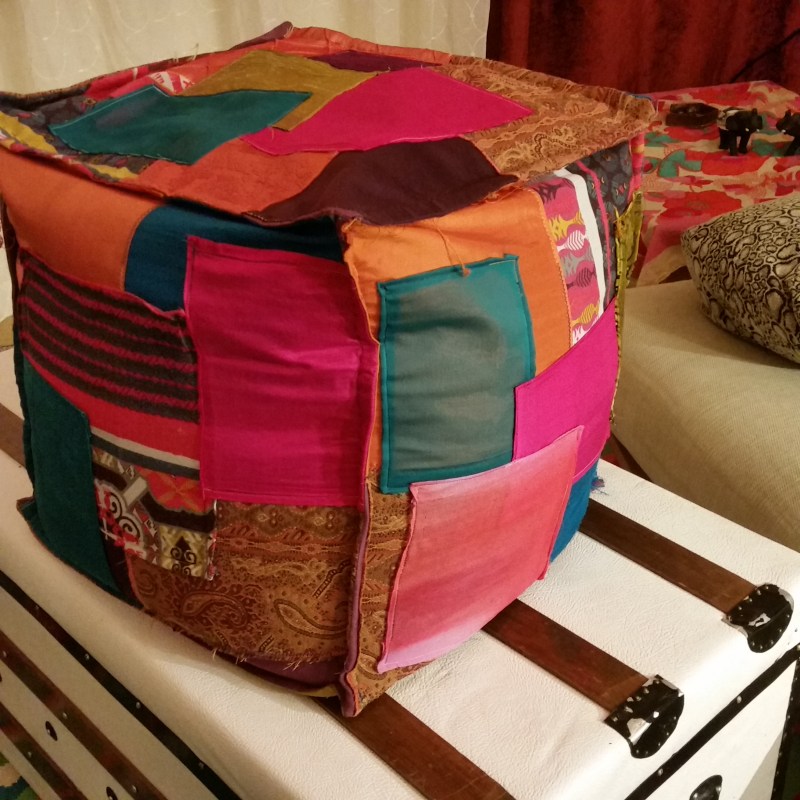
I’m a big sucker for boho chic decor, so one of my stash-busting-home-decor dreams was to make a big ottoman, combining some of my favorite fabric scraps into a vibrant fabric collage for the cover.
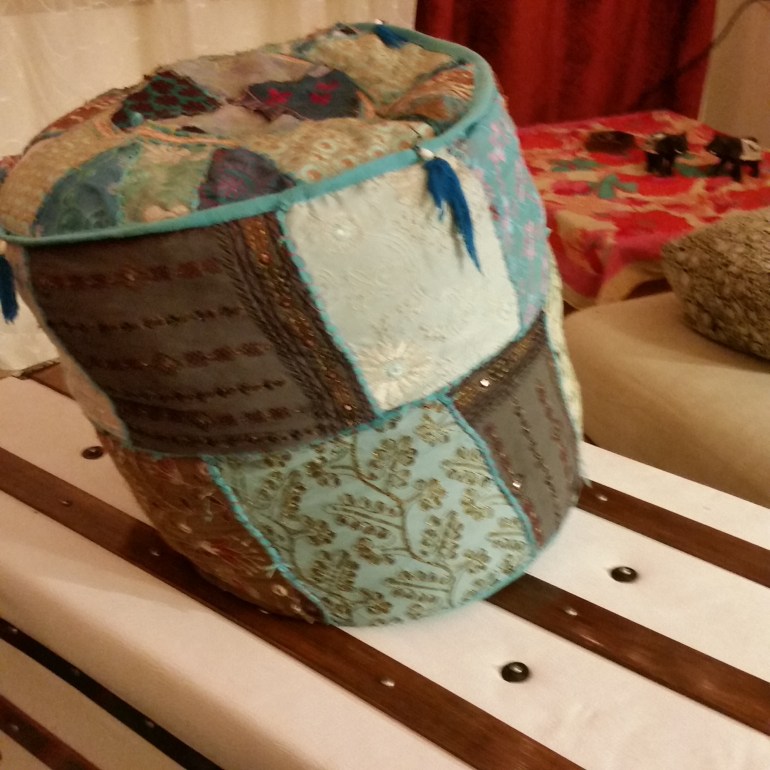
I had bought this blue one on clearance from a discount home decor store a few years ago, but noticed that it’s a little on the delicate side…Its beautiful quilted exterior isn’t meant to support the incredibly dense and heavy stuffing that makes it a useful ottoman or pouf.
So I knew that the first thing I wanted to solve for mine was the structural issue–the proper foundation would make it last for years, even if I eventually decided to change out the cover. If there’s anything I like more than boho chic, it’s options!
While I was debating about what kind of durable fabric to use, we bought a new mattress from one of those online mattress stores. It came all wrapped up in plastic and Tyvek, and as we cut those layers away and our mattress sprang into fullness, I marveled at Tyvek’s gentle strength to hold all that mattress into such a small shape…It was stiff, but soft and supple too, a little thinner than felt…I had a million ideas for projects I wanted to try, but the first one that came to mind was the ottoman/pouf!
This isn’t a minute-step-by-step walk-through, but more of an overview. Hopefully it gives you enough of an idea, if you’re planning on making one of your own!
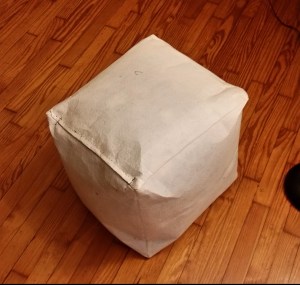
For a square ottoman, first build the inner case. I used Tyvek because I had some on hand, but you could also use duck, denim, canvas…any strong fabric that you can sew easily, but will hold its shape well. Cut 6 squares of equal dimensions. Give yourself a healthy seam allowance and then stitch all the squares “right sides” together, EXCEPT for one edge: this is where the zipper will go.
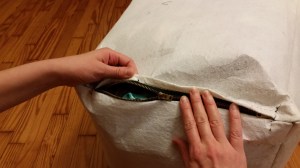
See how the zipper tucks neatly away into the placket?
Use the open edge to pull the ottoman right side out, so that all your raw edges are now inside. Using the seam allowance, make a placket and put in the zipper in the edge you left open (I hand-stitched mine because it would have been ungainly in the machine). I used a recycled metal coat zipper with a zipper head on either end–remember that durability is the name of the game! 😉
With the zipper open, stuff the ottoman case about 3/4 full, so you can measure the dimensions. For the stuffing, I used old scraps of fabric that I had been saving for this purpose. I didn’t want them to go into a landfill, but I knew I couldn’t use
them for ANYTHING else…
Now measure the 6 sides again, and cut 6 squares out of a base fabric for your beautiful outer cover, including plenty of seam allowance.
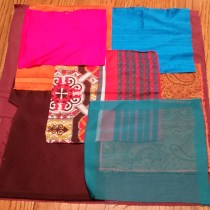
This next part is the best. Let your inner engineer take a break, and let out the artist! Pick your fabrics, or a color palette you favor, and experiment with combining pieces together! Each side can be different! Which colors look good together? Did you expect that, or just discover it now?
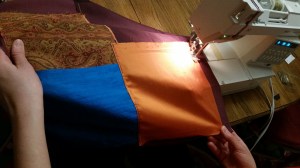
From there stitch all the small pieces together on top of your 6 base fabric squares. You can do rows of stitches, or just outline your large pieces as I did.
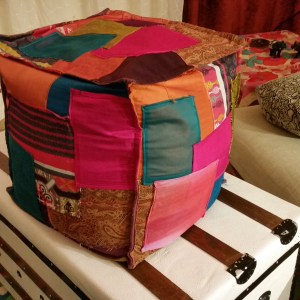
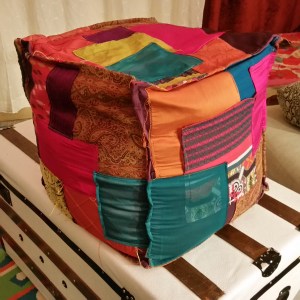
Now stitch 5 of the 6 outer cover squares together, and then add only one edge of the 6th square. Here’s the moment of truth: See if you can fit the 3/4-filled ottoman case inside the cover you’ve created! The 6th side should be like a lid, with only the one edge sewn to the rest. Now stitch the other 3 sides of the 6th square. You might need to do this by hand because of the weight. It might be a bit loose, so you can pinch the edges all the way around and stitch them by hand too, like a kind of flat piping. I liked the look of the strong edge. Around the zipper, fold the fabric around the placket, so the zipper is still hidden, but accessible. Finally, finish stuffing it to the density you prefer, and ENJOY!