“Pendleton wool lasts forever!” is a familiar adage of my mother’s, most often heard while perusing thrift stores together, or by way of explanation regarding a beloved skirt which temporarily doesn’t fit, but which still hangs in her closet.
That’s what was going through my head when I picked up this lovely grey Pendleton wool skirt recently at Goodwill. I tried wearing it at its original maxi length, but it’s not really doing me any favors, as you can see…
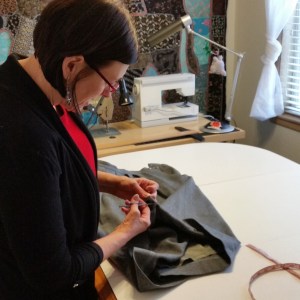
So challenged myself to turn it into something I would feel excited to wear, while creating a minimum amount of waste in the process. The perfect opportunity for a creative collaboration presented itself over Christmas while my mom was visiting! Follow along with our process below!
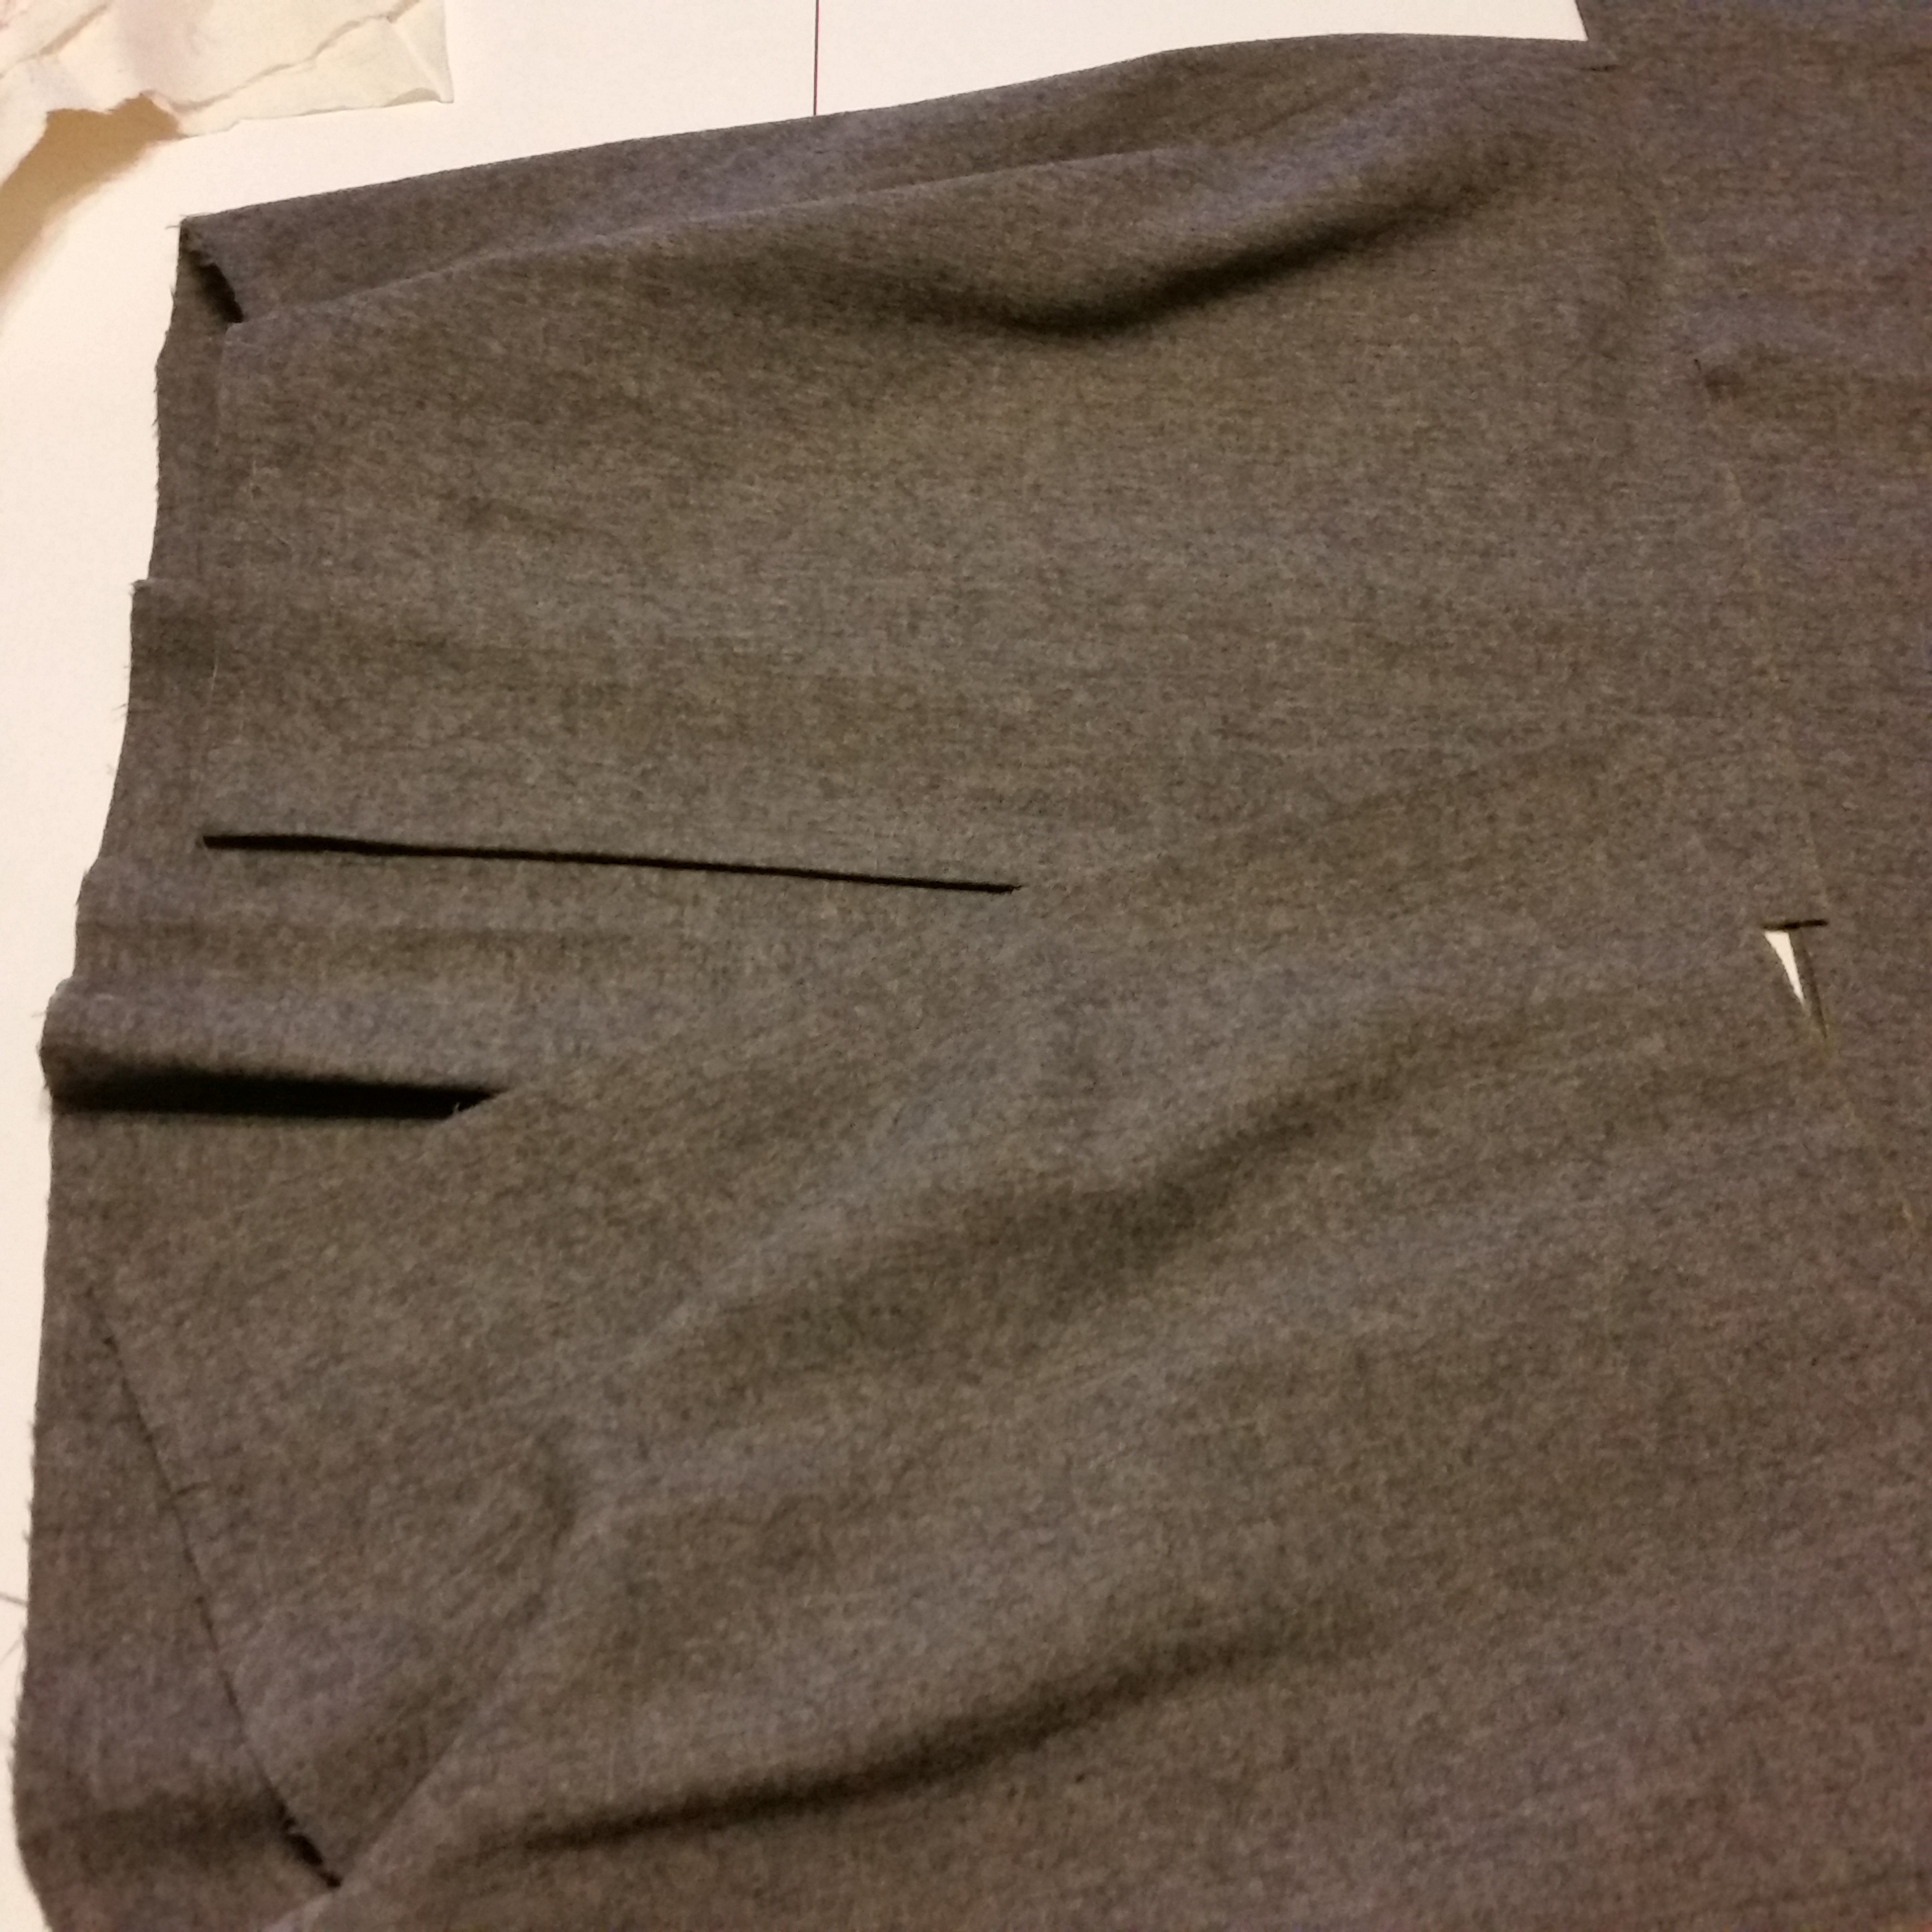
Besides the great wool, my favorite part of this skirt was the pockets–obviously!–so I knew I would be building around these. I also knew that I wanted as much hemline as possible, which meant that I would have to cut the skirt in half, and re-integrate the bottom yardage into the top. While researching images, I found I liked skirts that had box pleats, so I knew that would be the foundation for accommodating all of that new volume into the waistband.
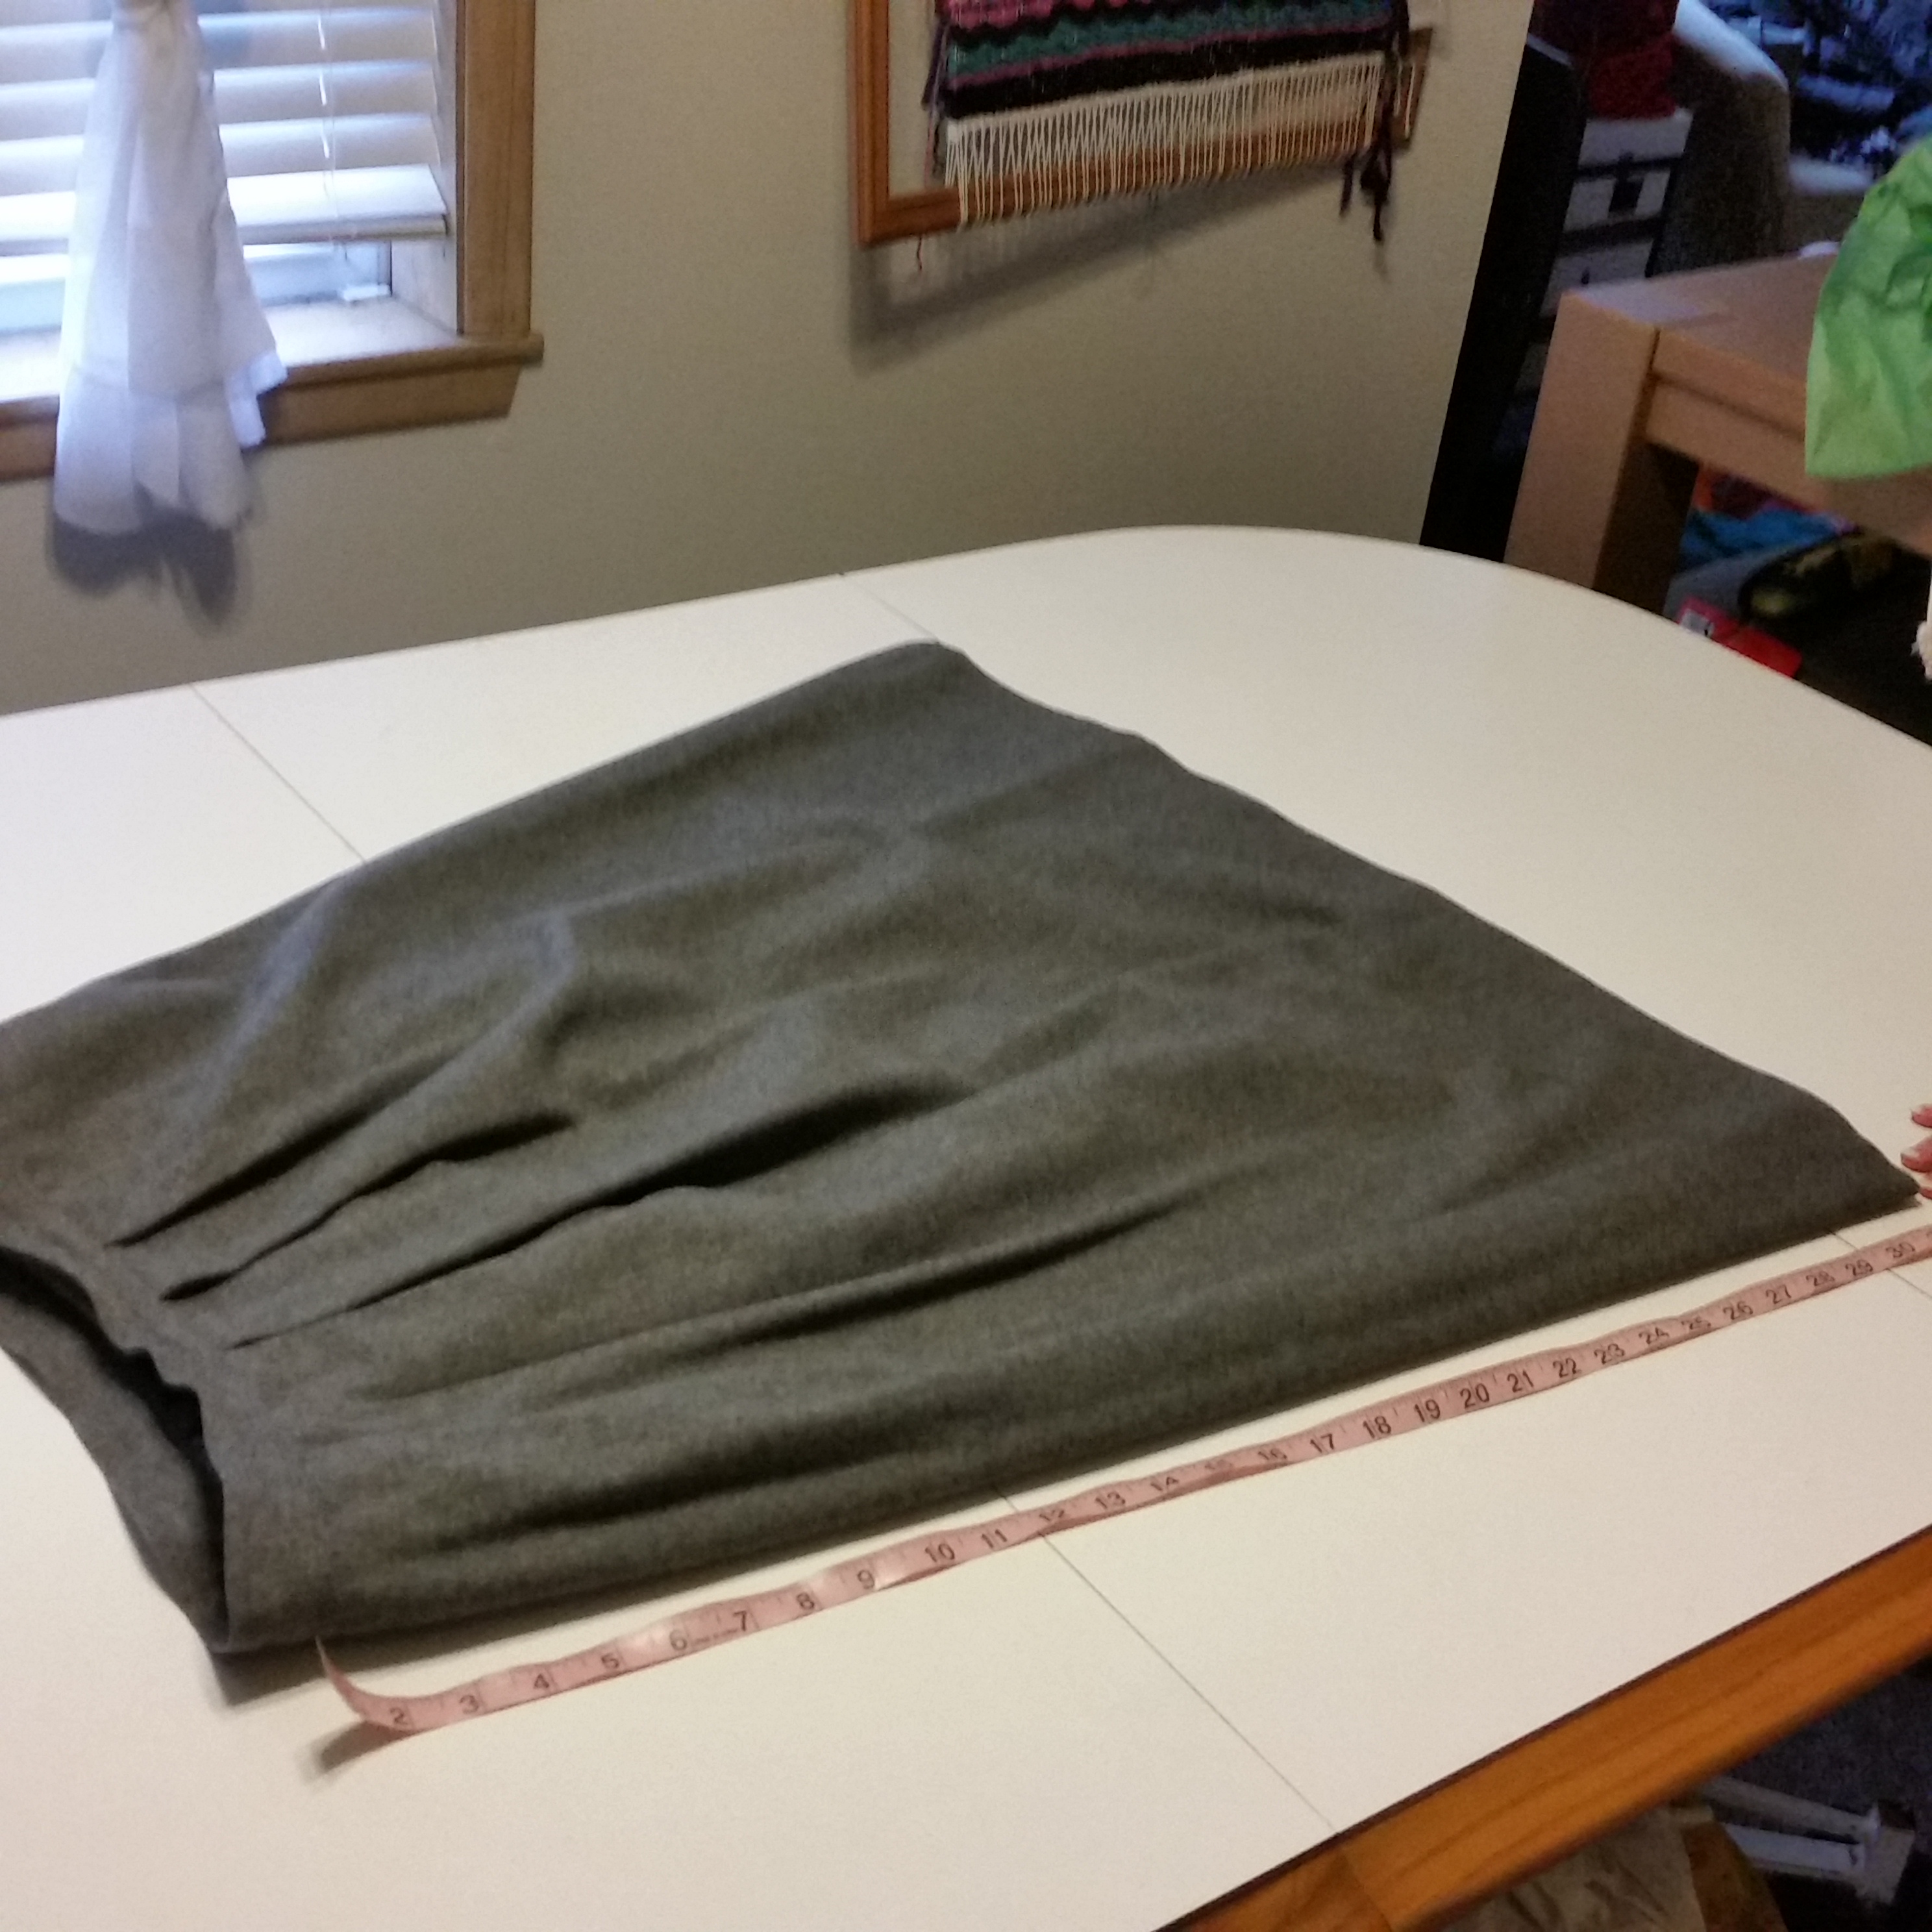
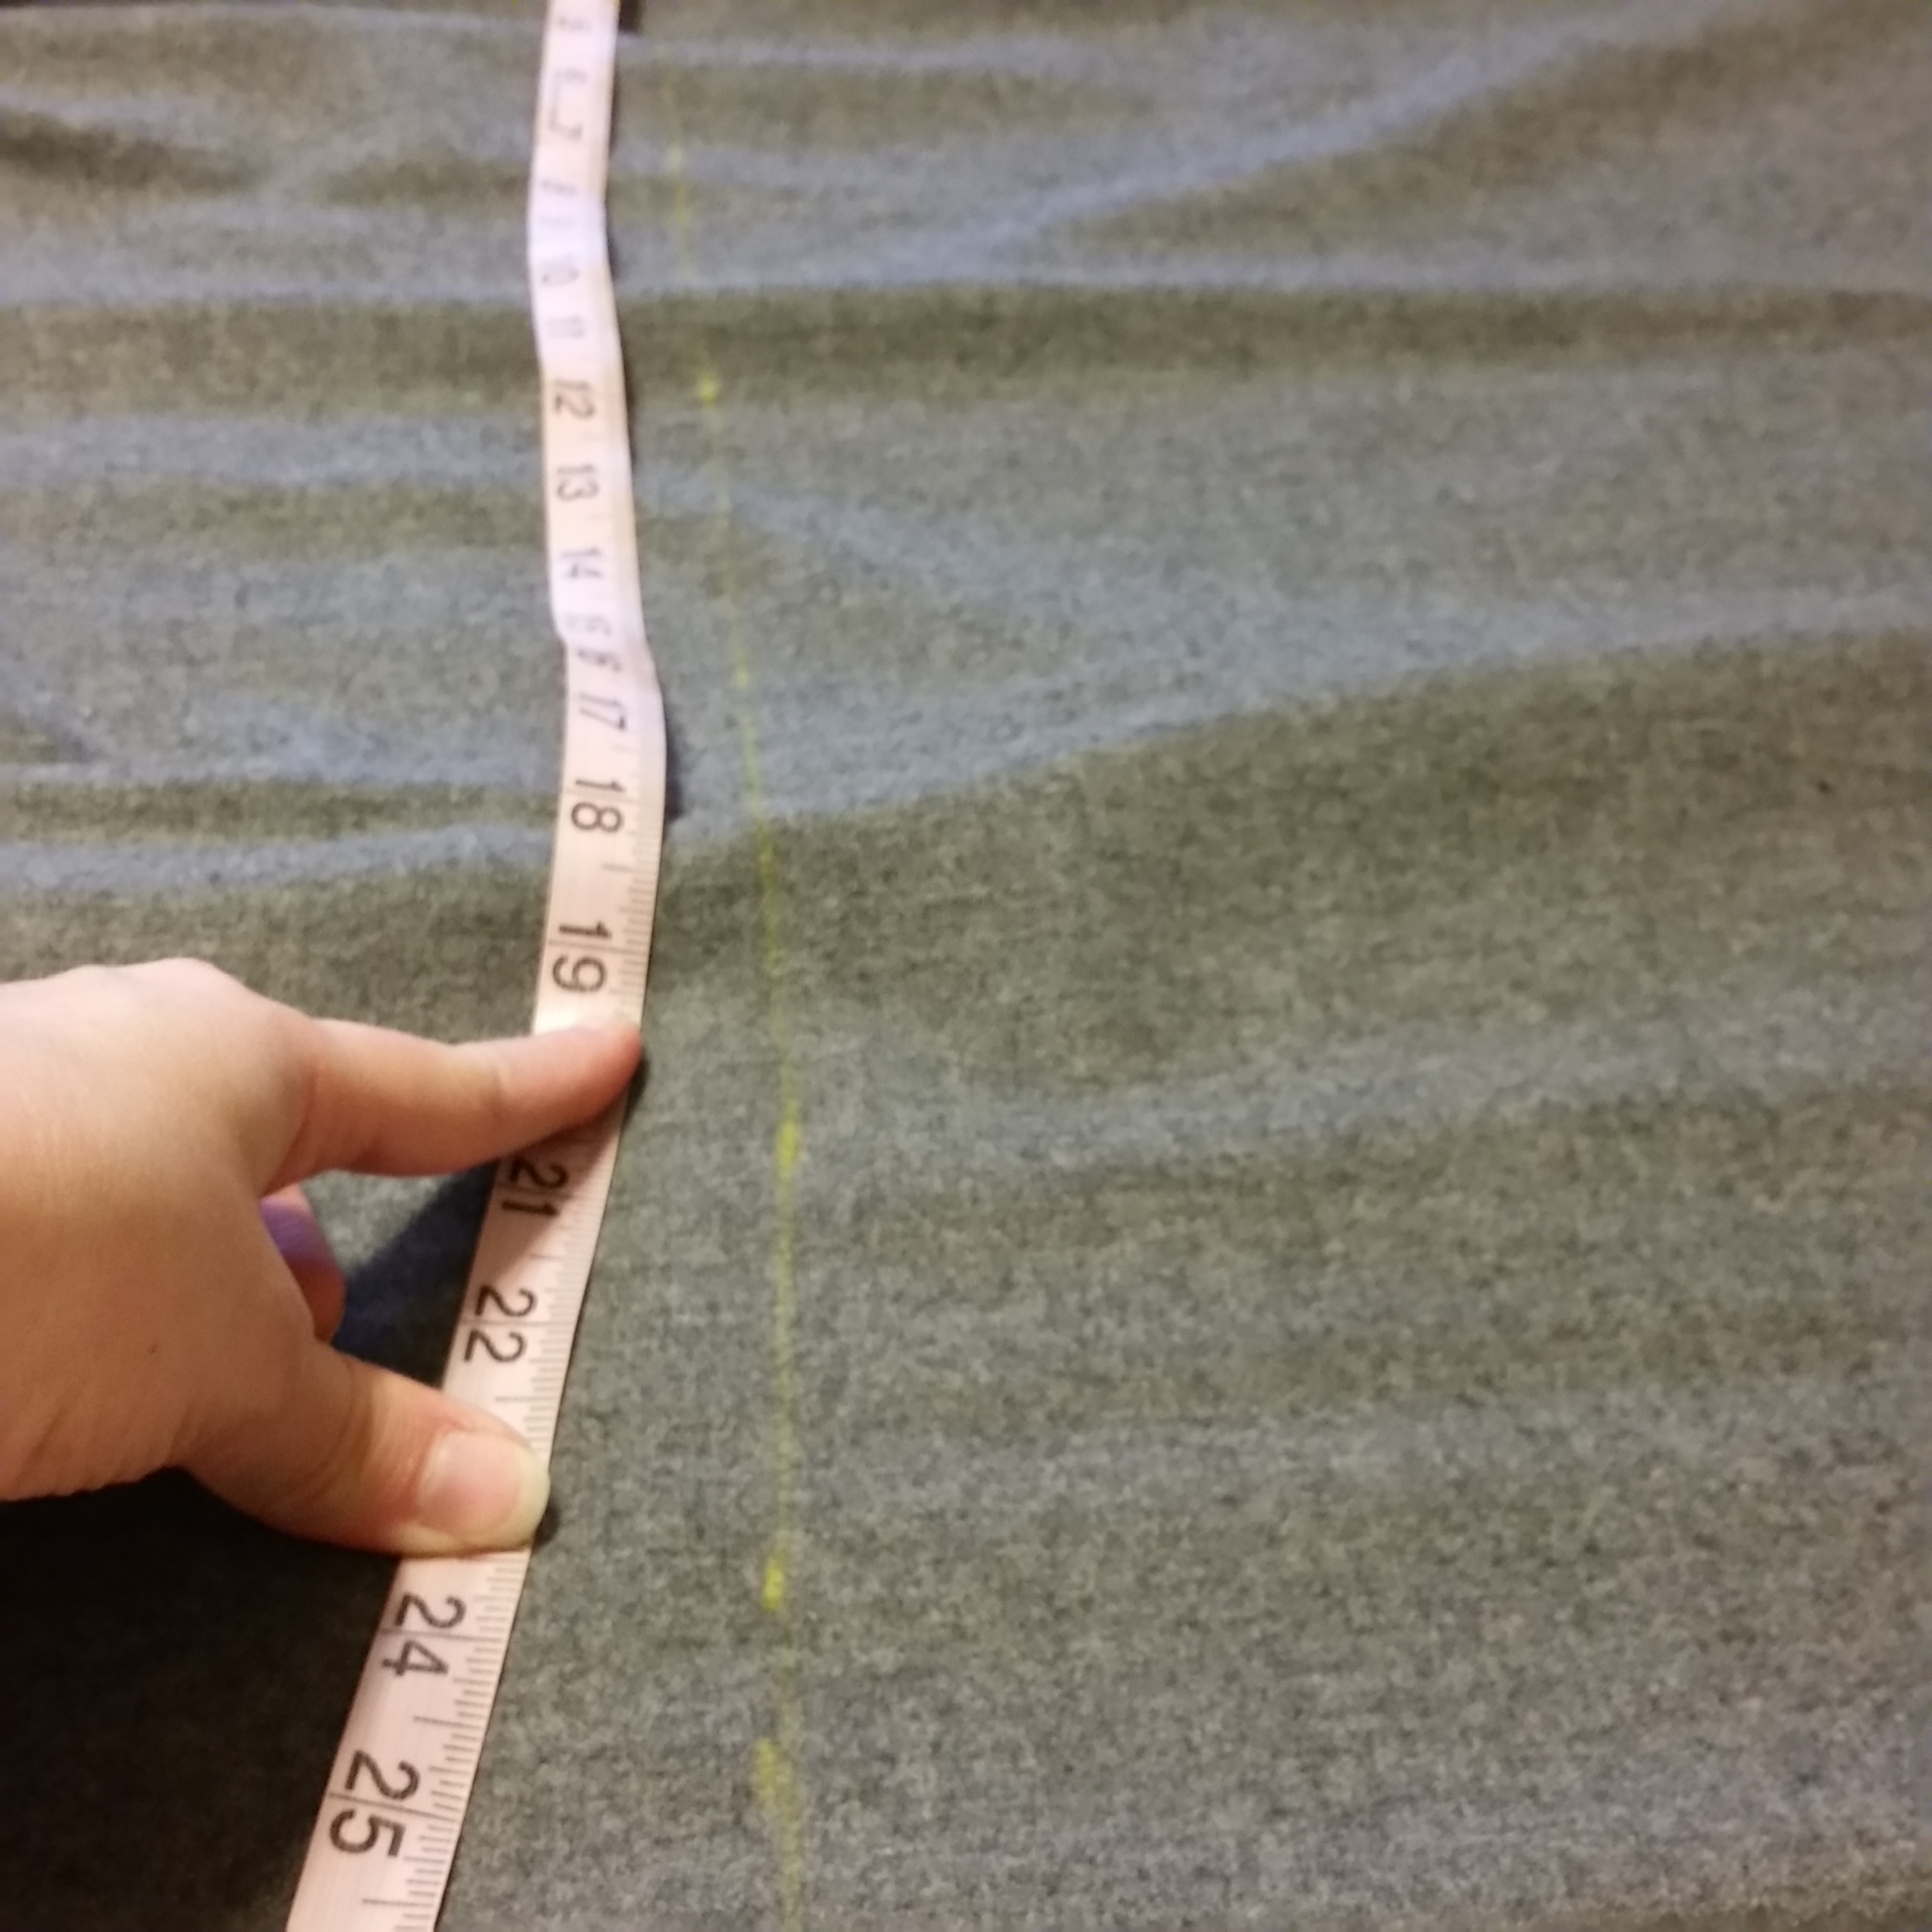
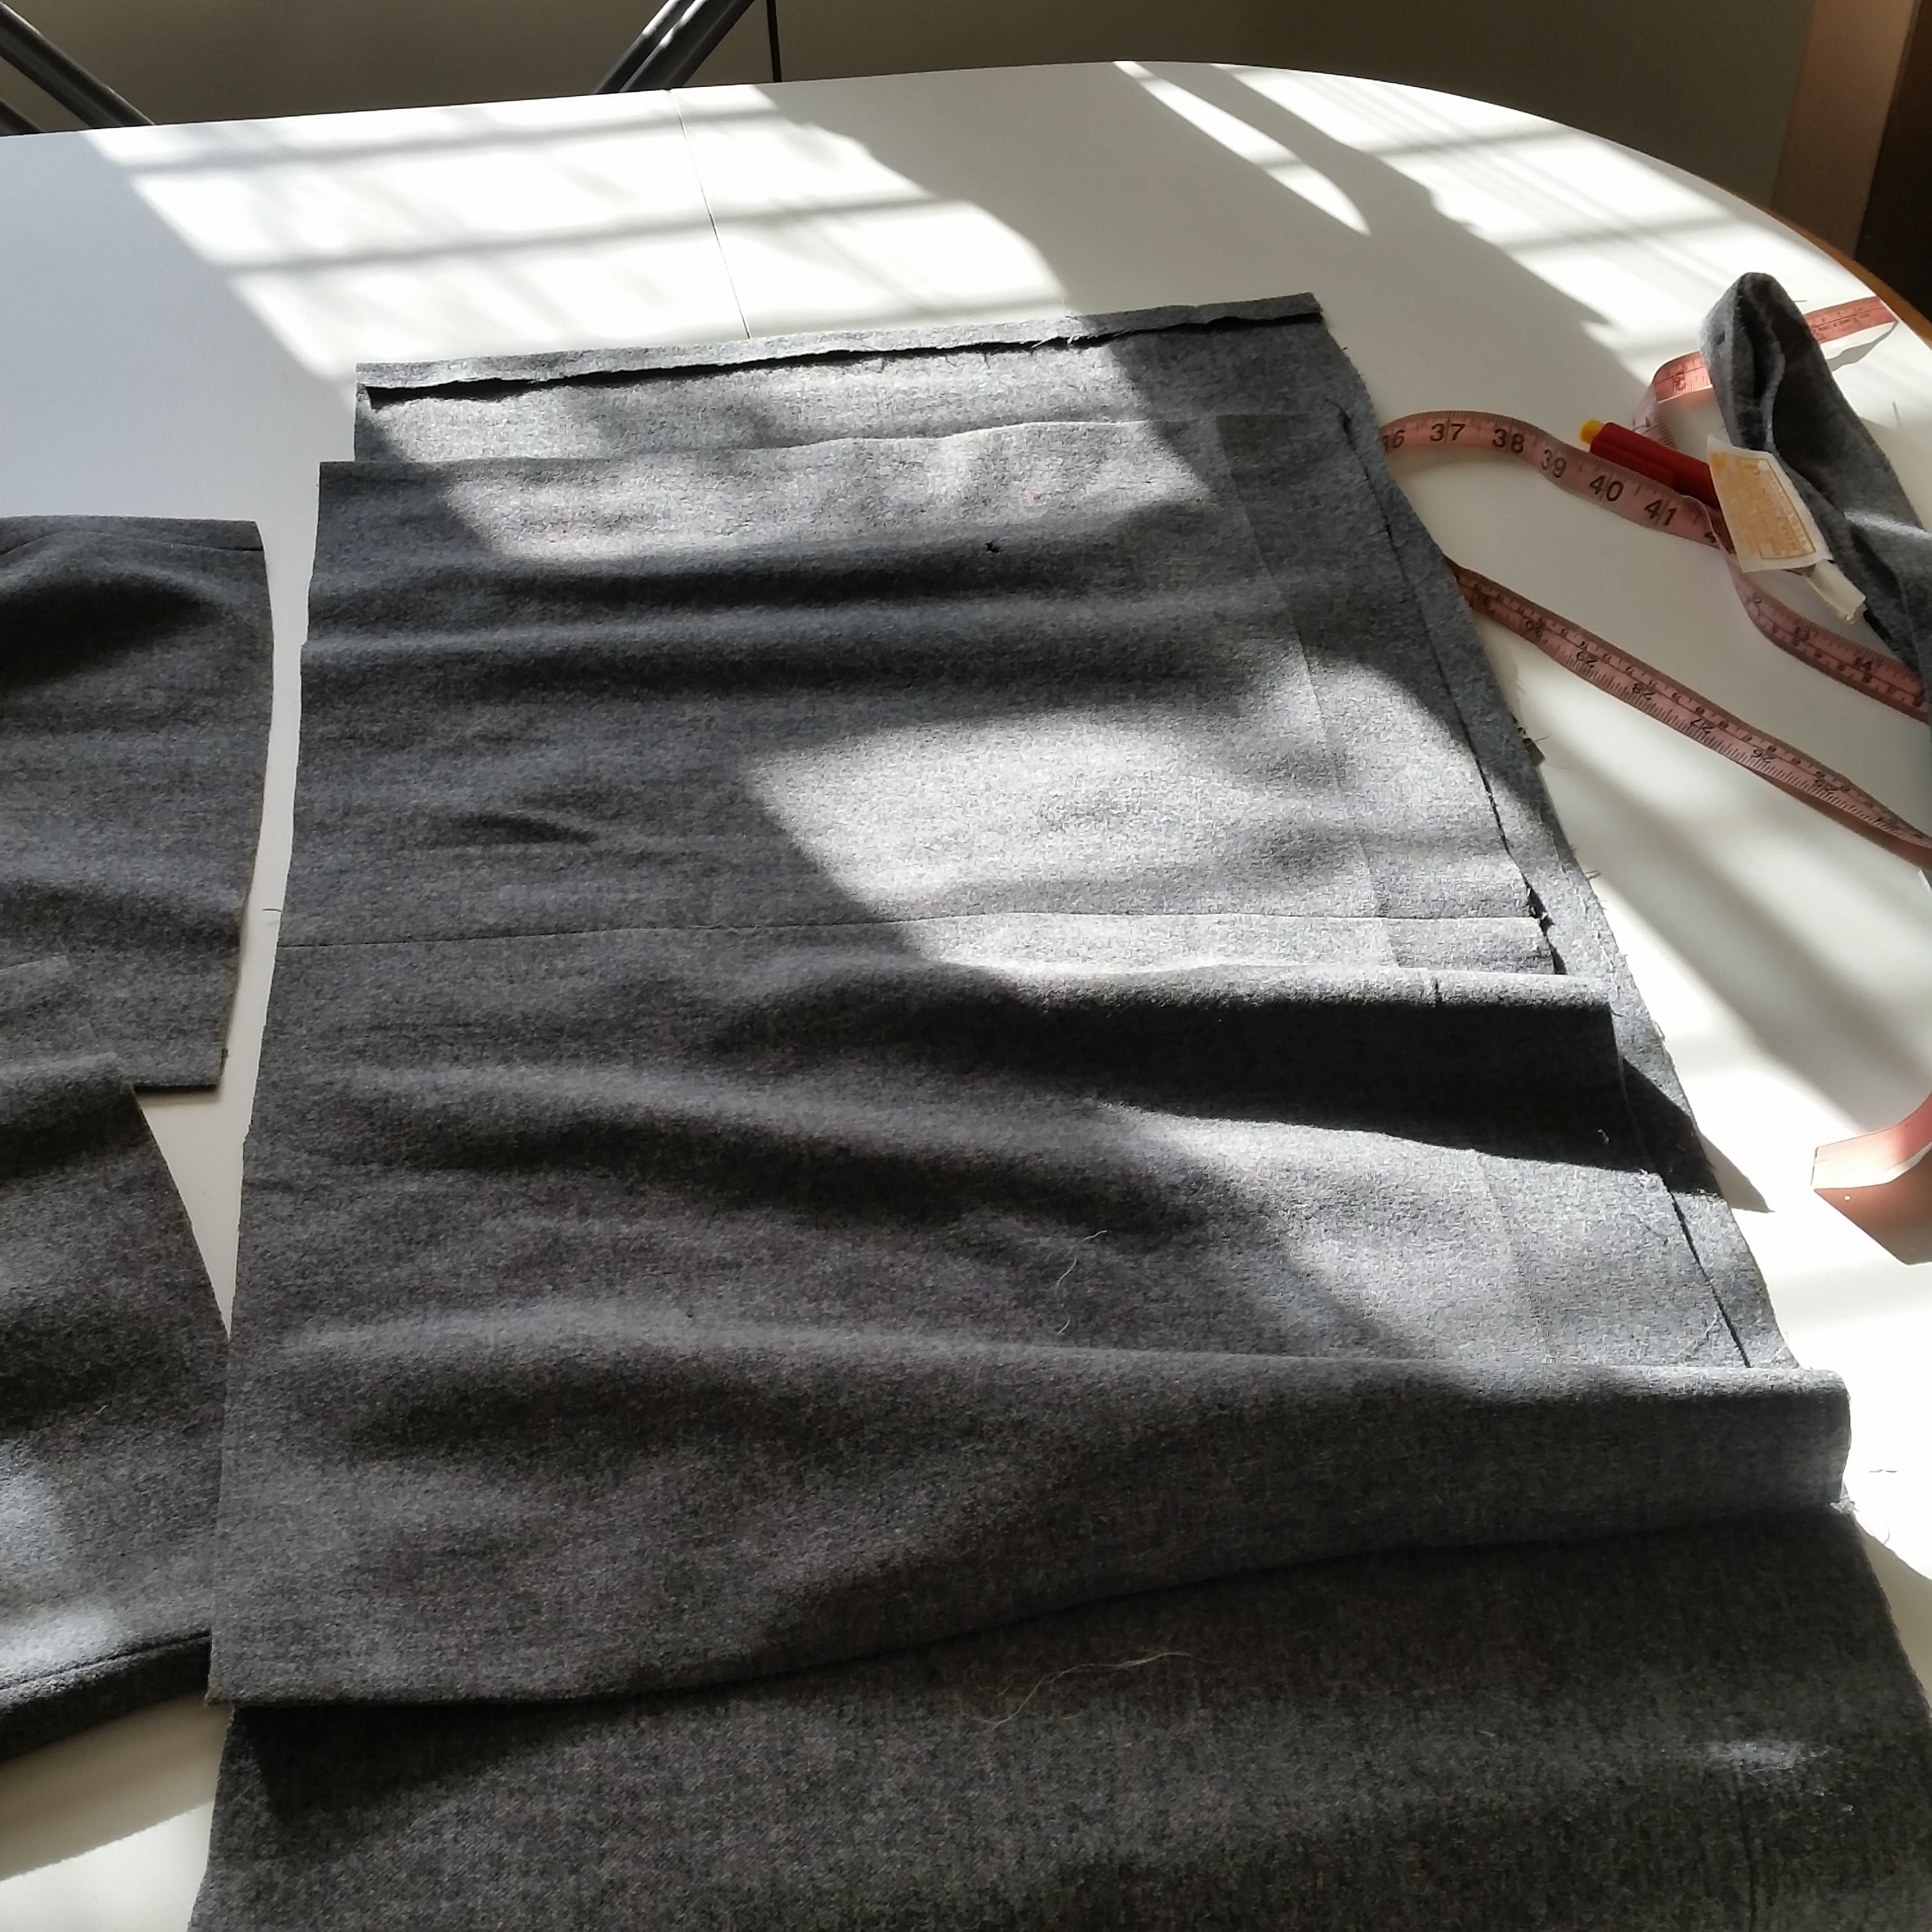
Step 1. Measure skirt, and release original hem for an extra 2″ ( I can use all the length we can get!)
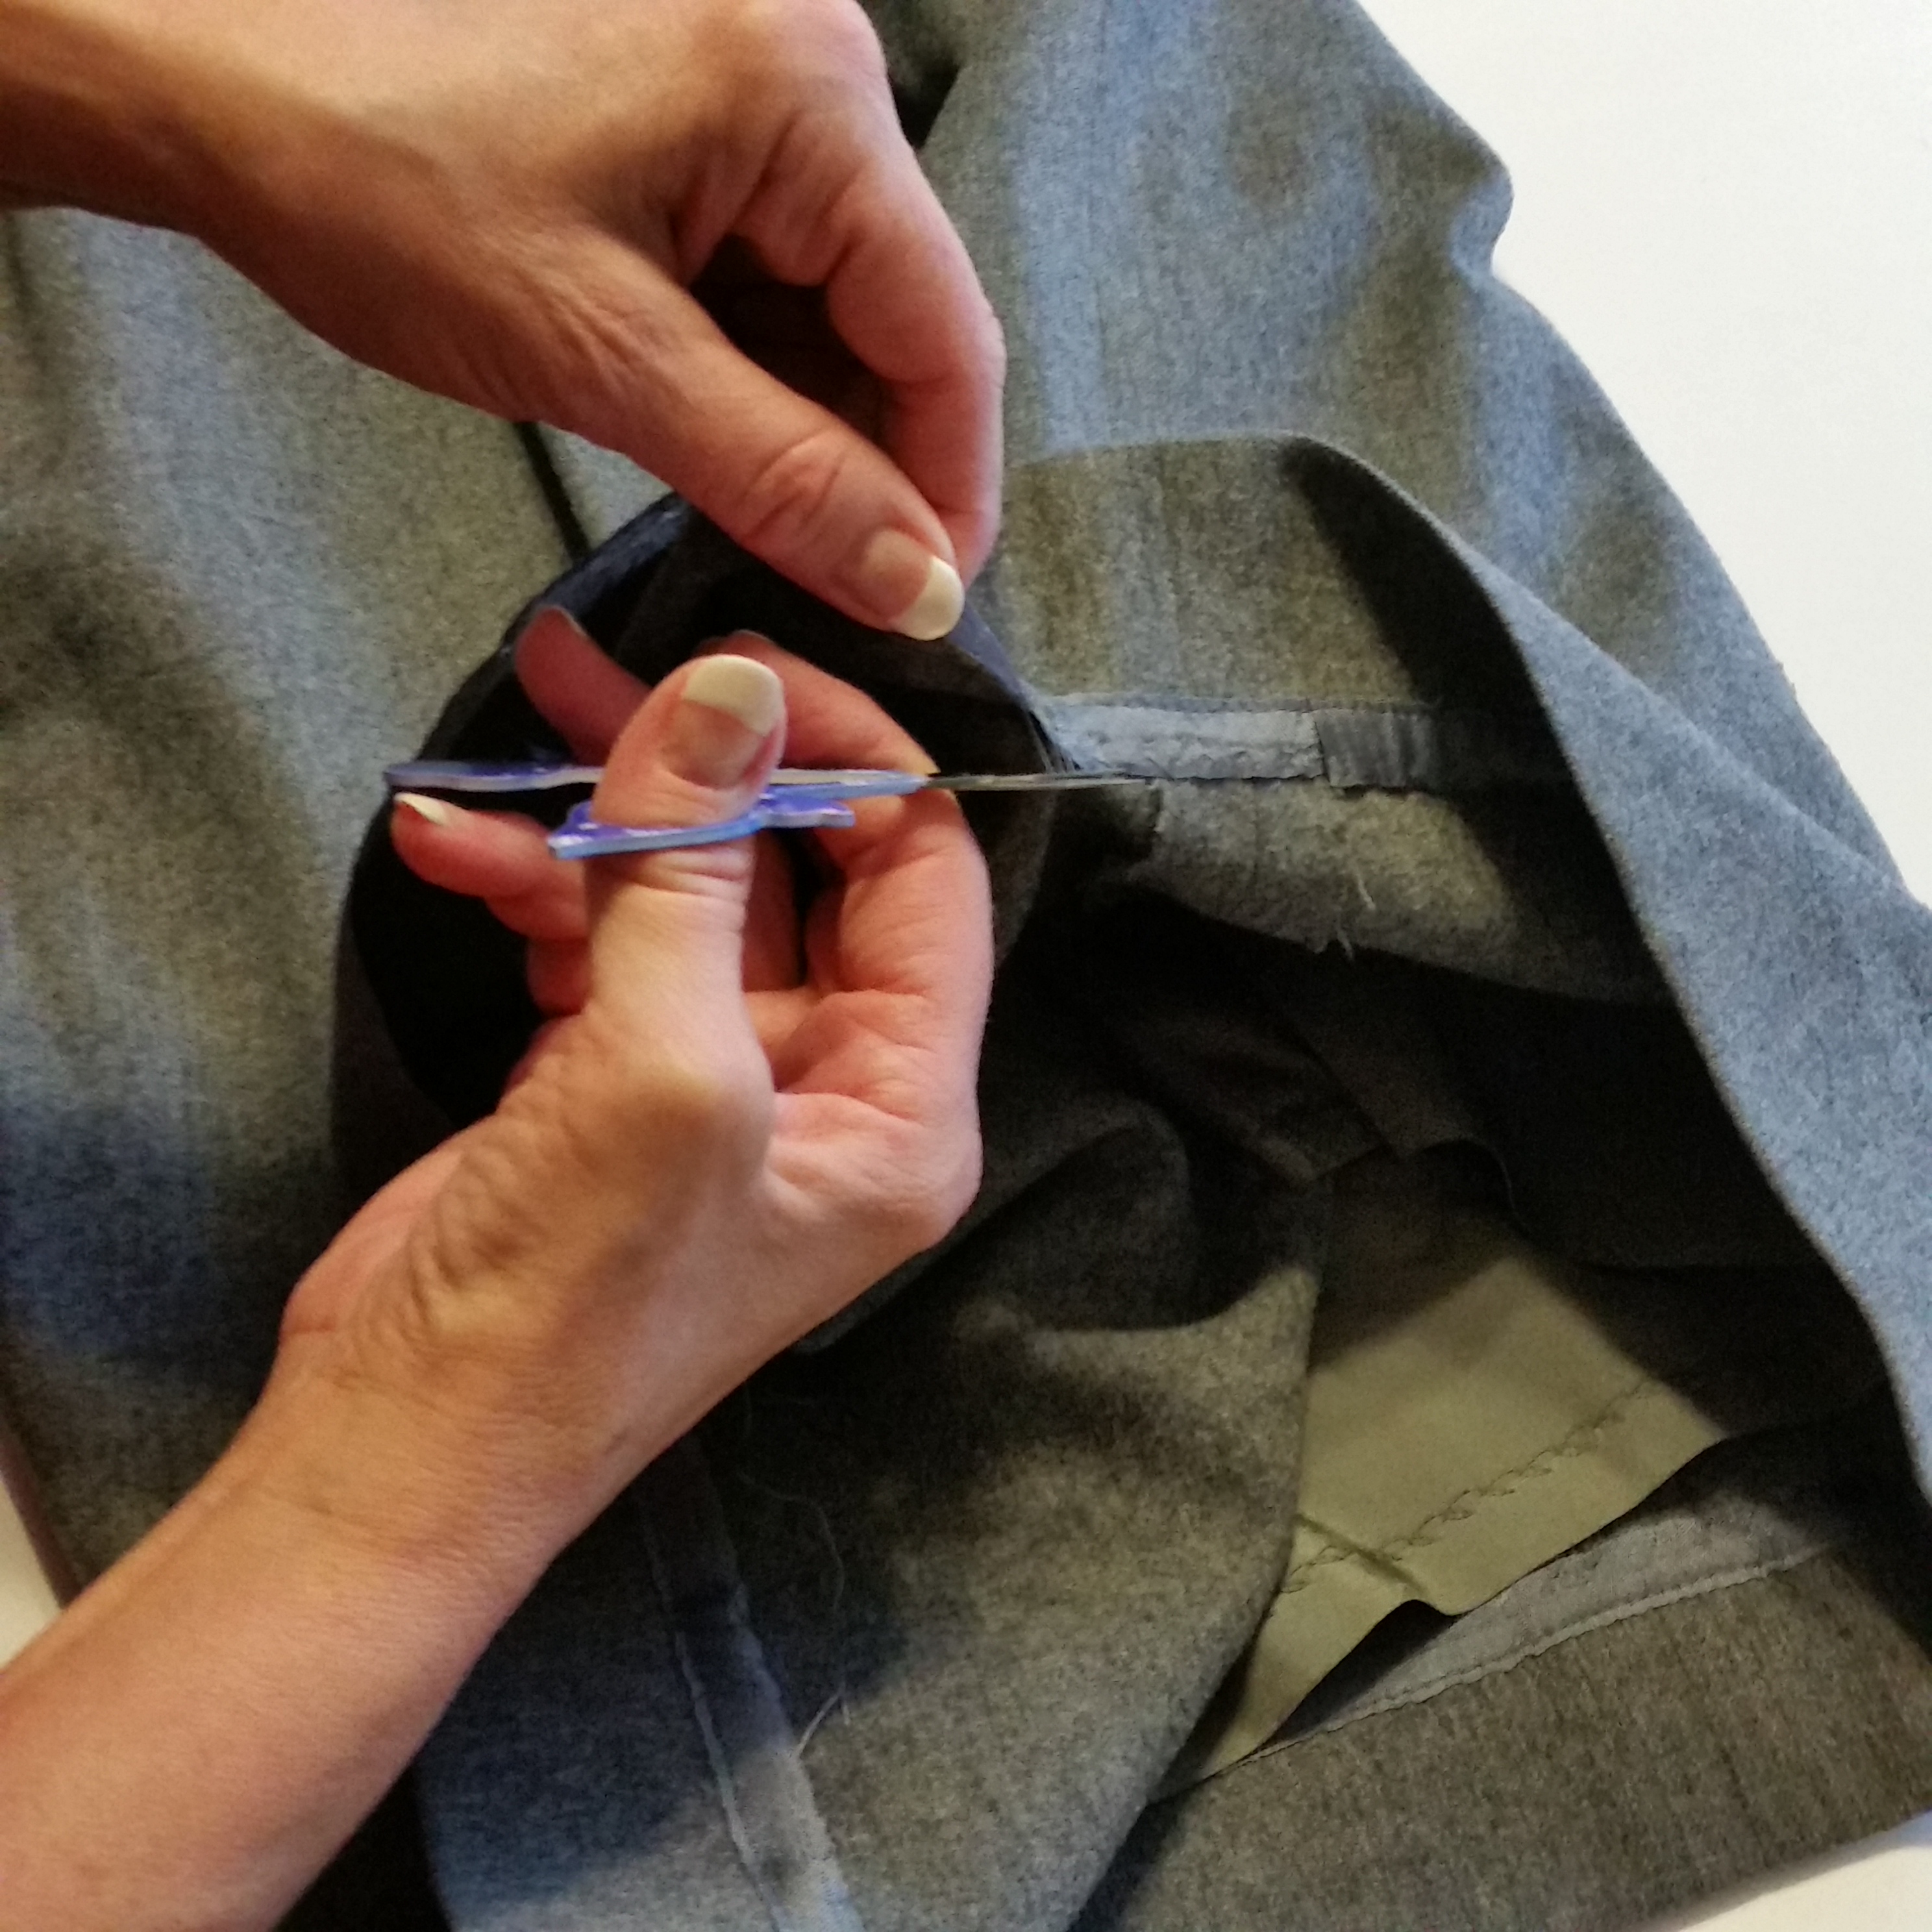
Step 2. Separate waistband, and mark the center-back (CB), center-front (CF), and pockets.
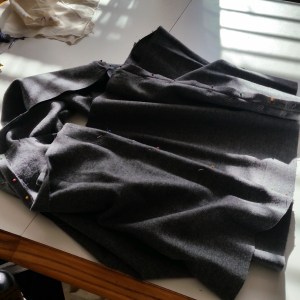
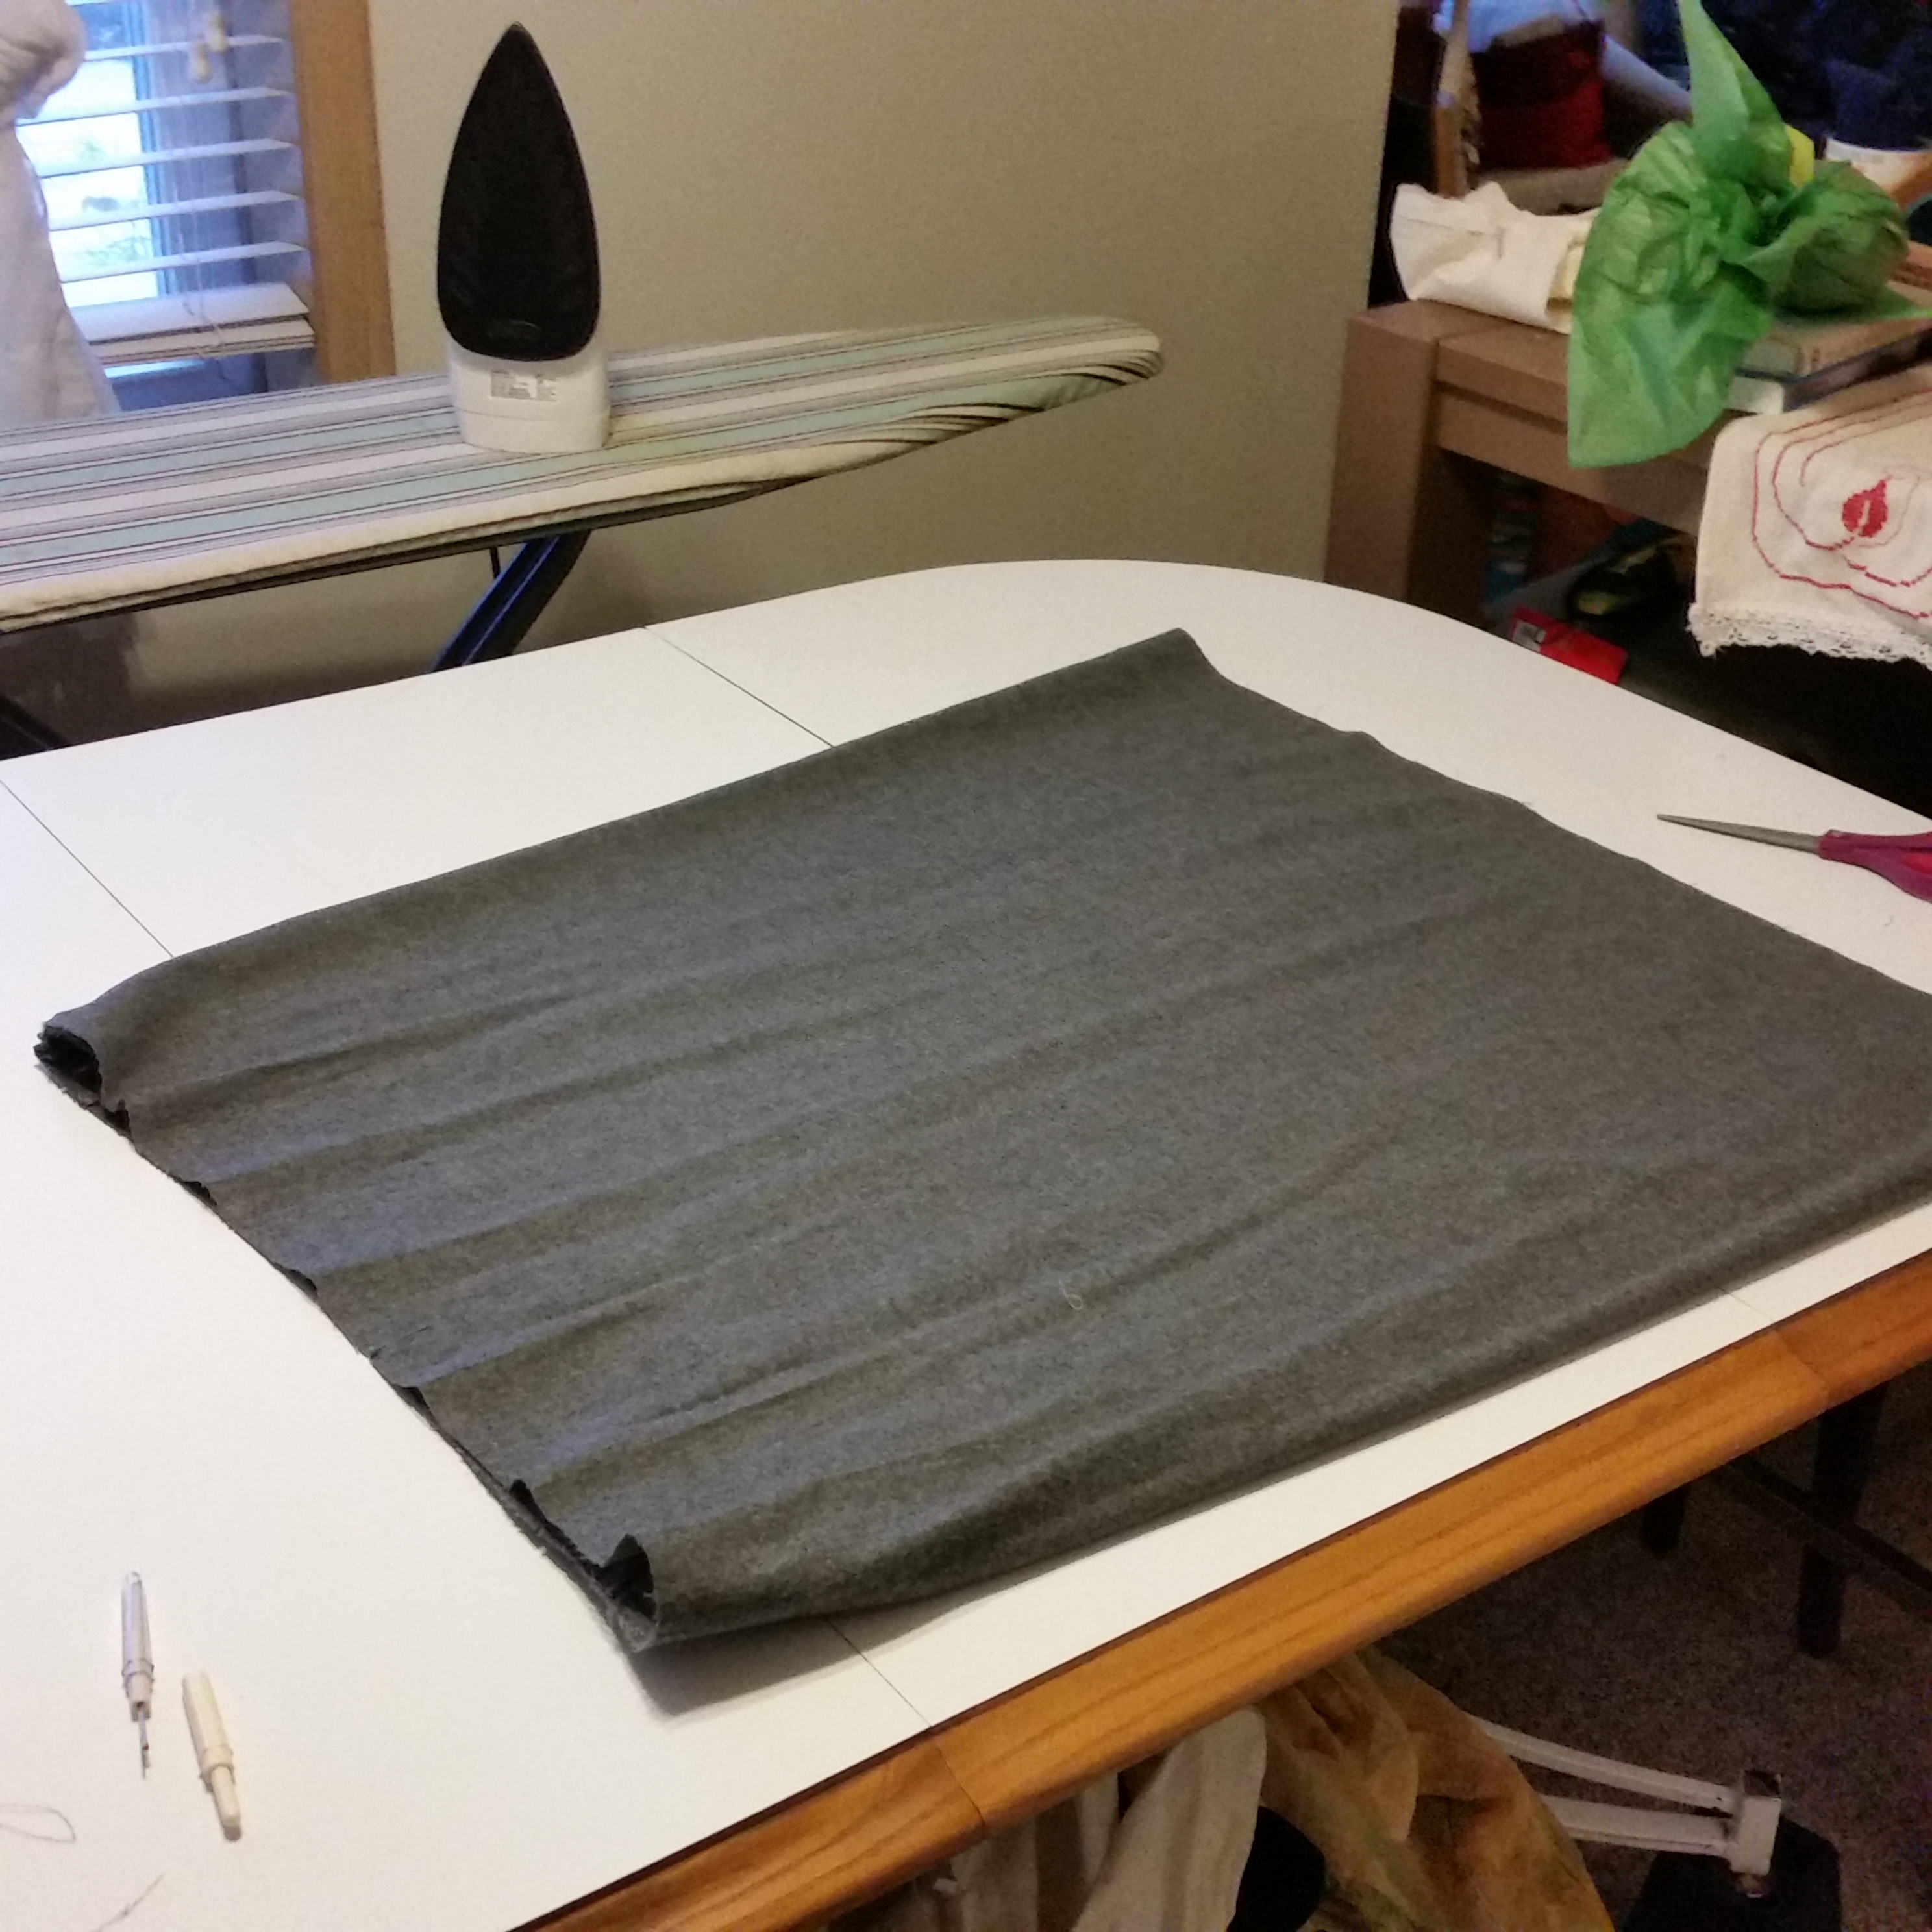
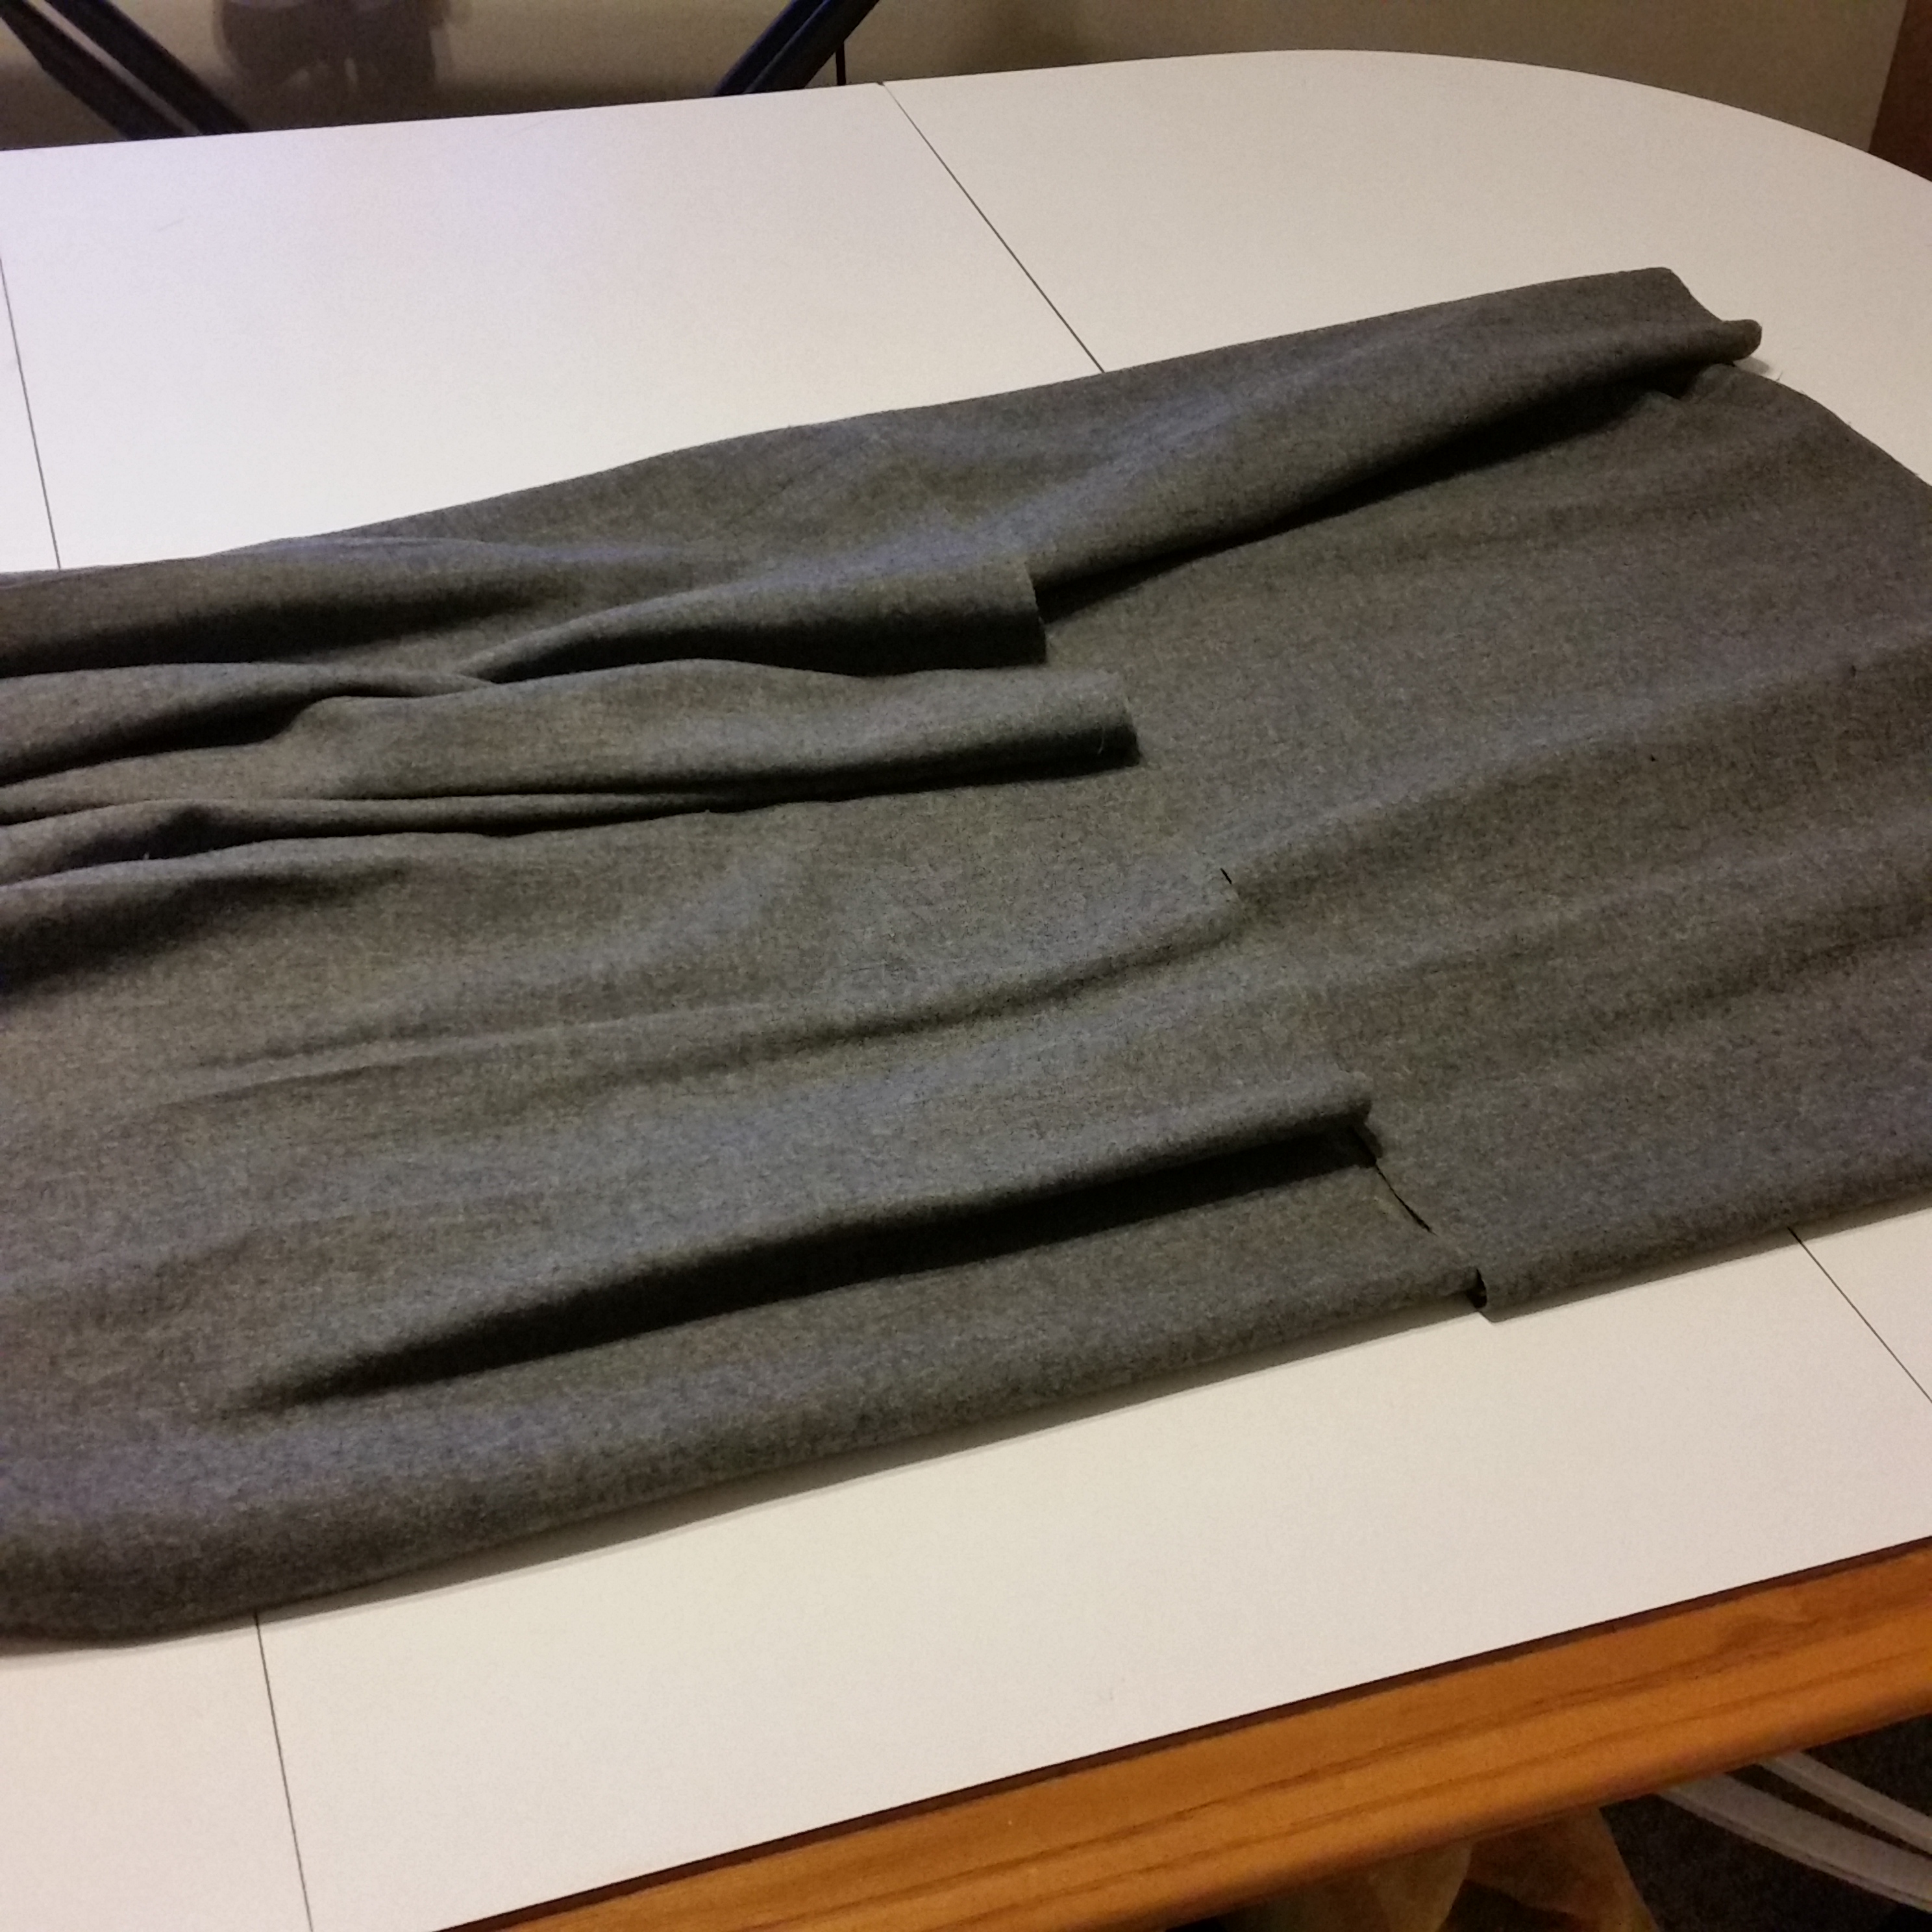
Step 3. With the waistband gone, it’s time to release all the pleats and gatherings, followed by a steamy press, so that it becomes one rectangular block of wool!
Remove the lining which had seen better days…
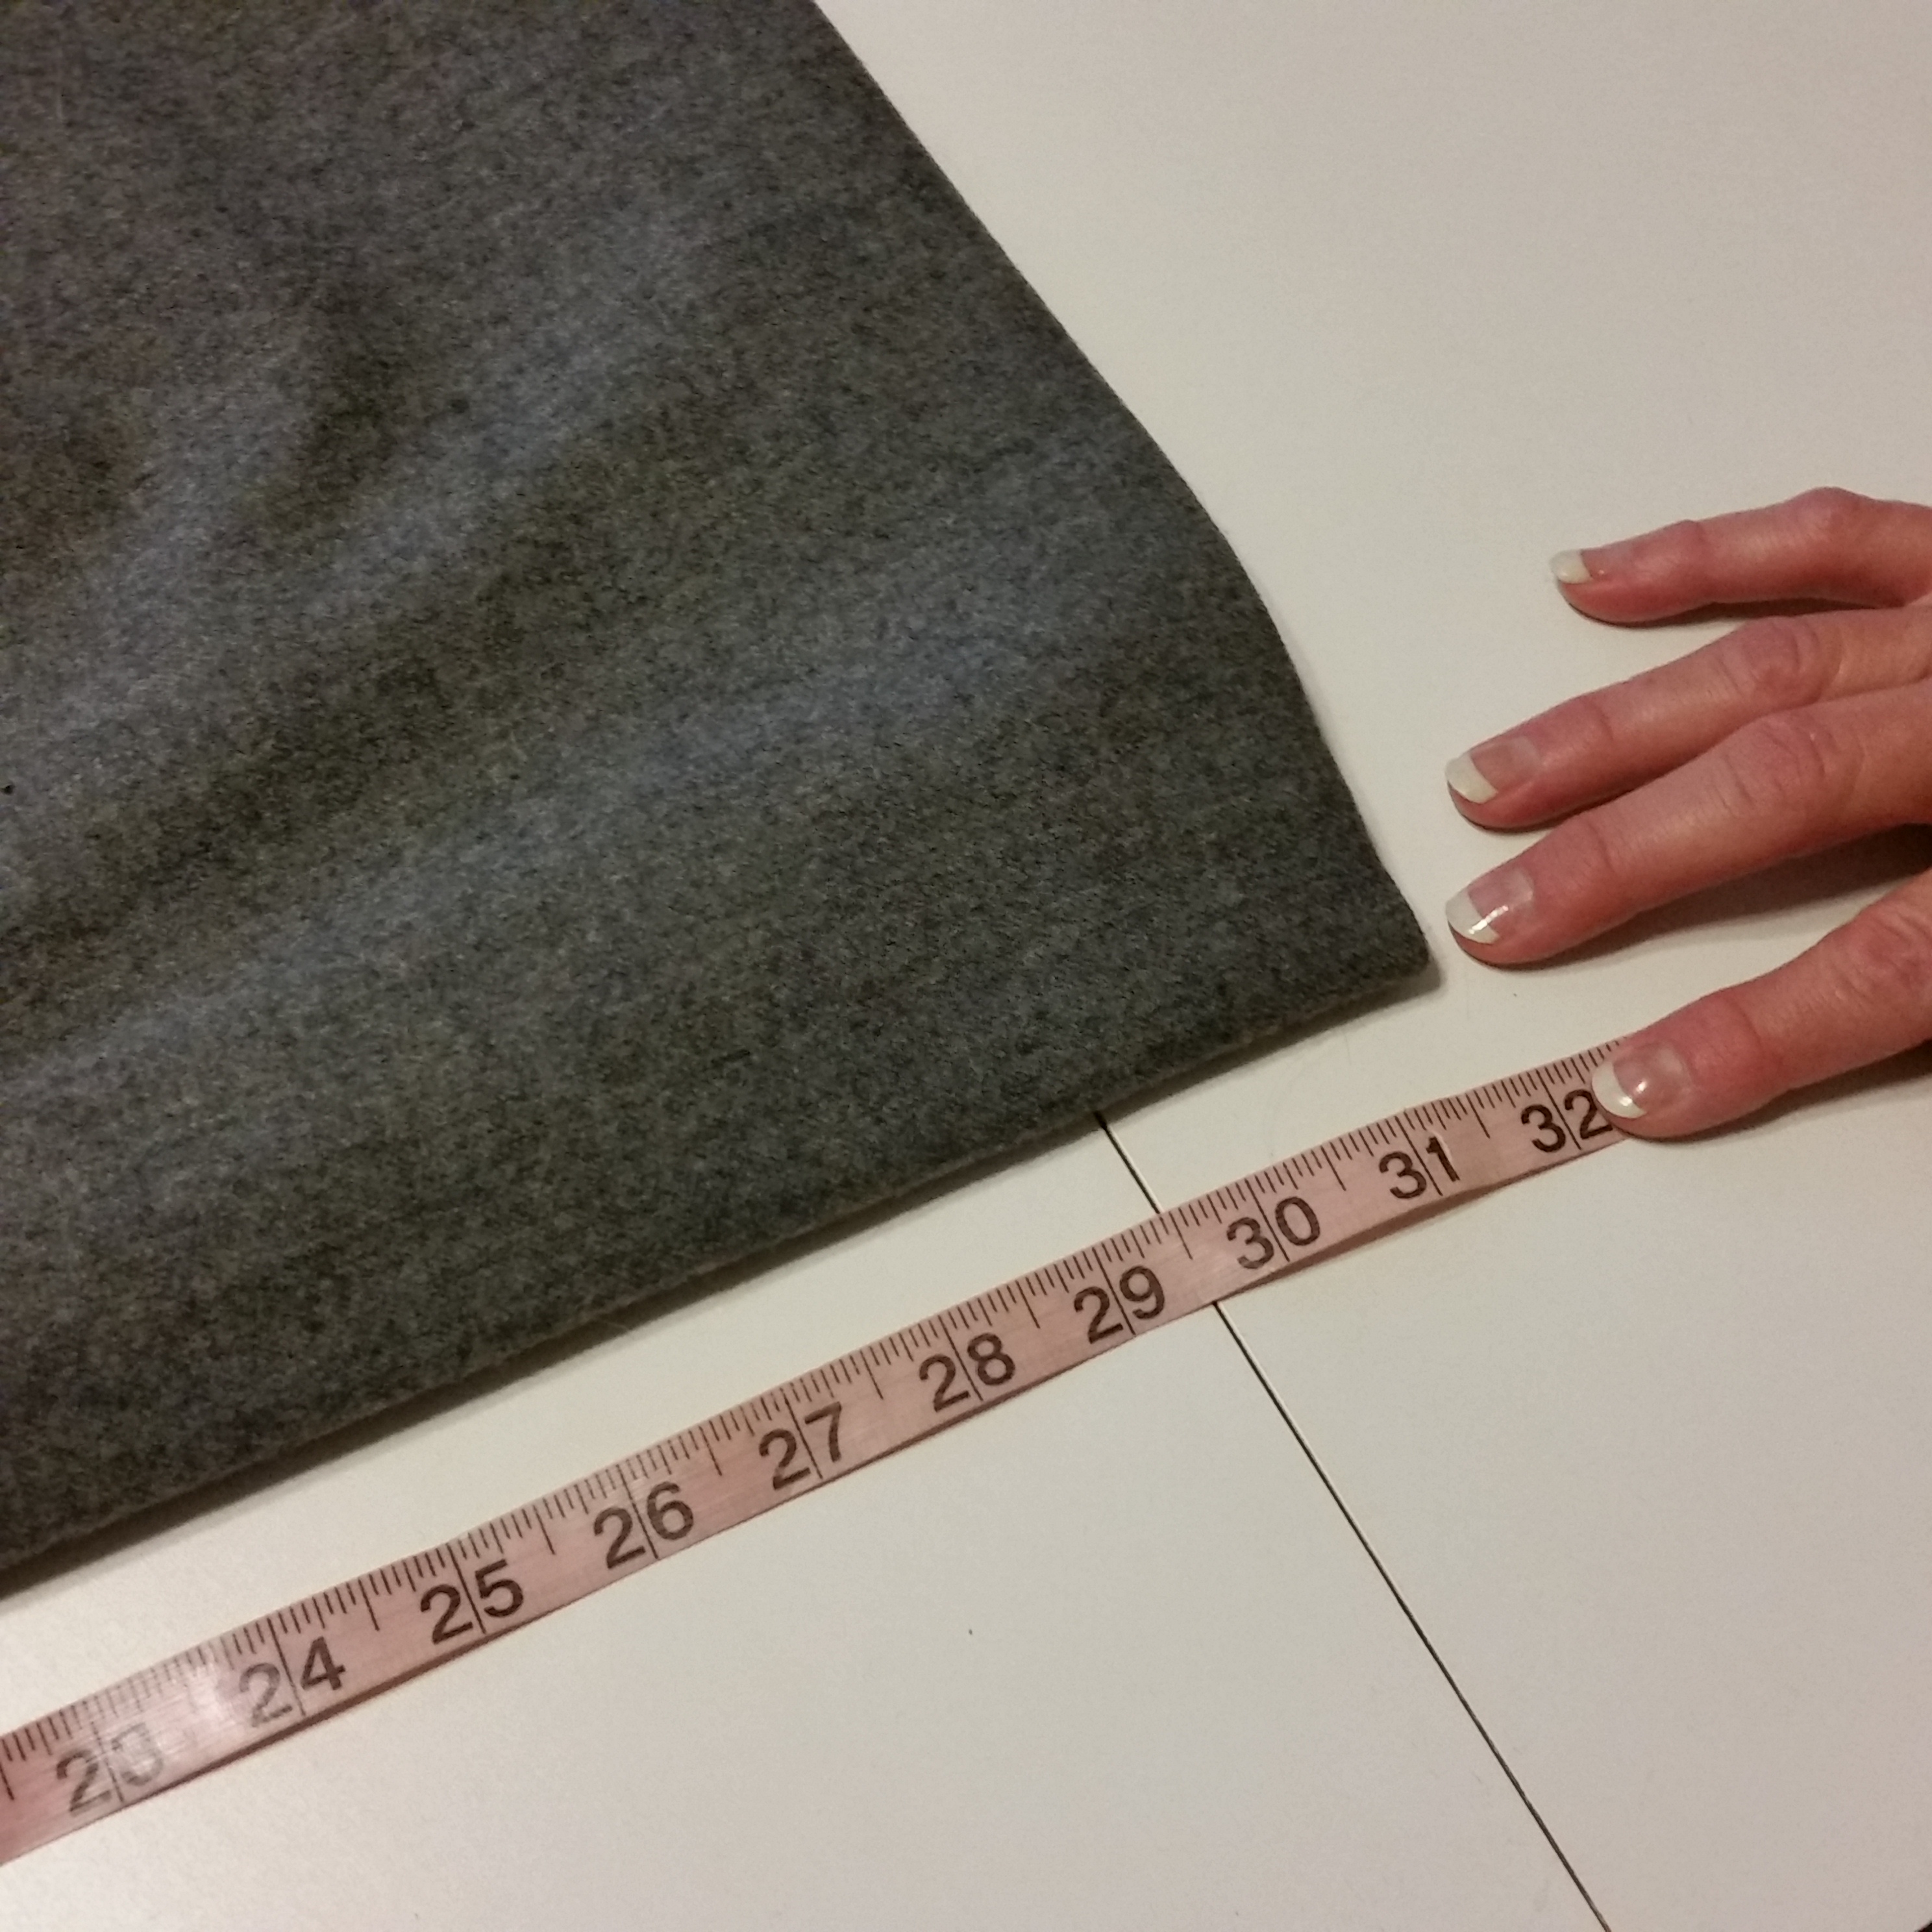
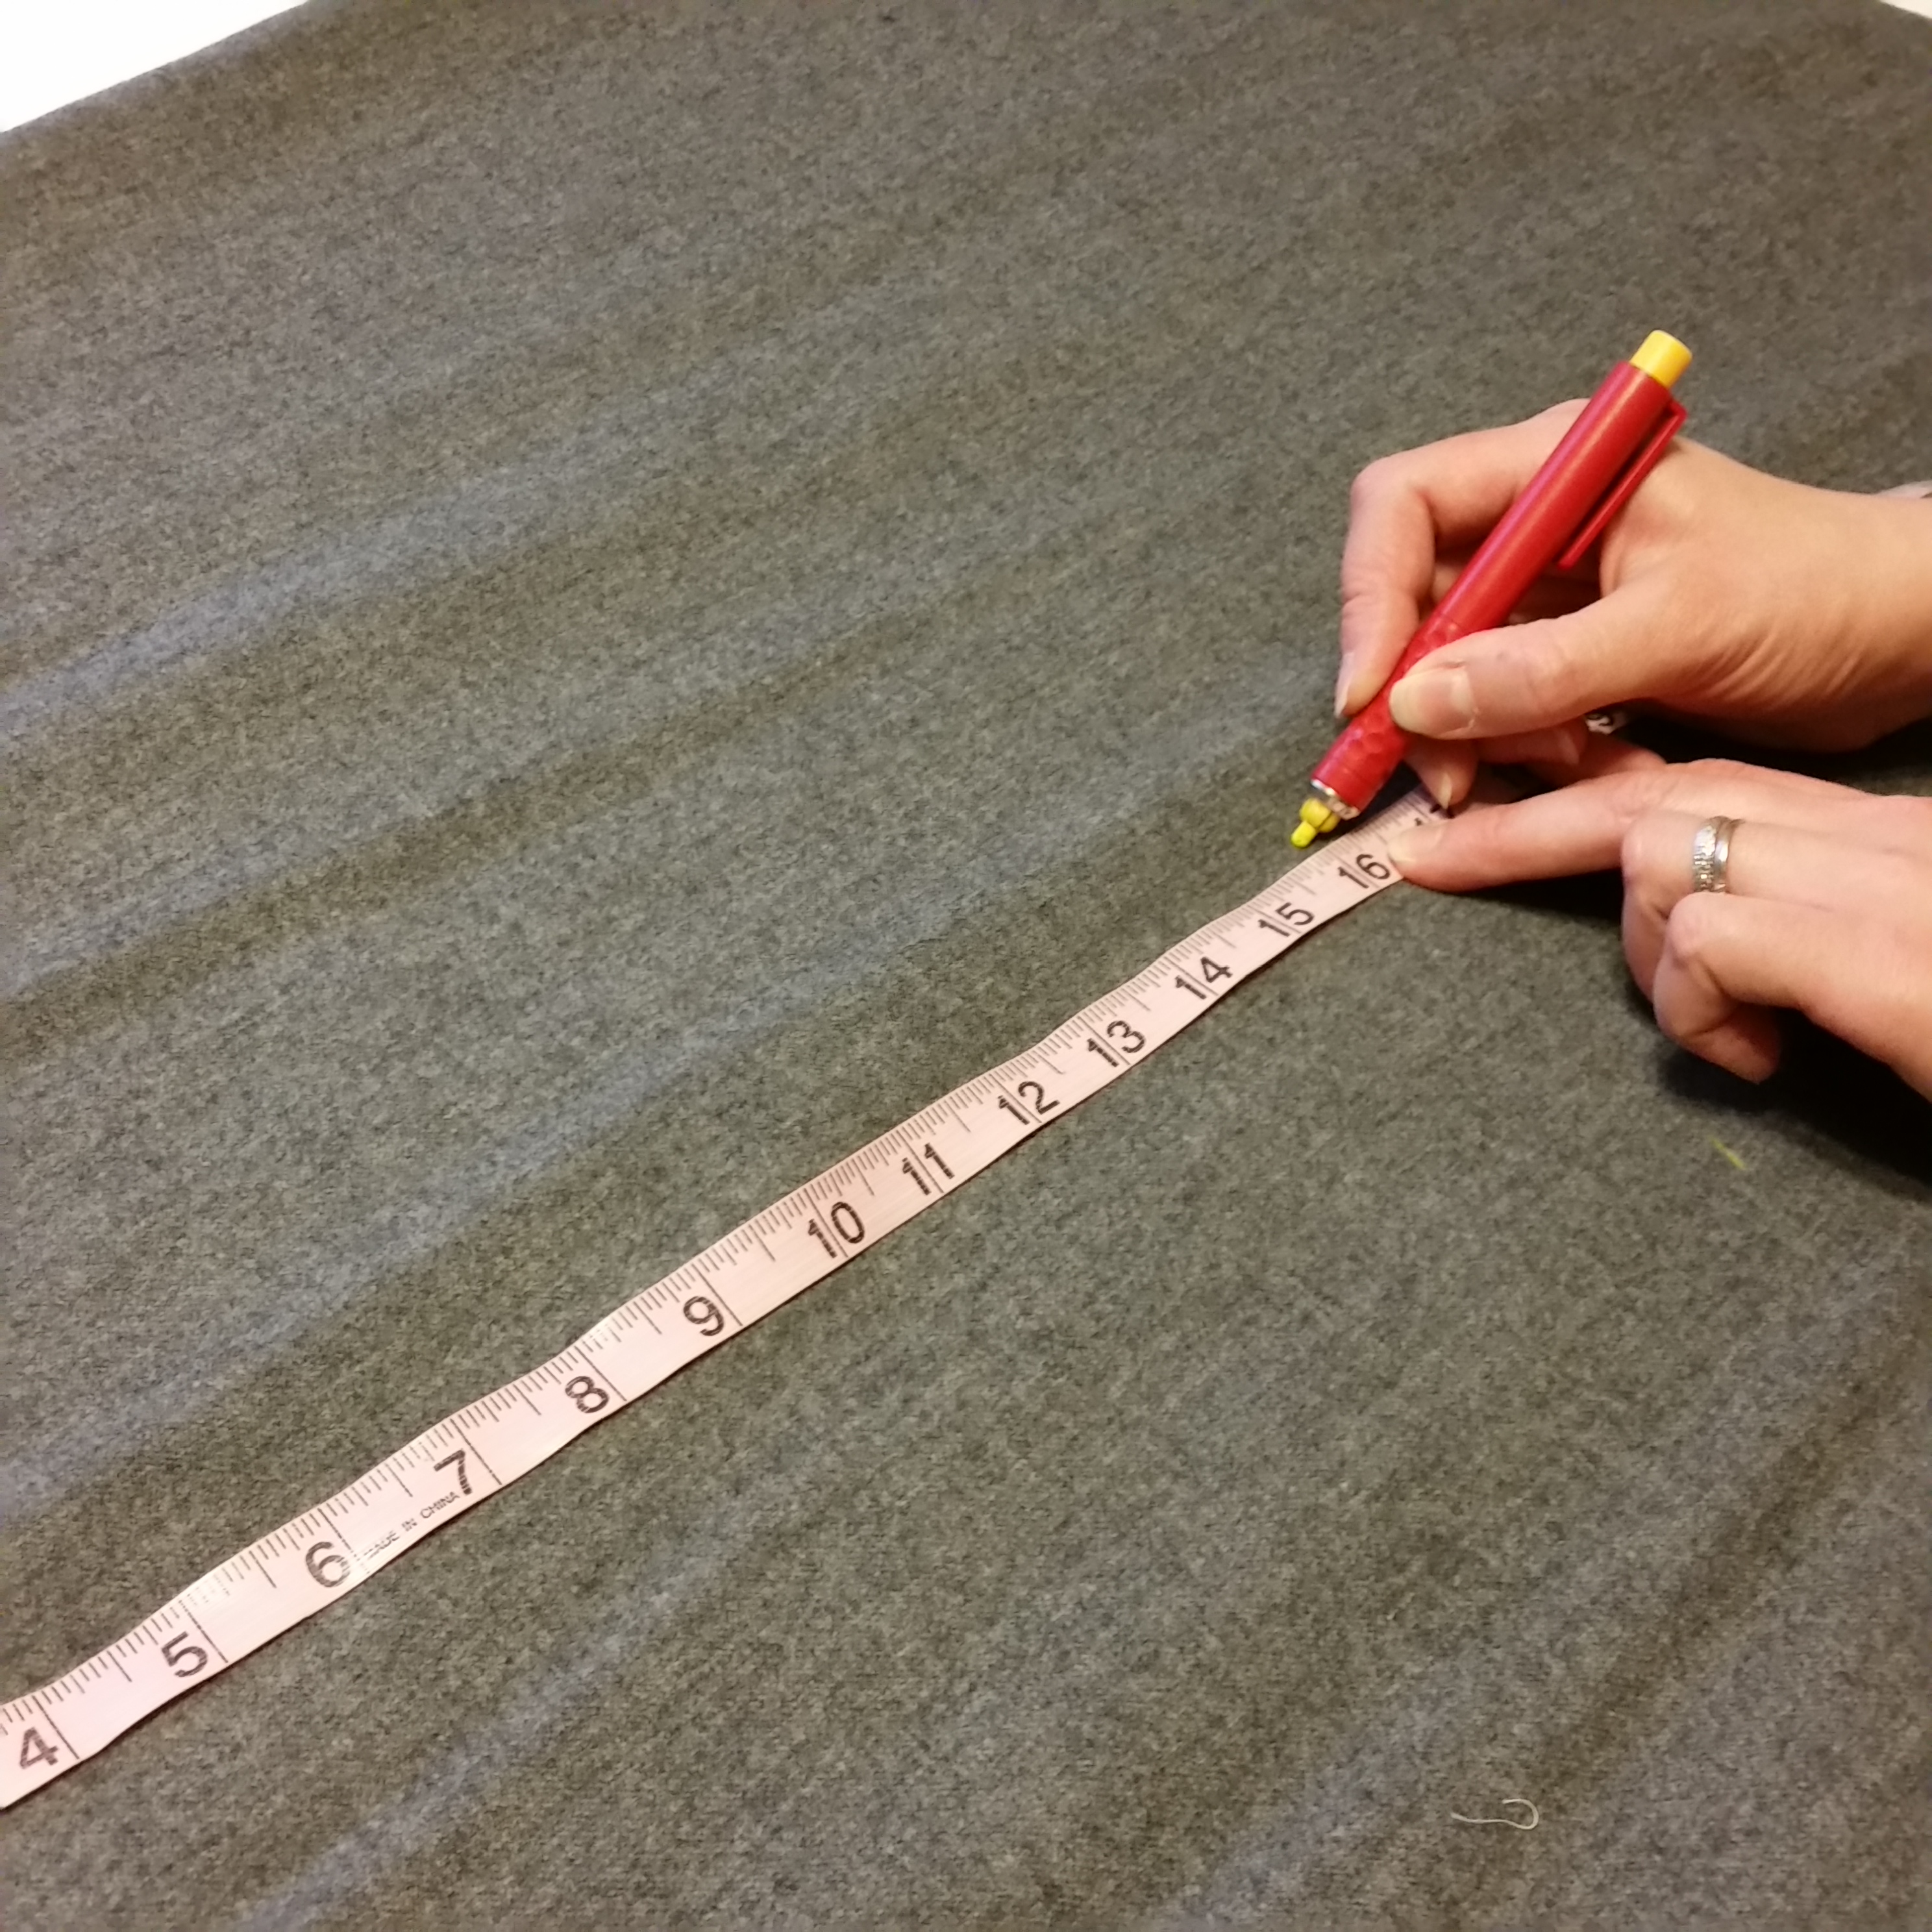
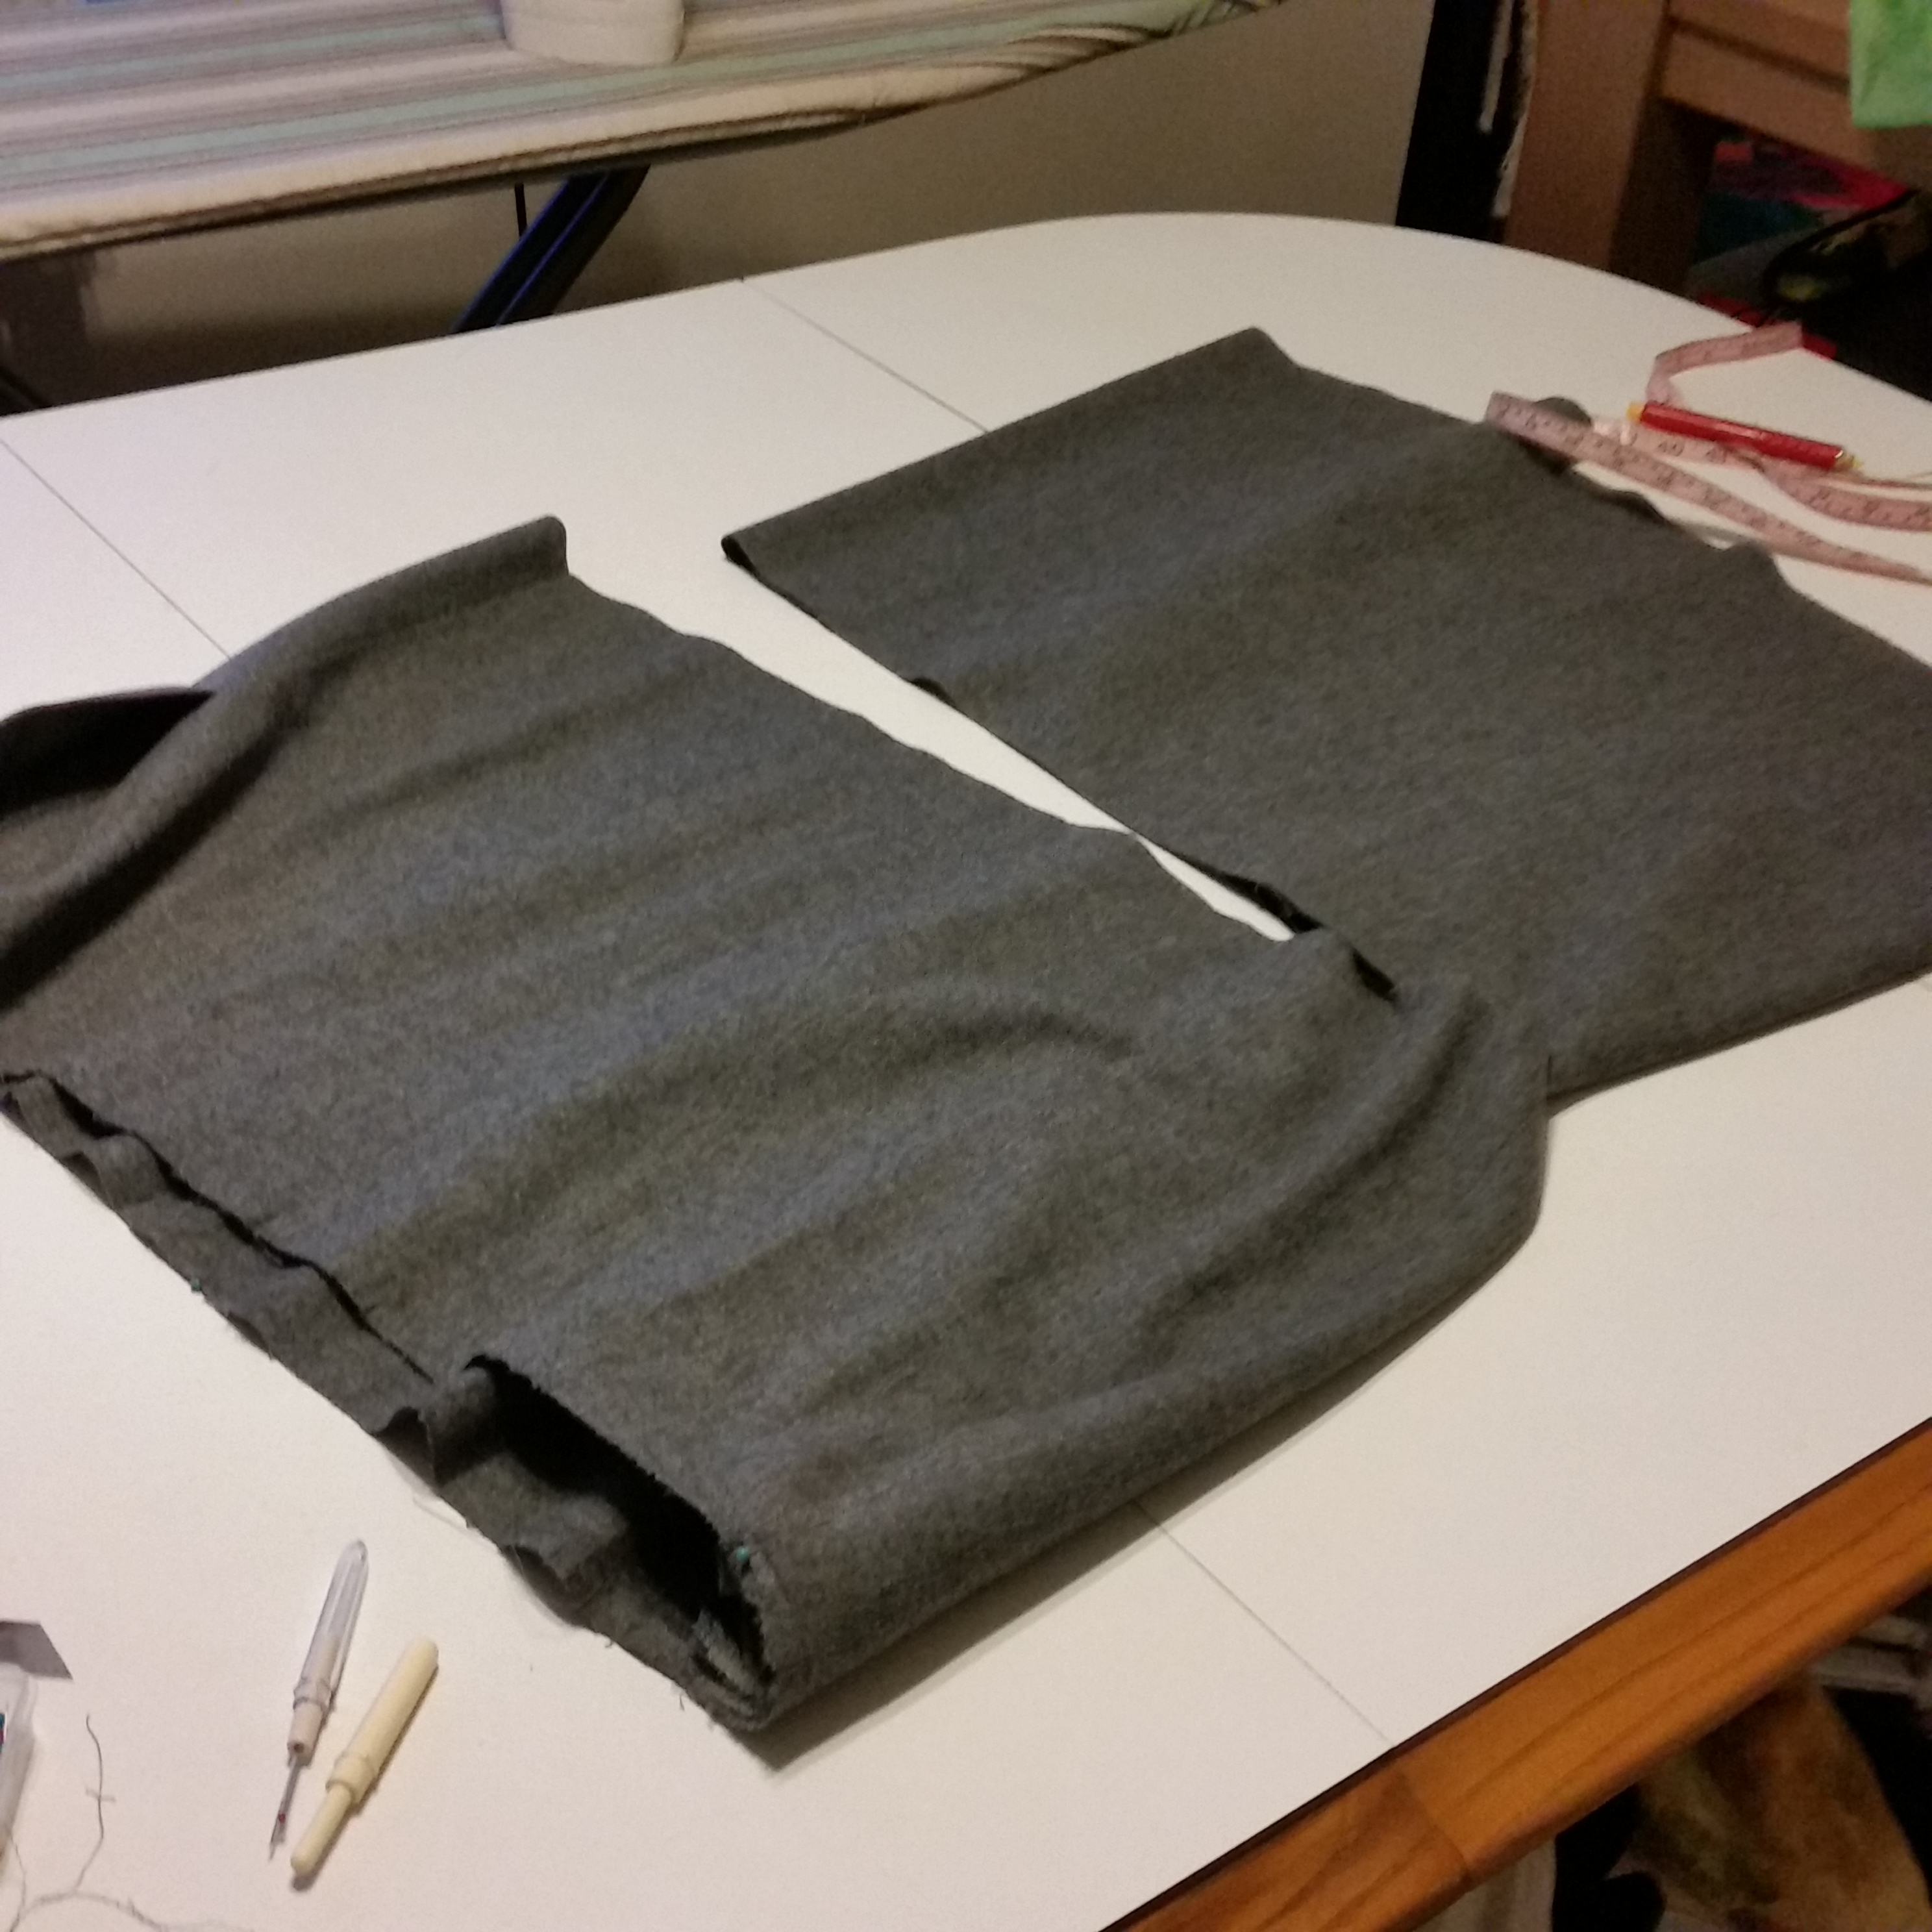
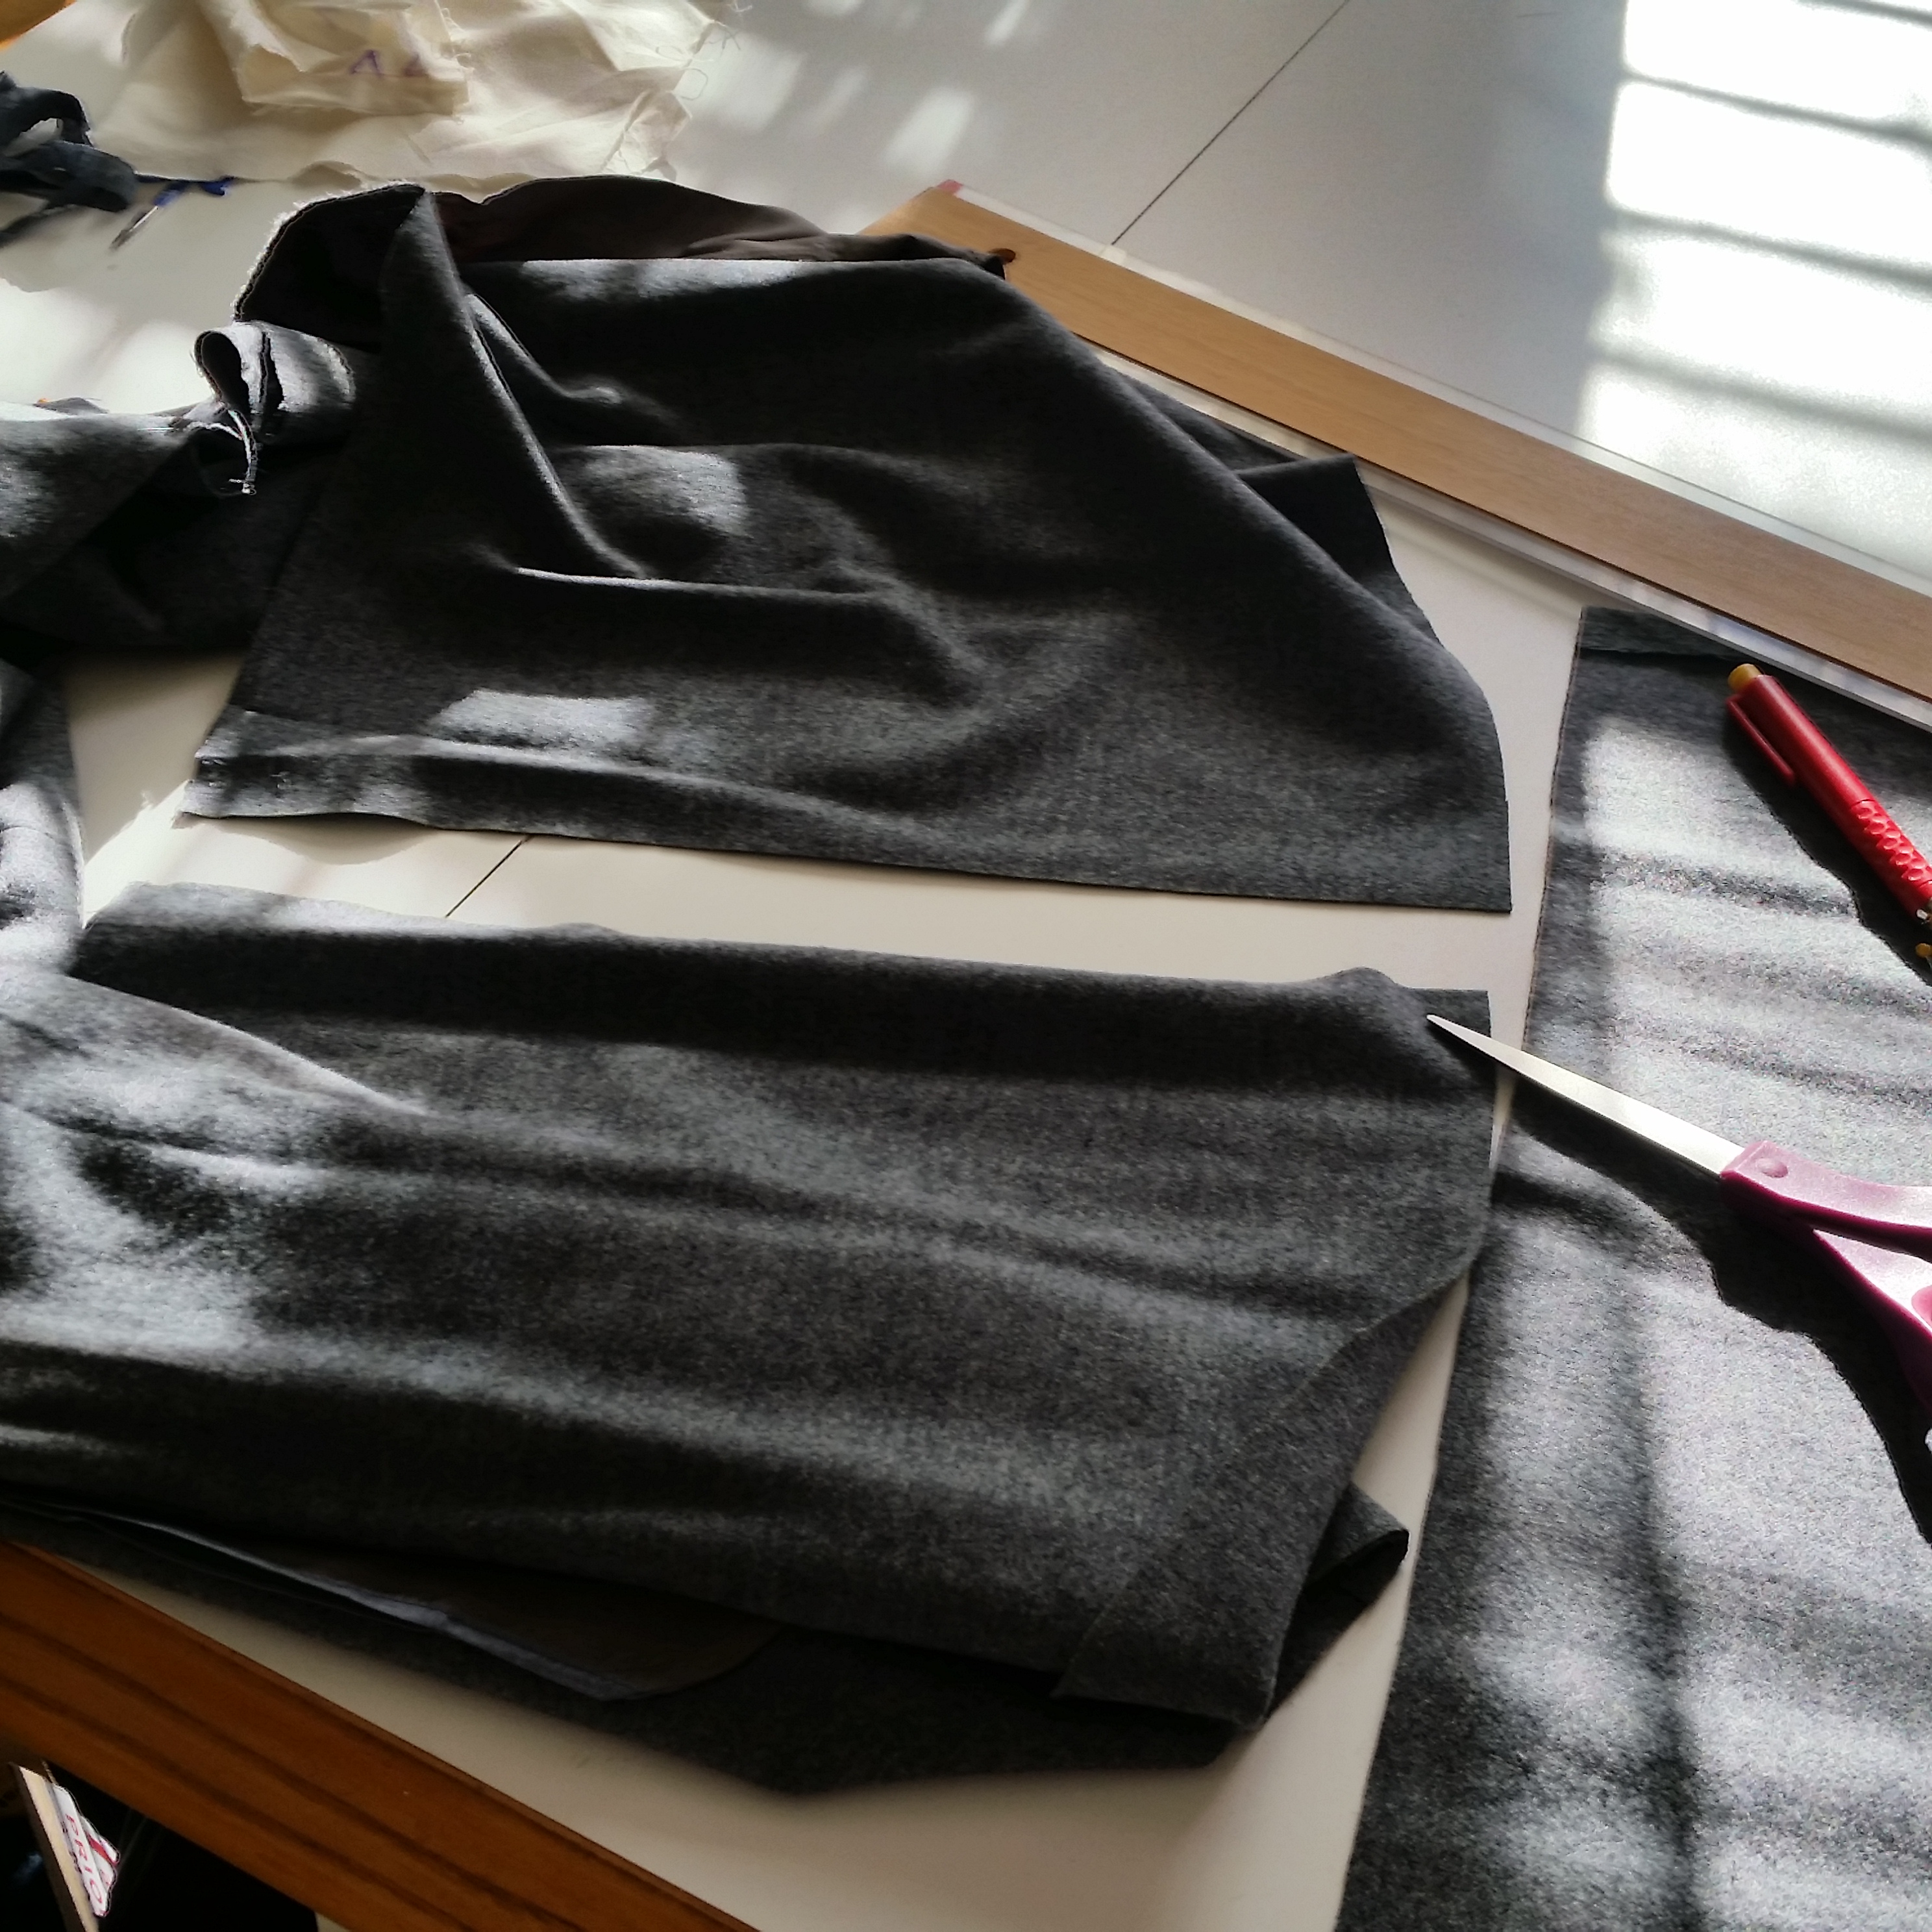
Step 4. Measure and mark halfway between the former waistline and former hemline of the skirt….and CUT!
The top half of the skirt (with the pockets) is now going to be rebuilt into the new skirt!
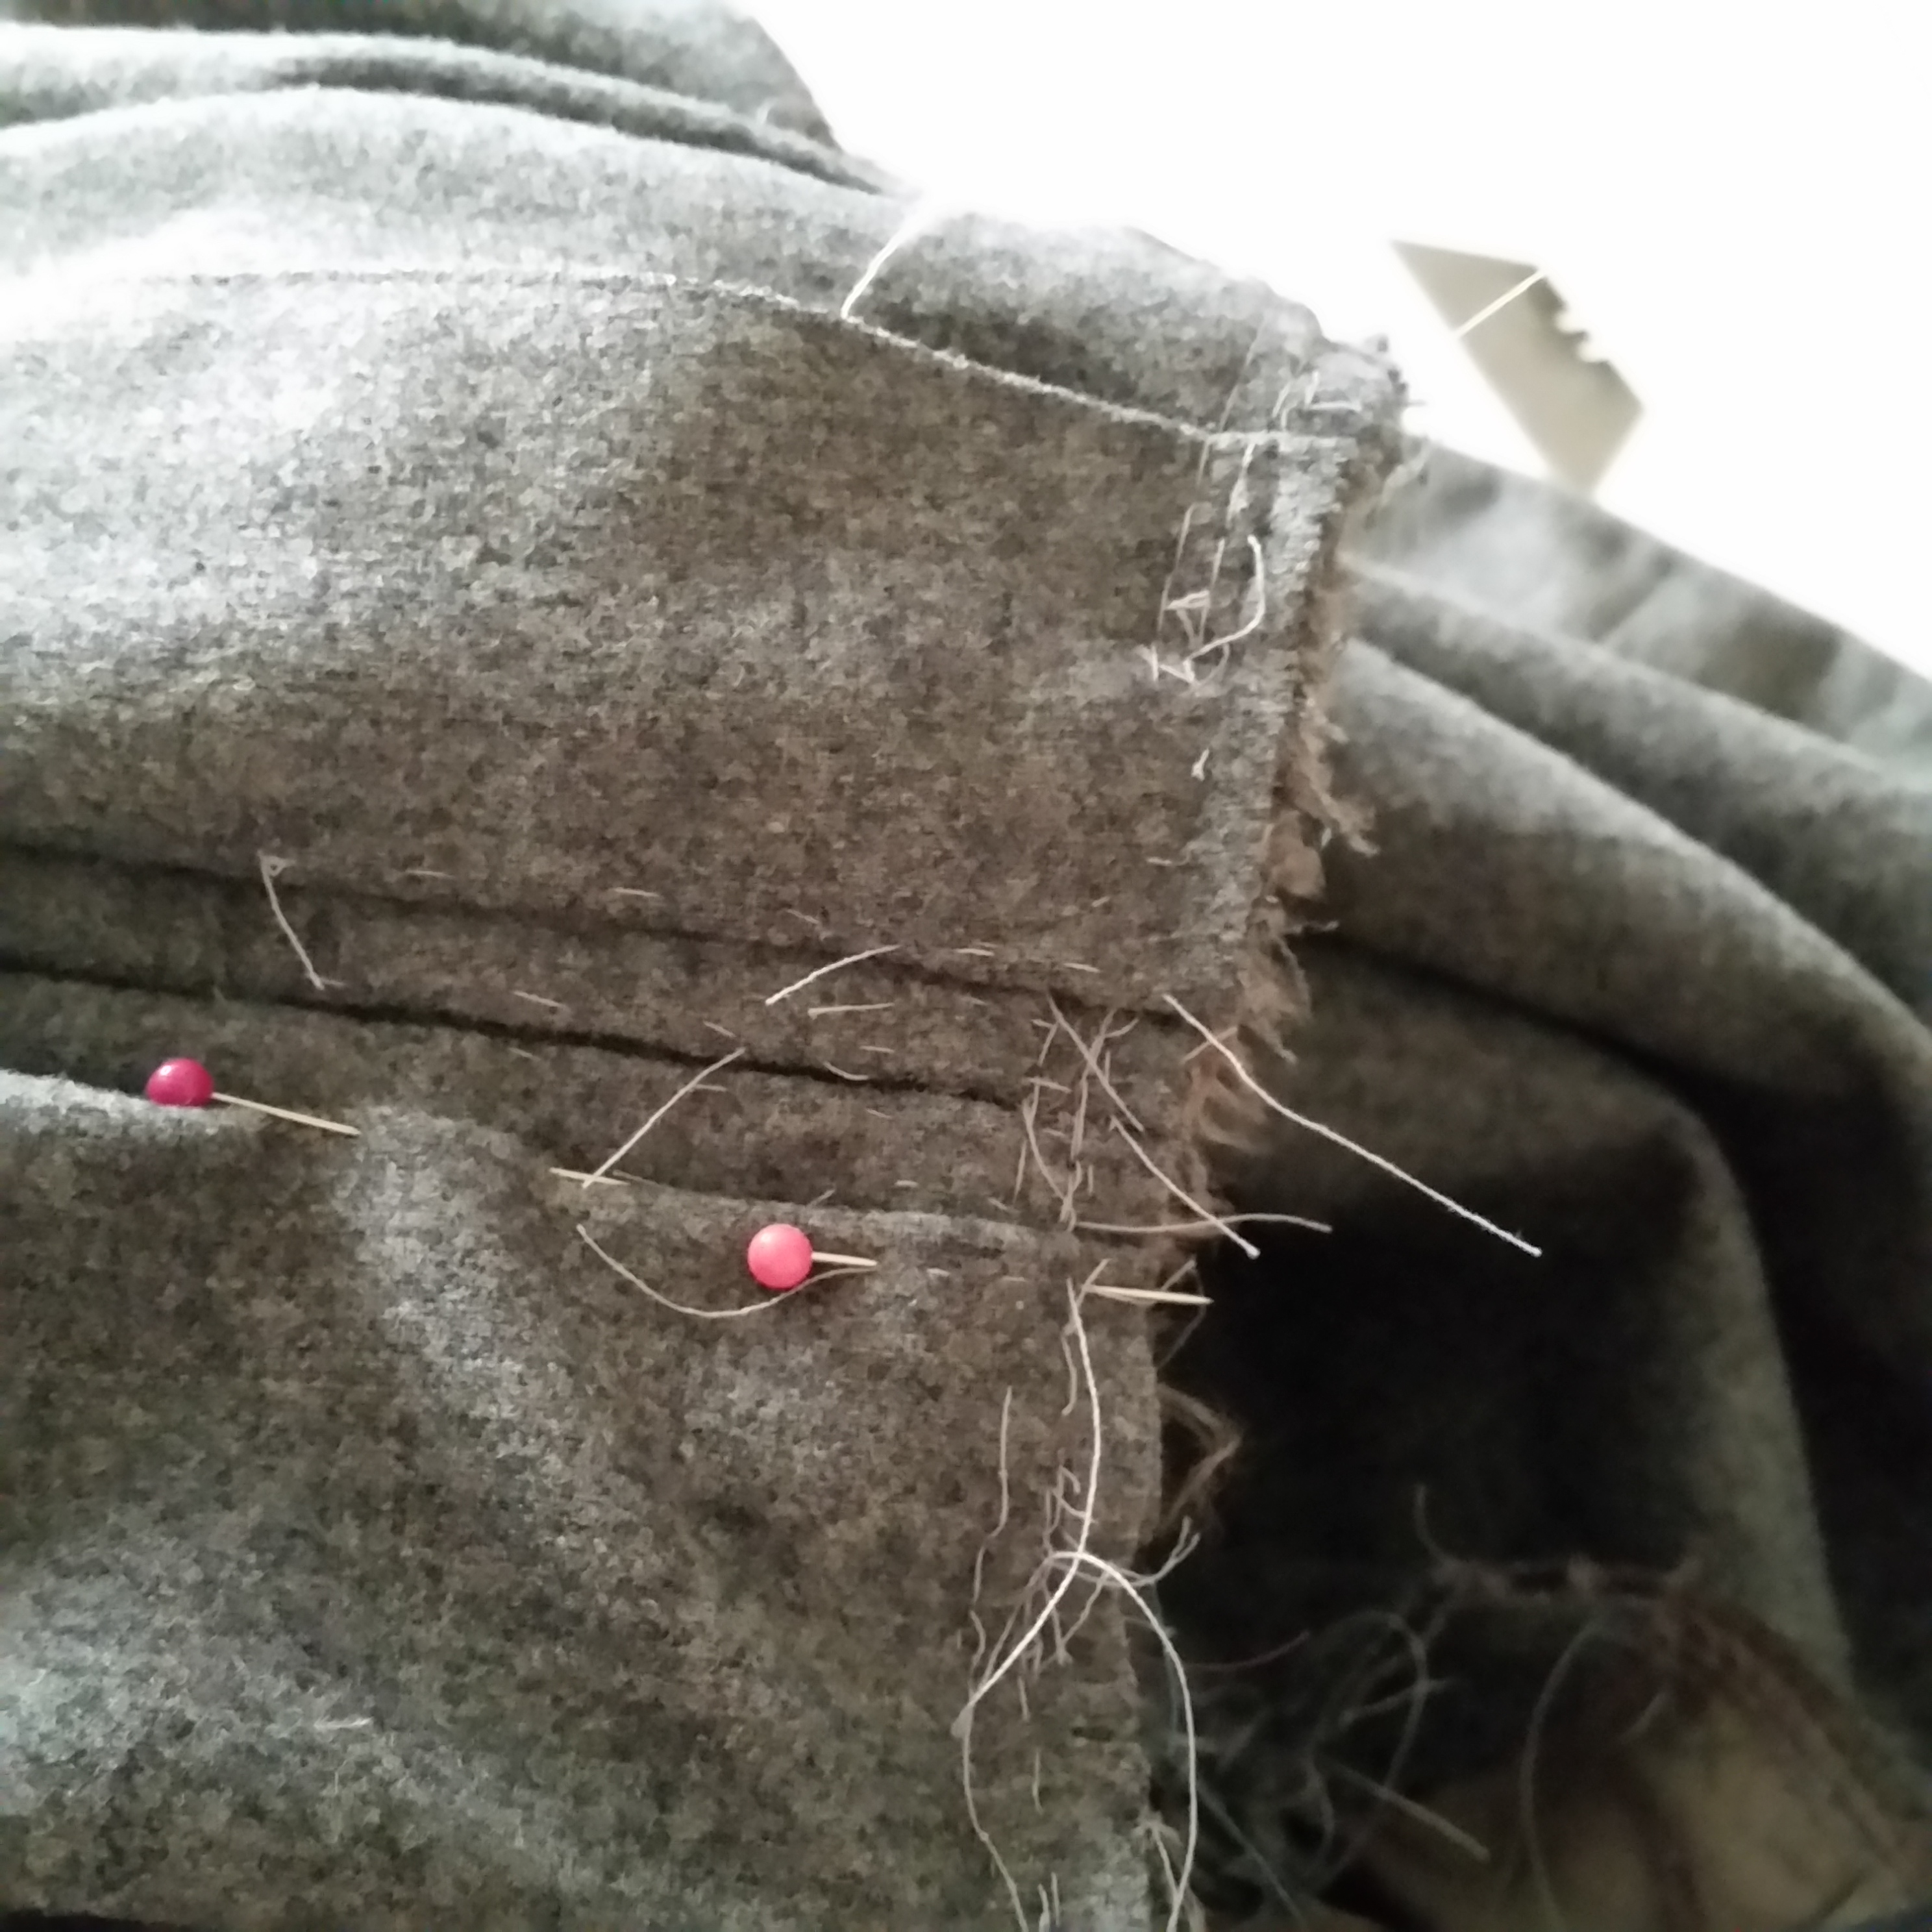
Step 4.5. Take the bottom half and open up both side seams so that it creates 2 equal pieces. One of these will be accommodated into the front of the top half, and the other will go into the back of the top half.
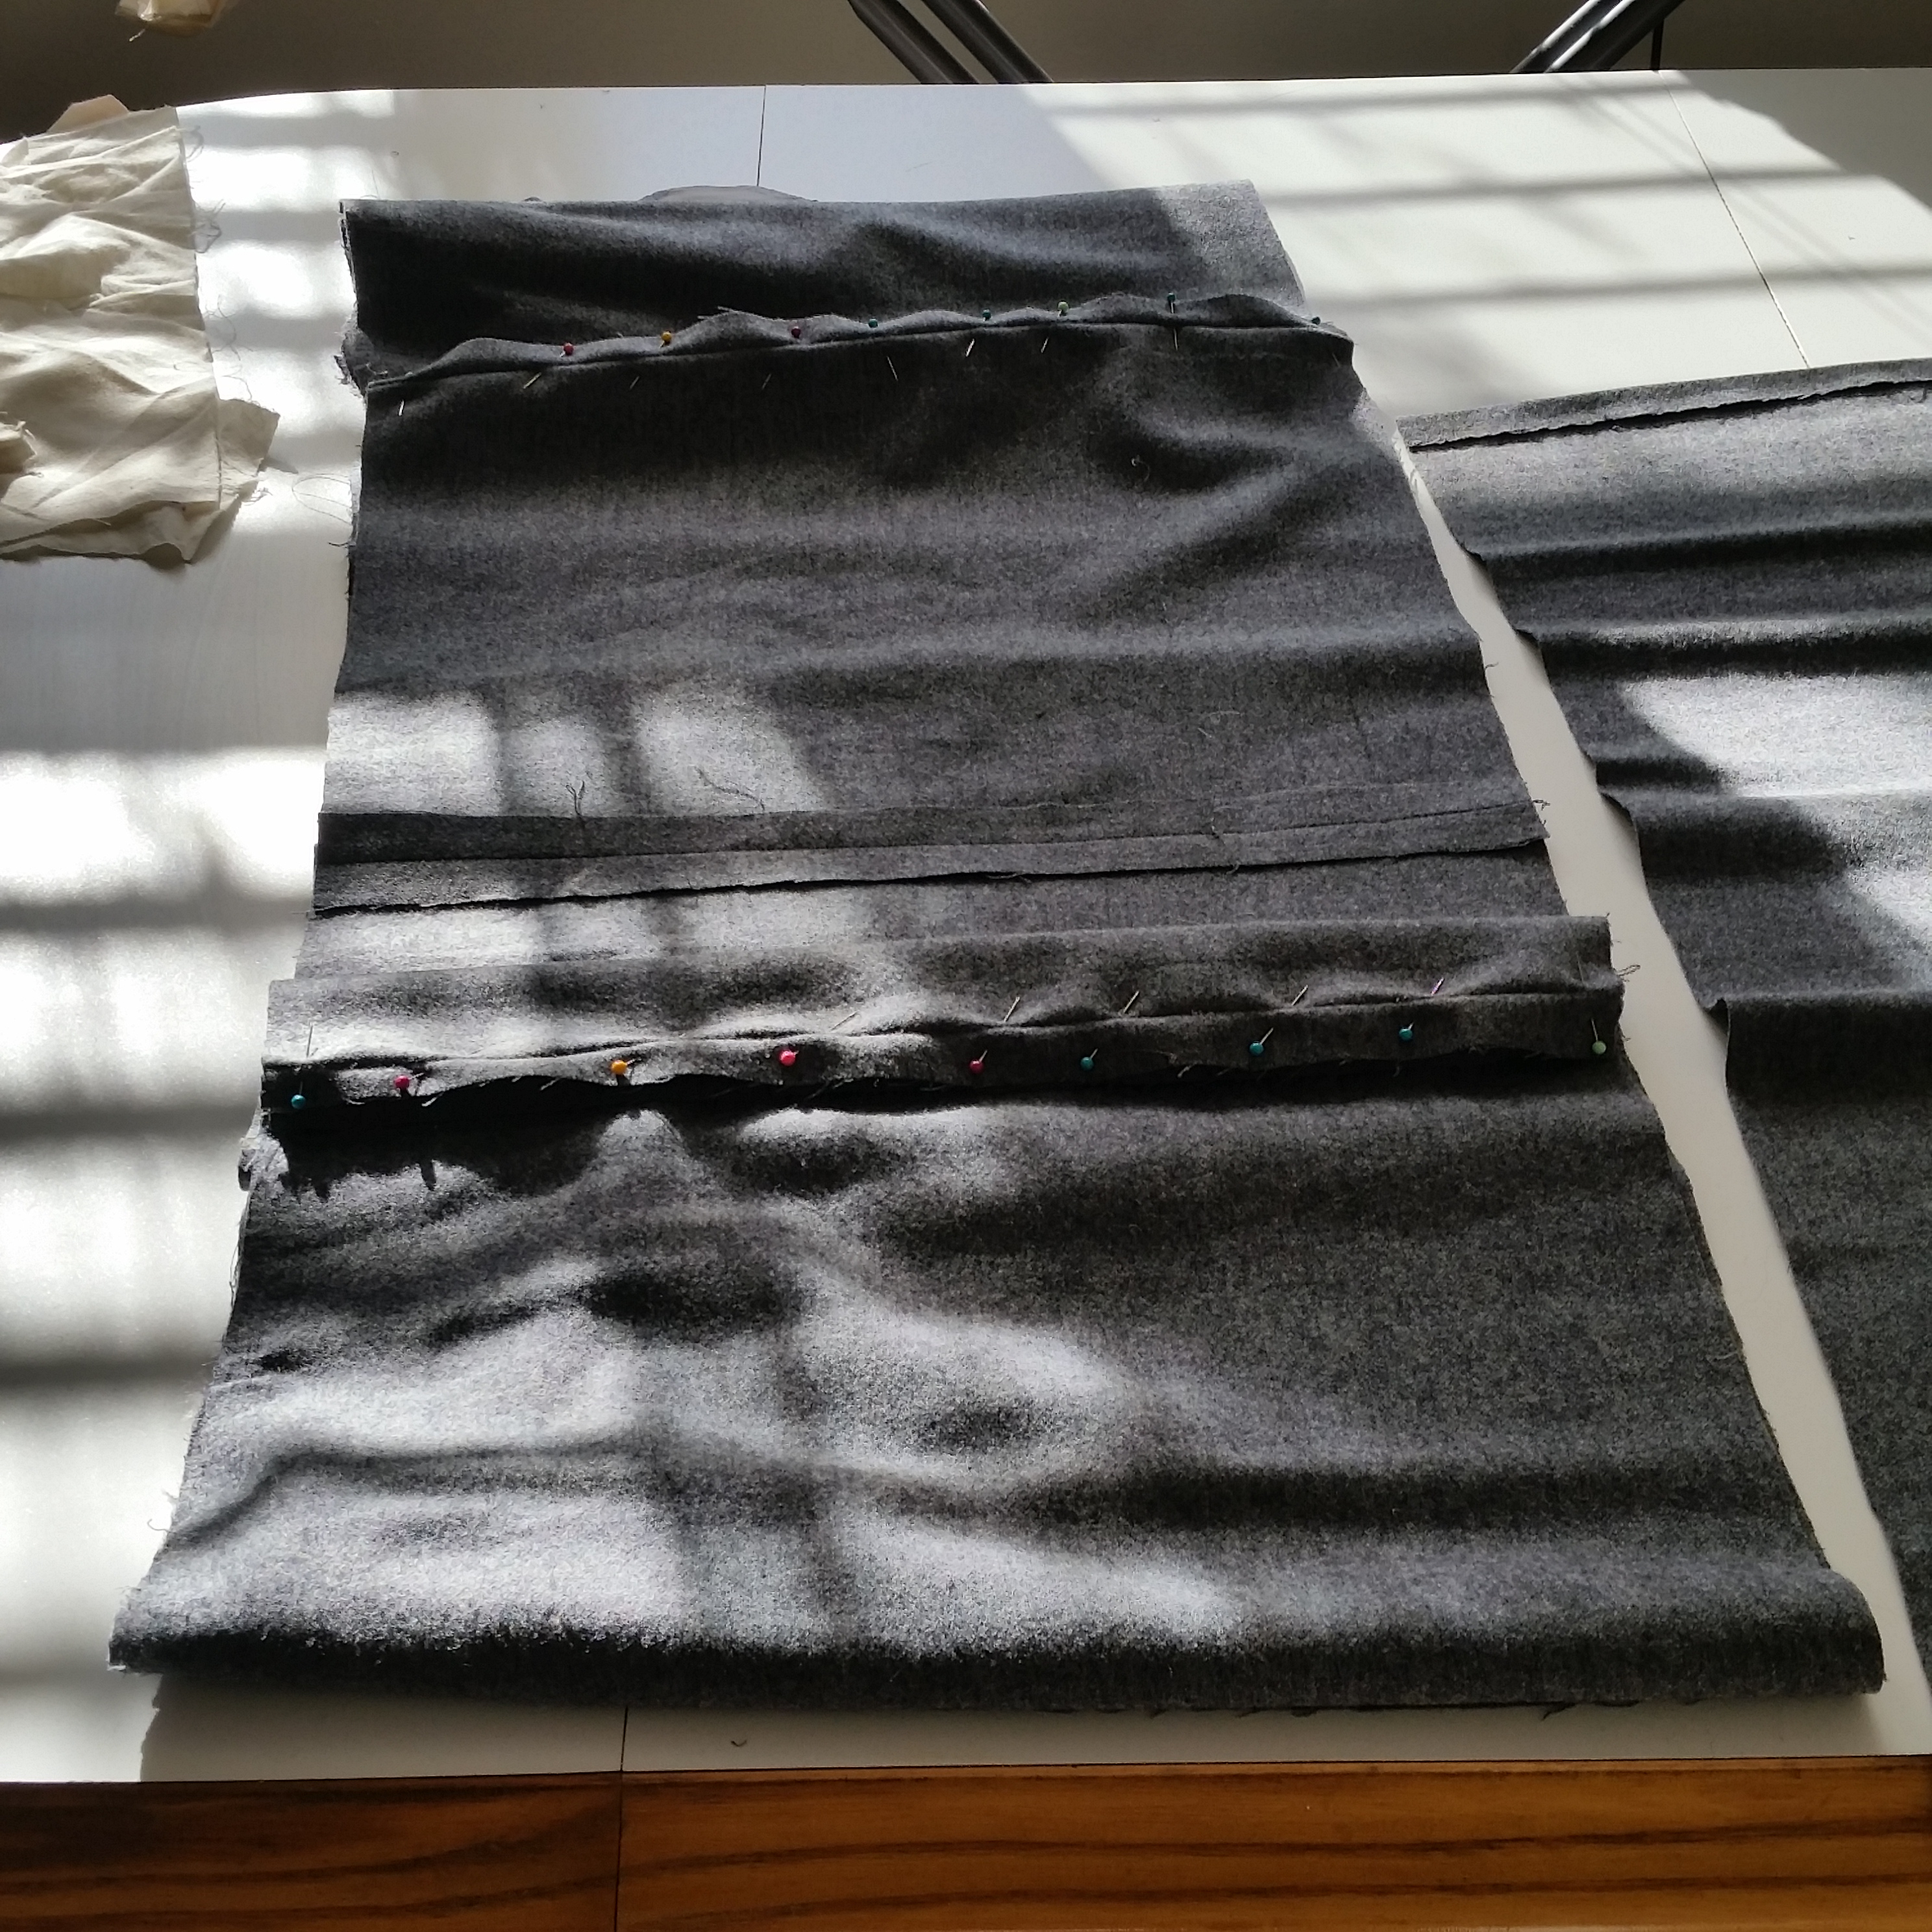
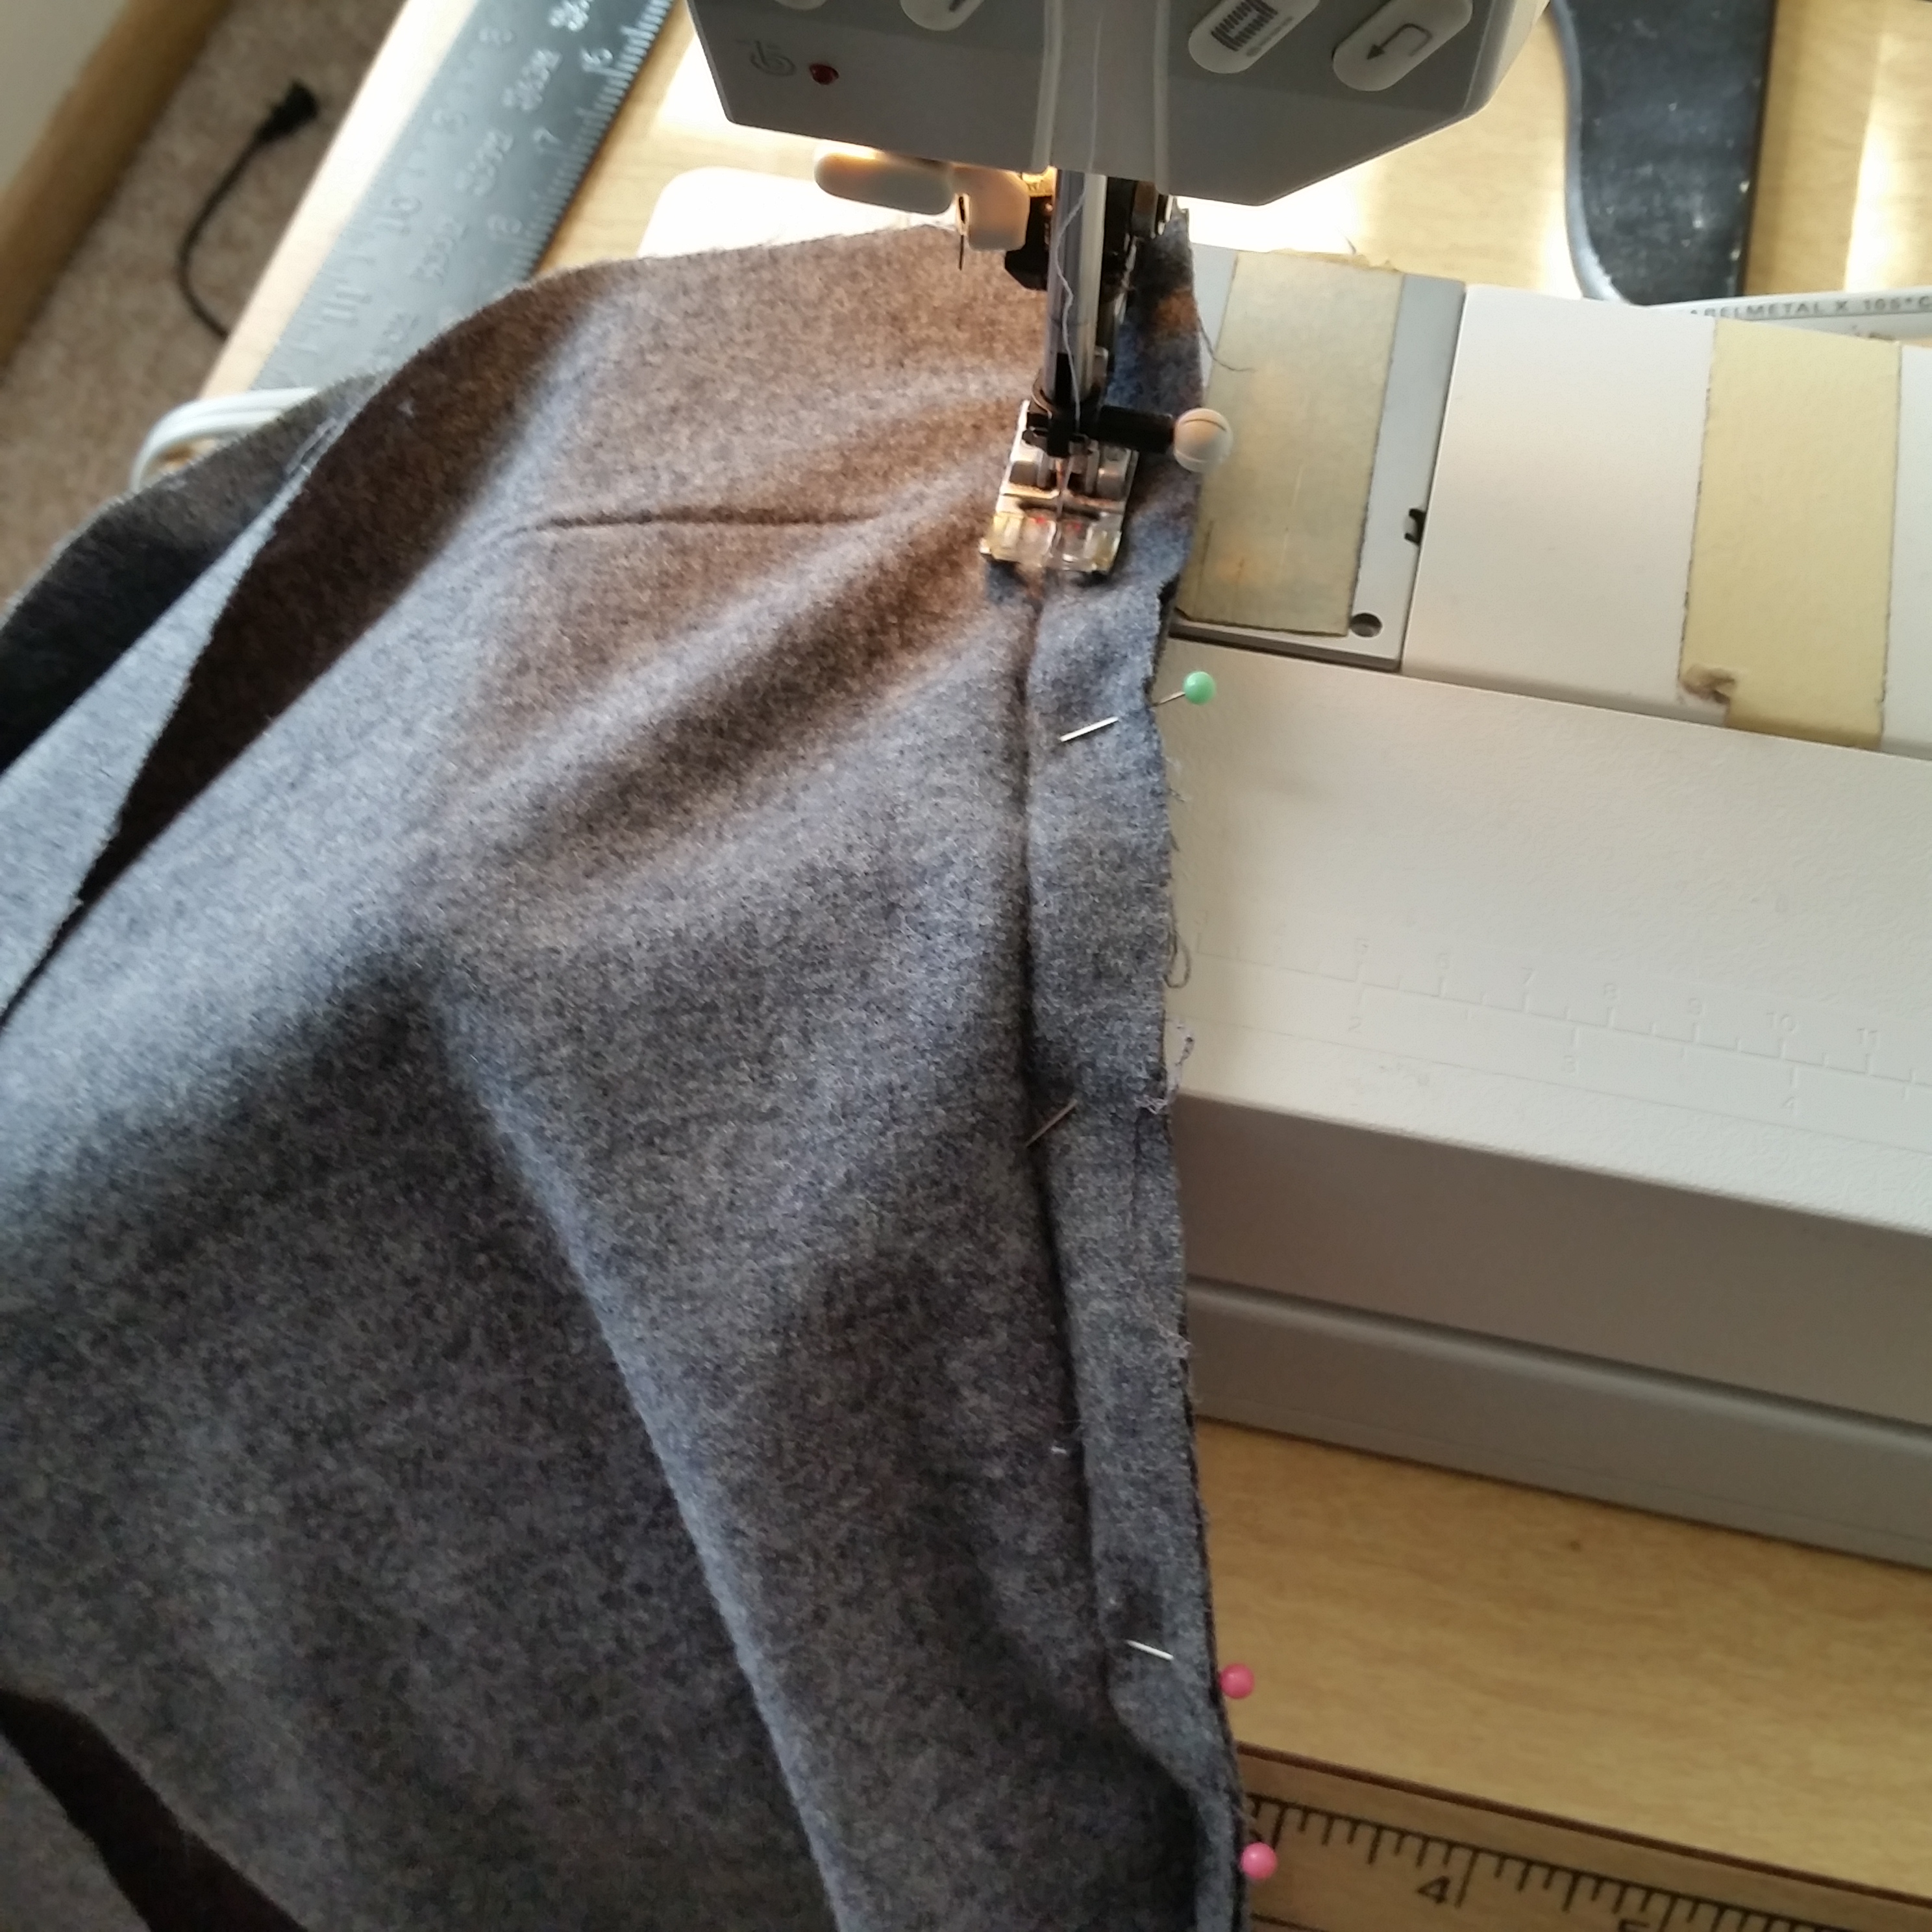
Step 5. Open up the CB seam of the top half of the skirt, and pin one half of the lower skirt into the new side seams. The seams should match up because we measured halfway between top and bottom of the original skirt!
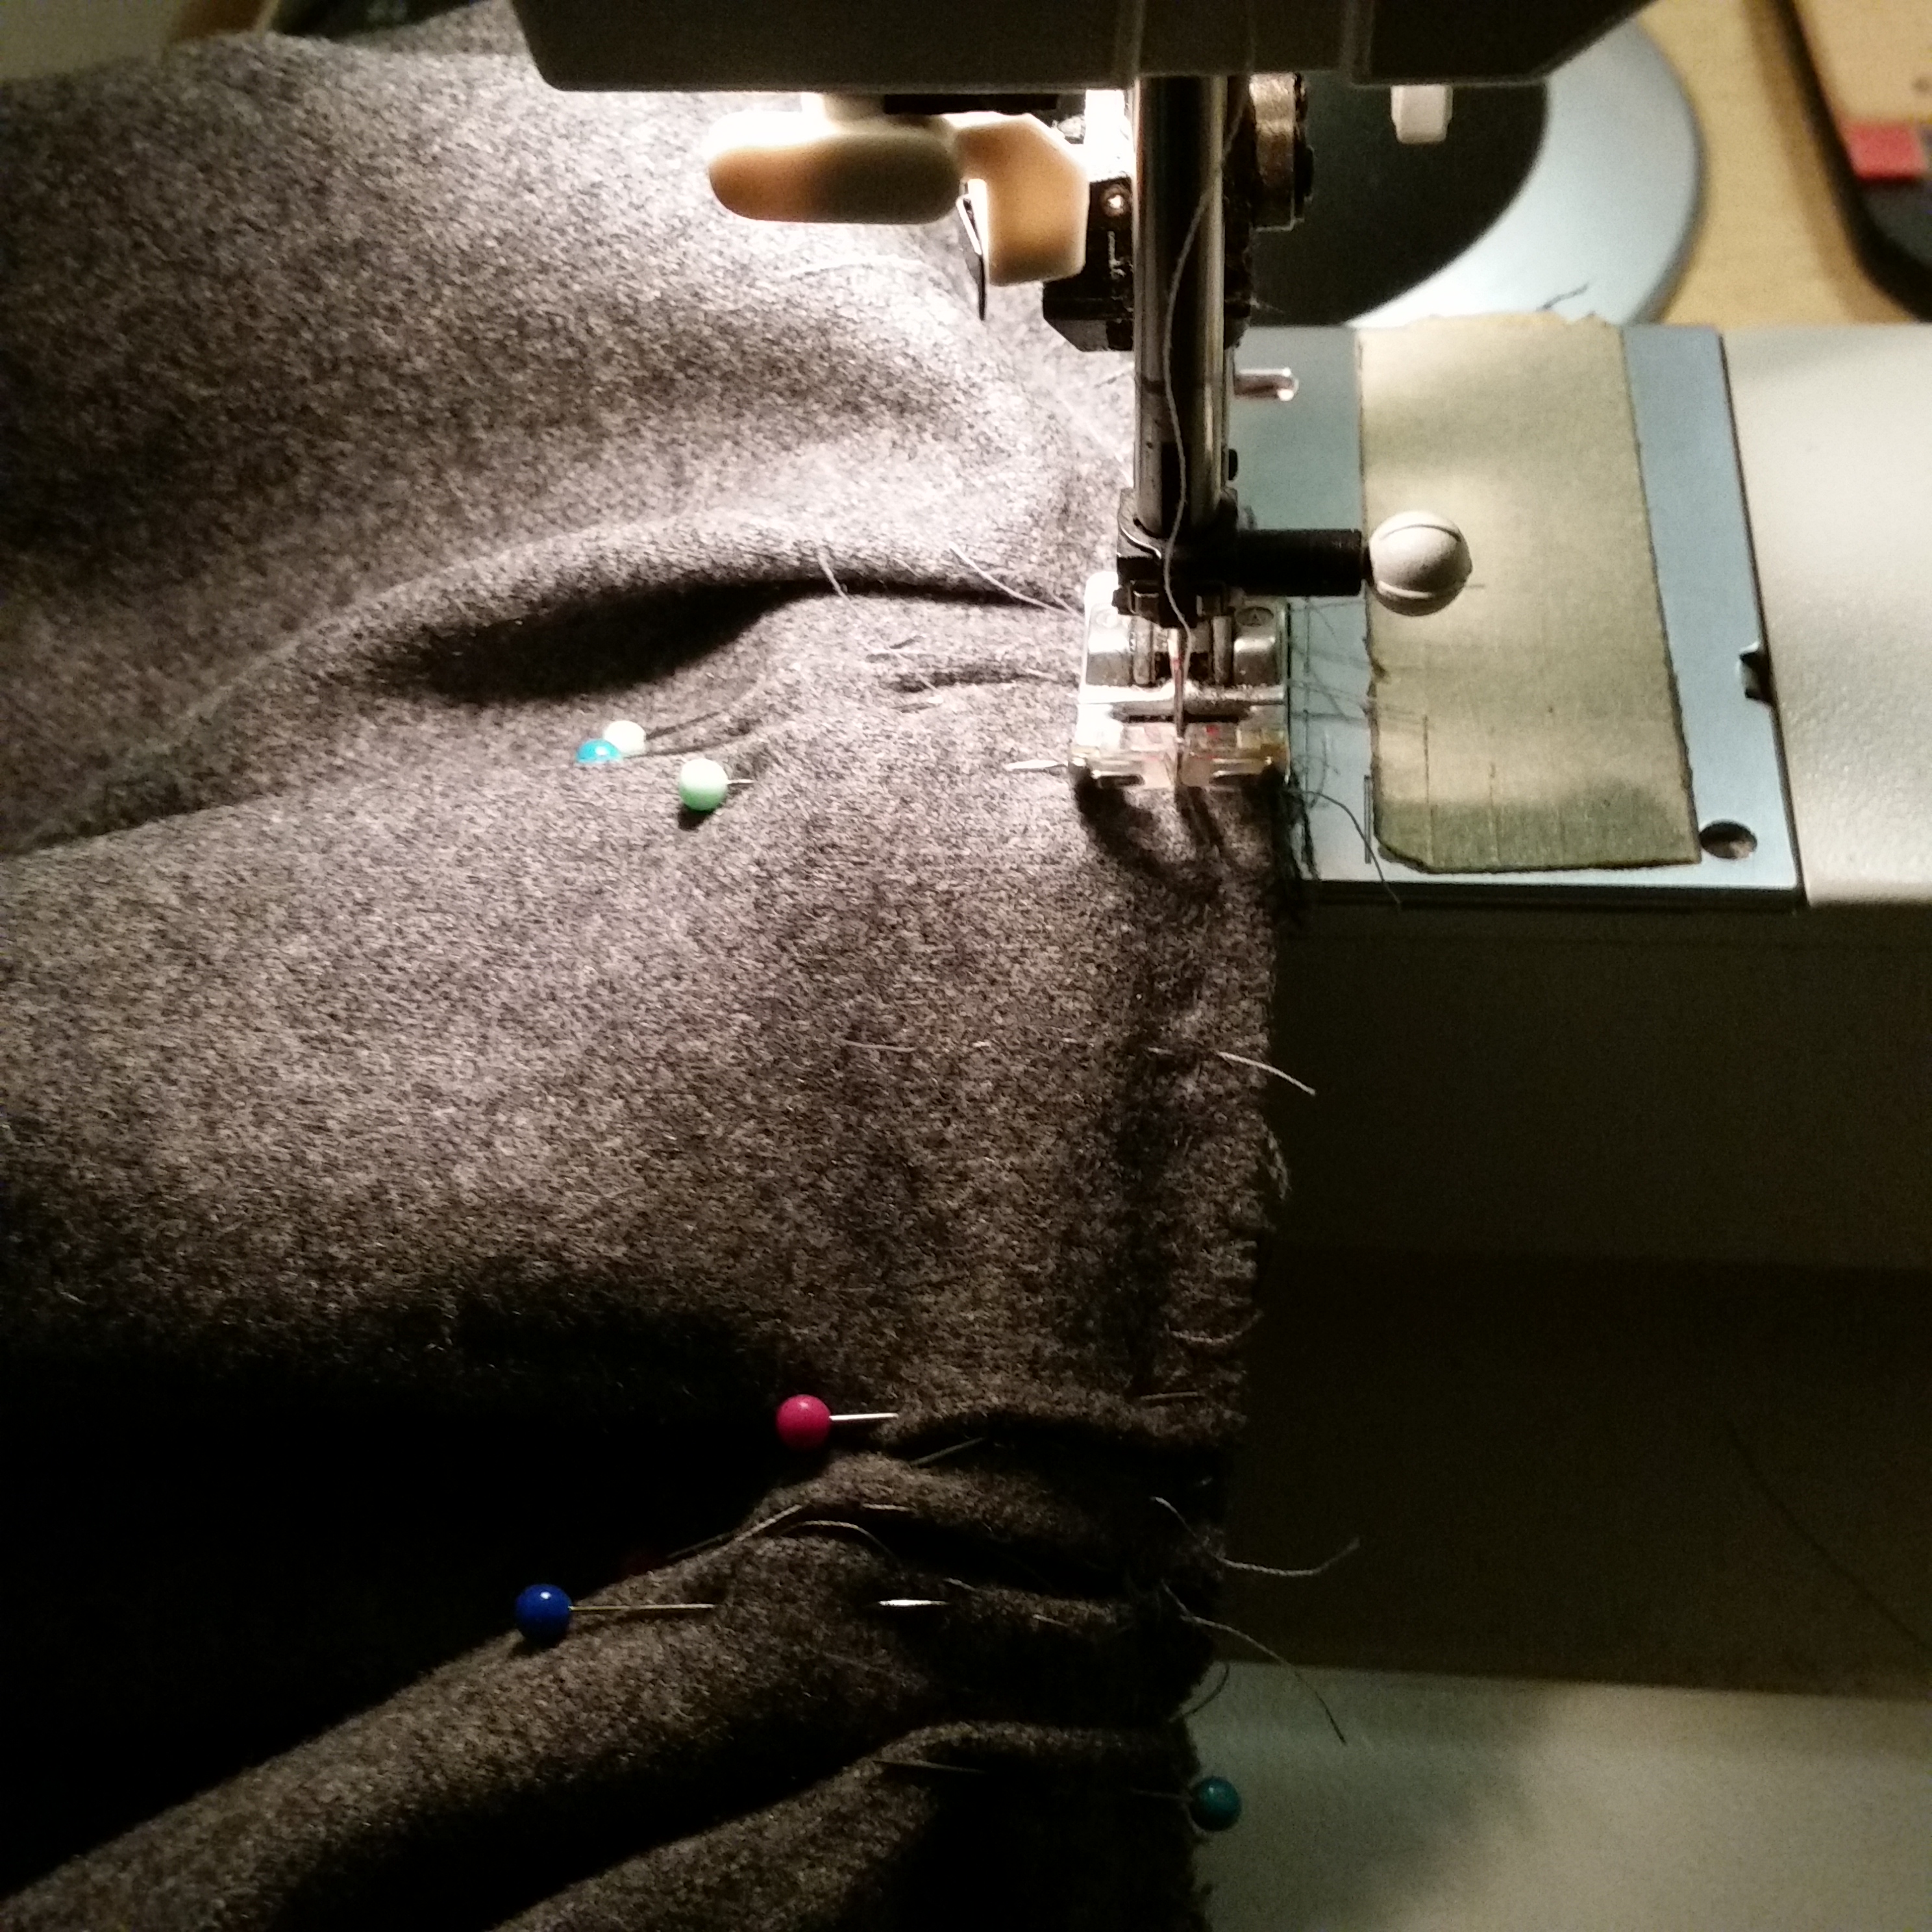
Step 6. In order for the pockets to sit right, the last half of the lower skirt needs to be added to the front of the upper skirt. But unlike the in back, there’s no handy center front seam to split! So we measure a center front line and cut down this center line.
Then add the last half of the lower skirt in between the newly shorn left and right sides of the skirt front.
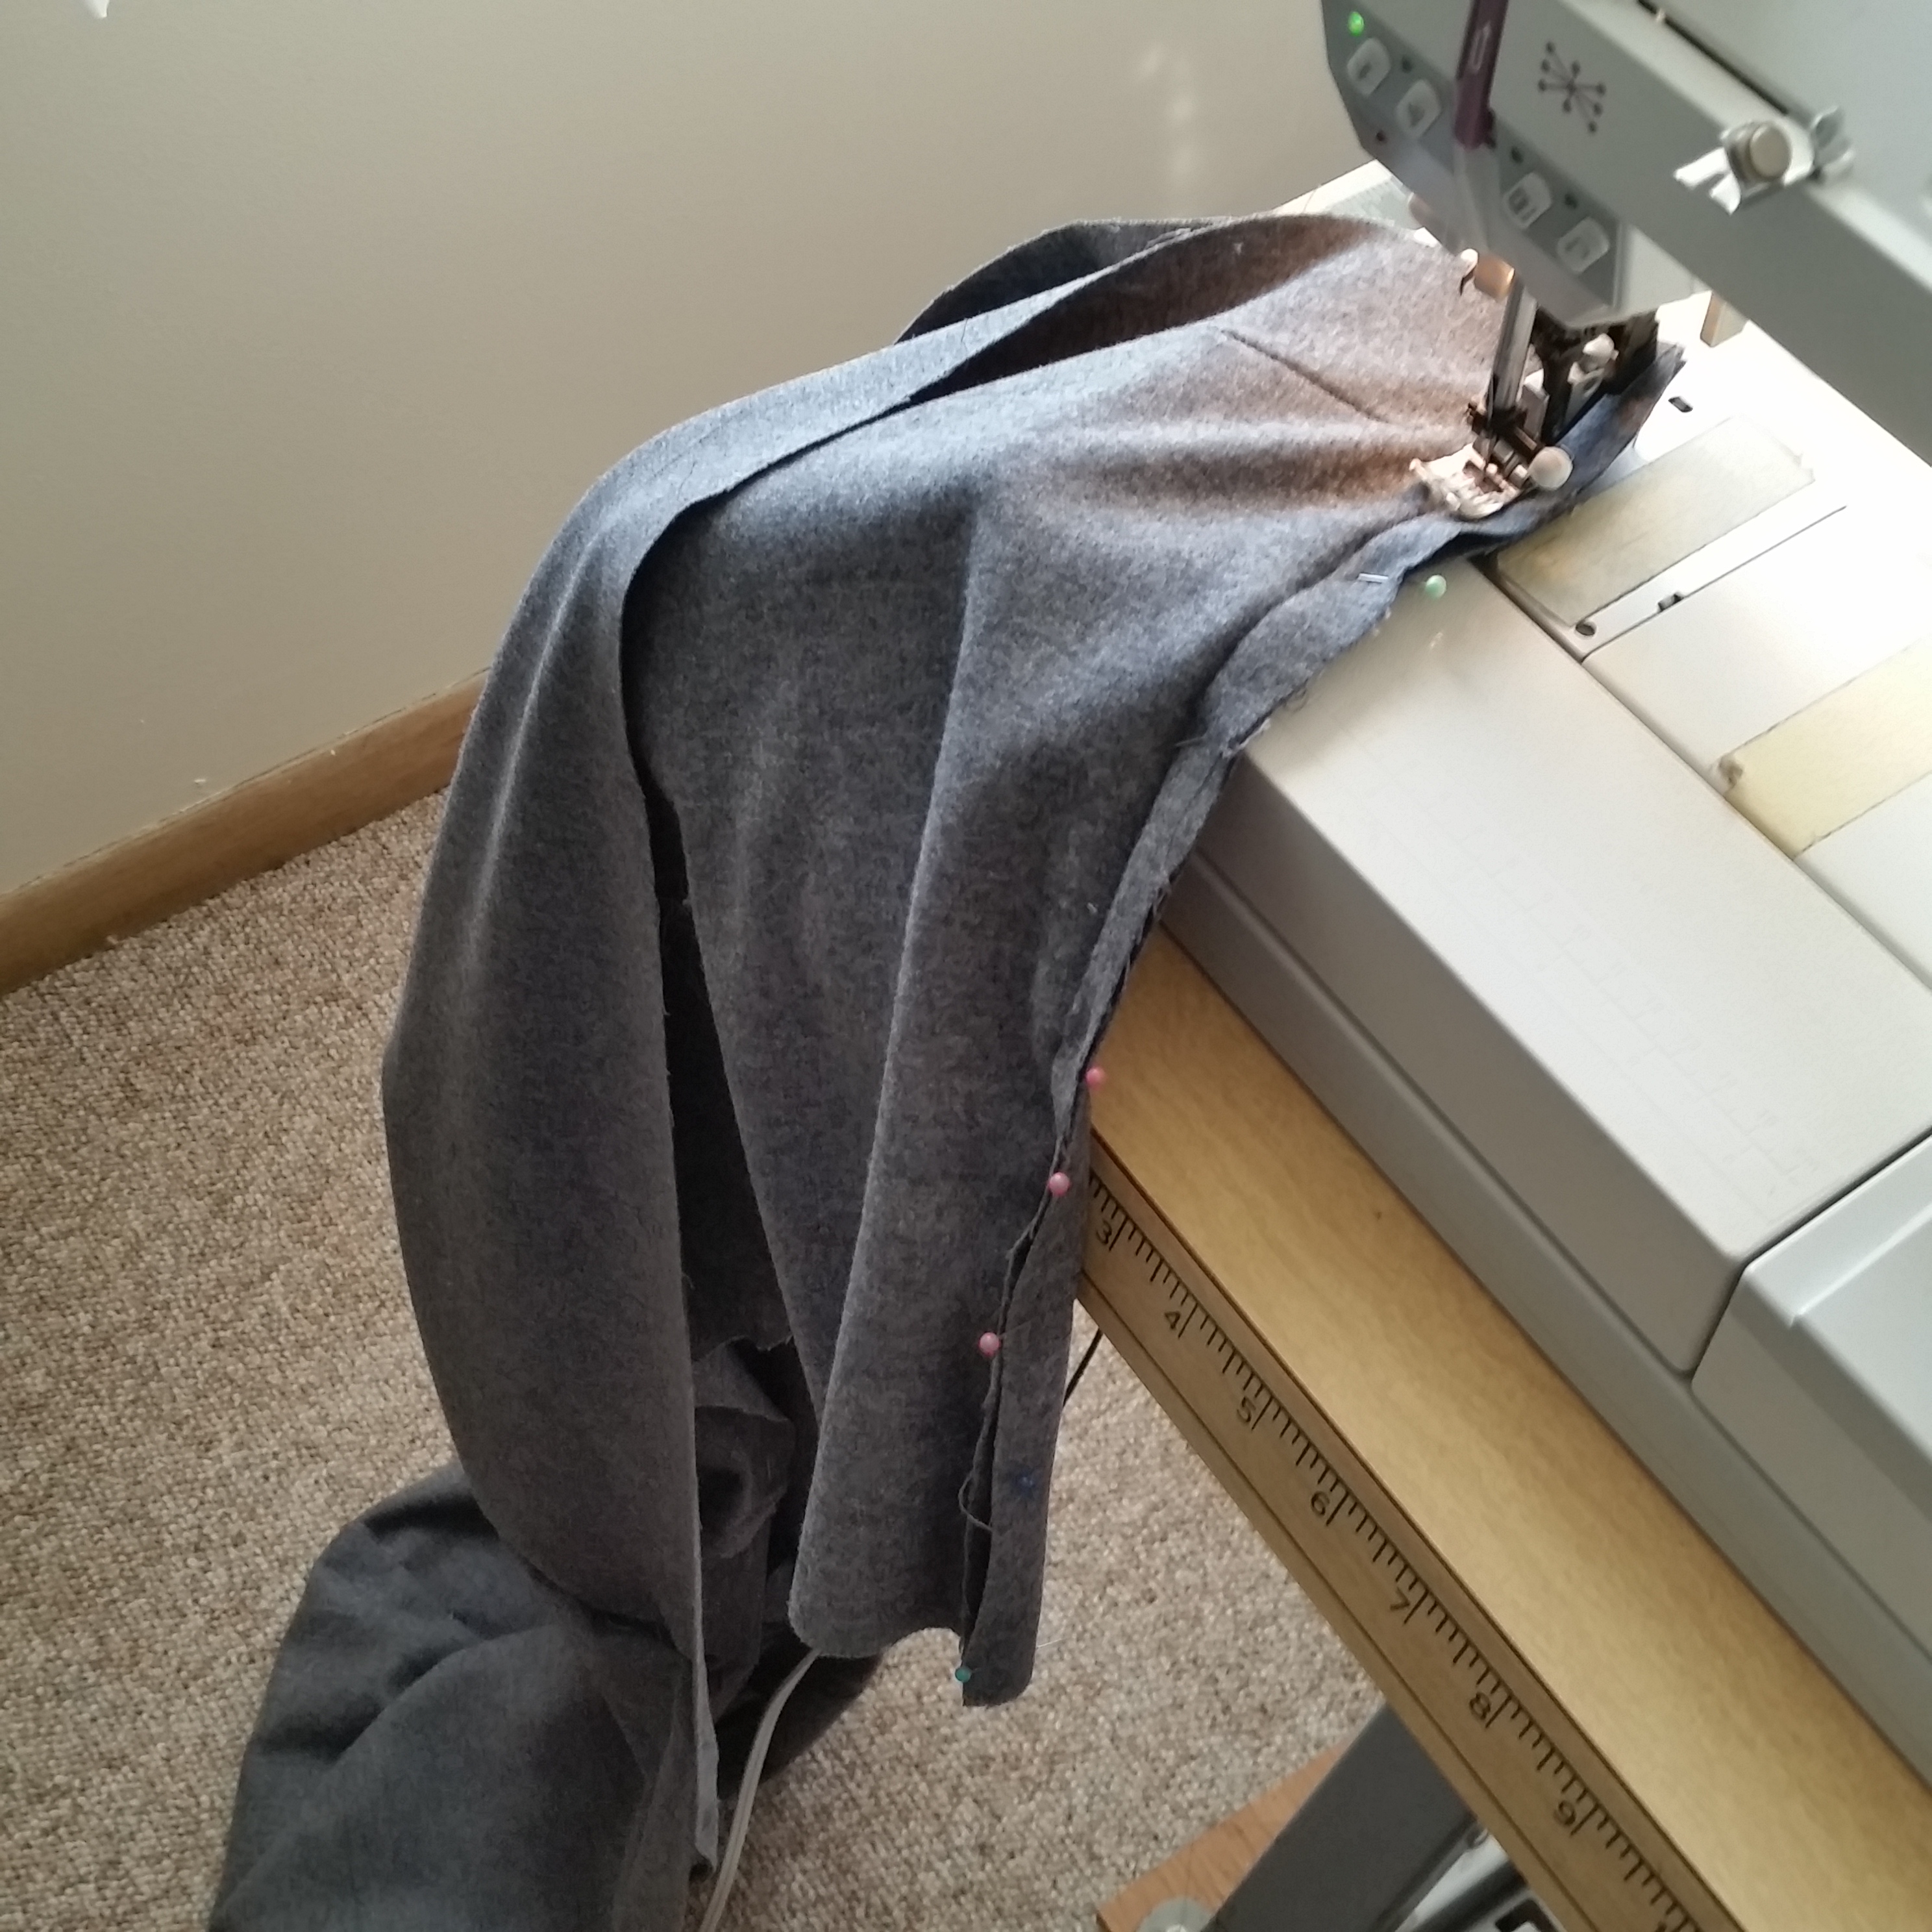
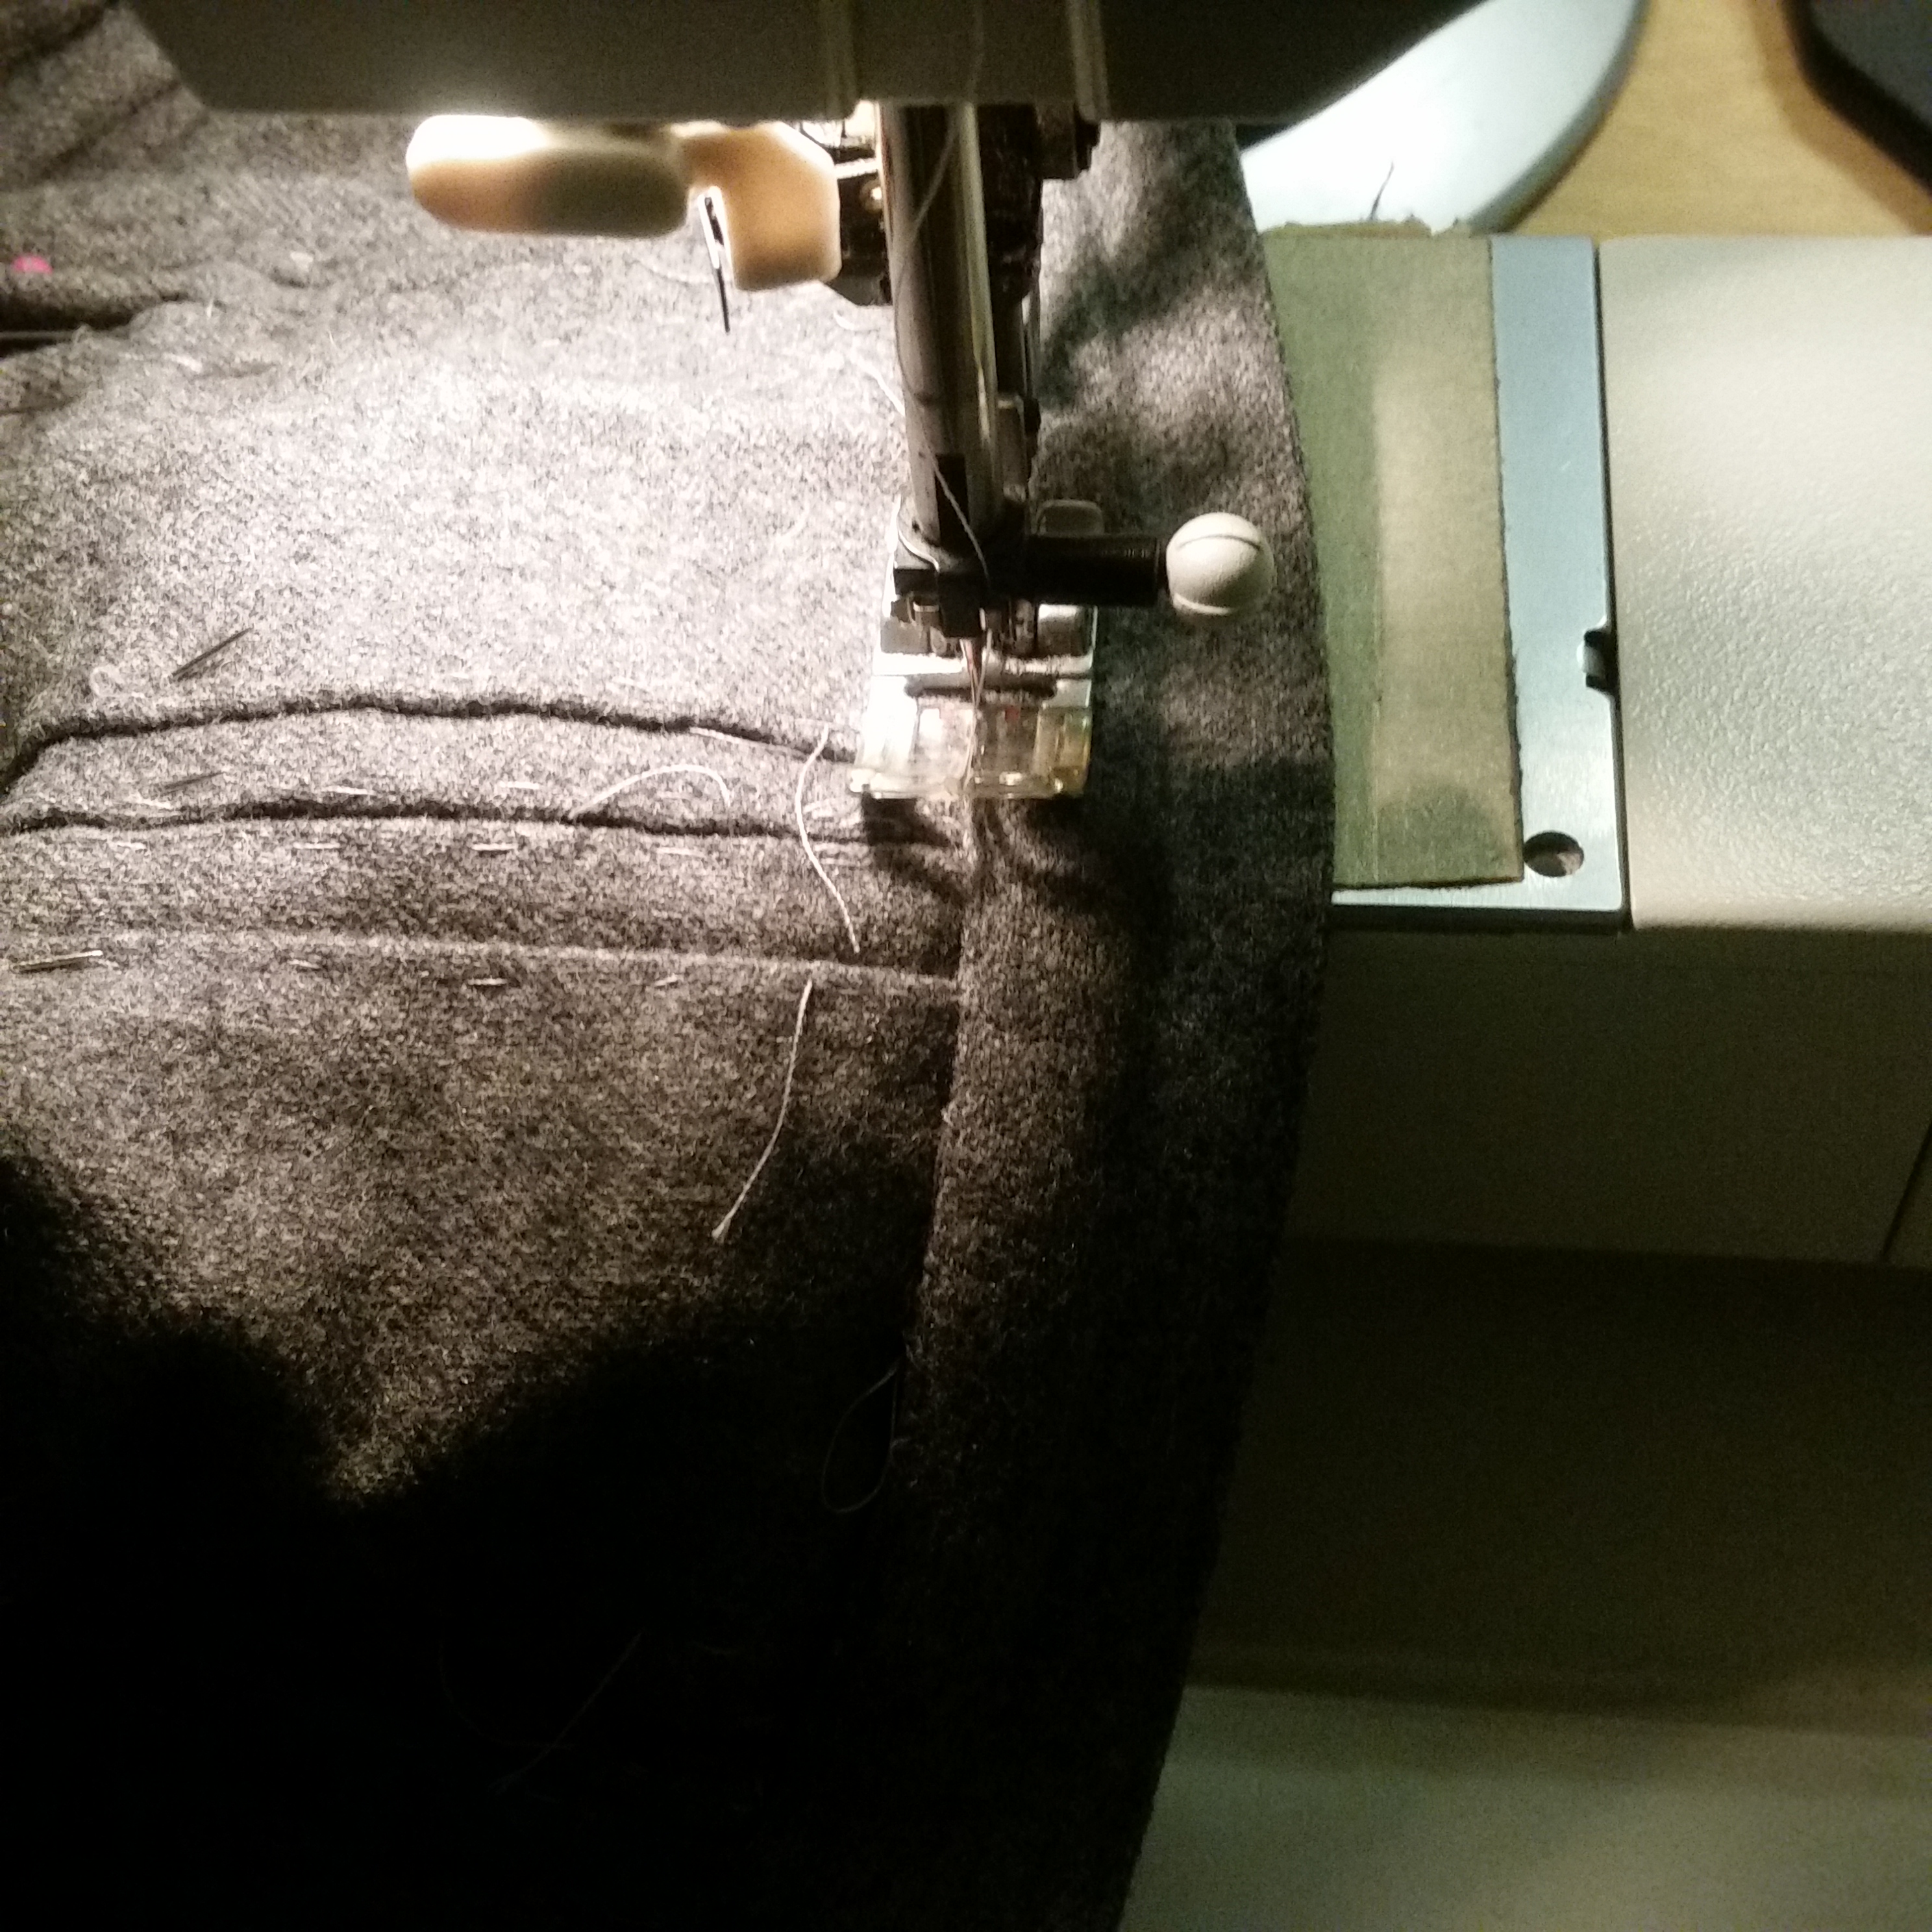
Then stitch up all those new side seams! And reinforce the original side seams while you’re at it!
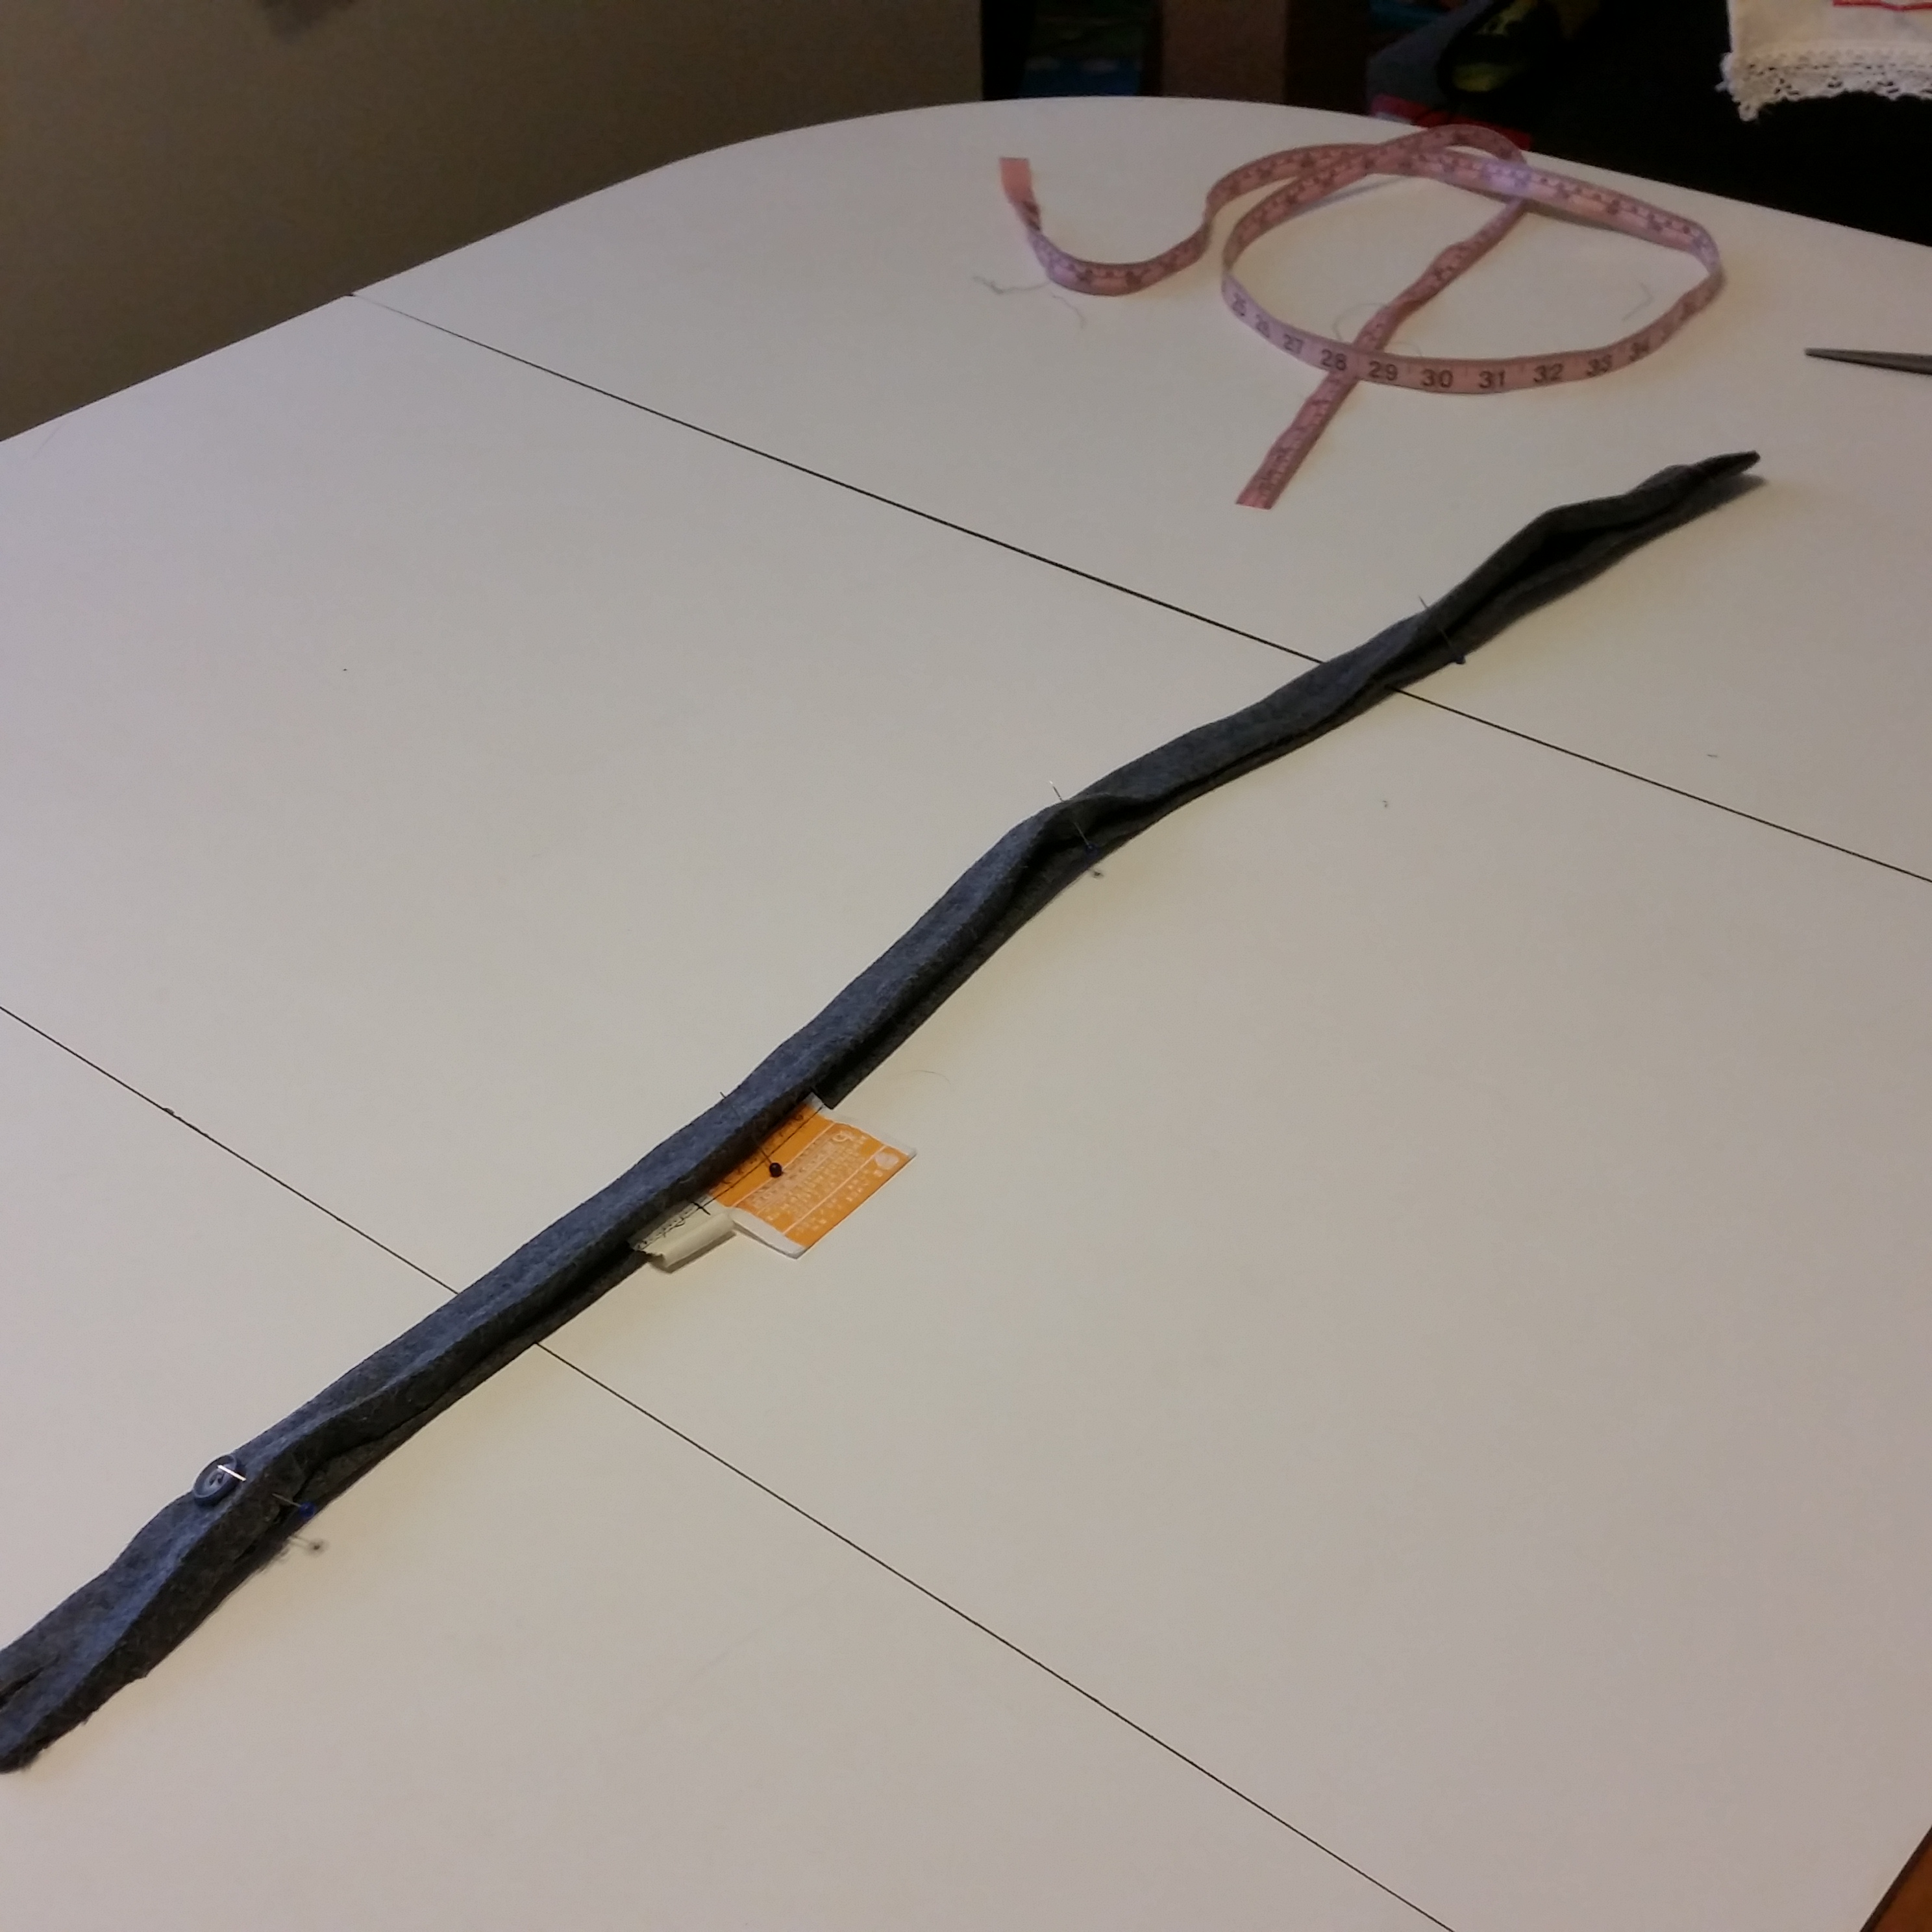
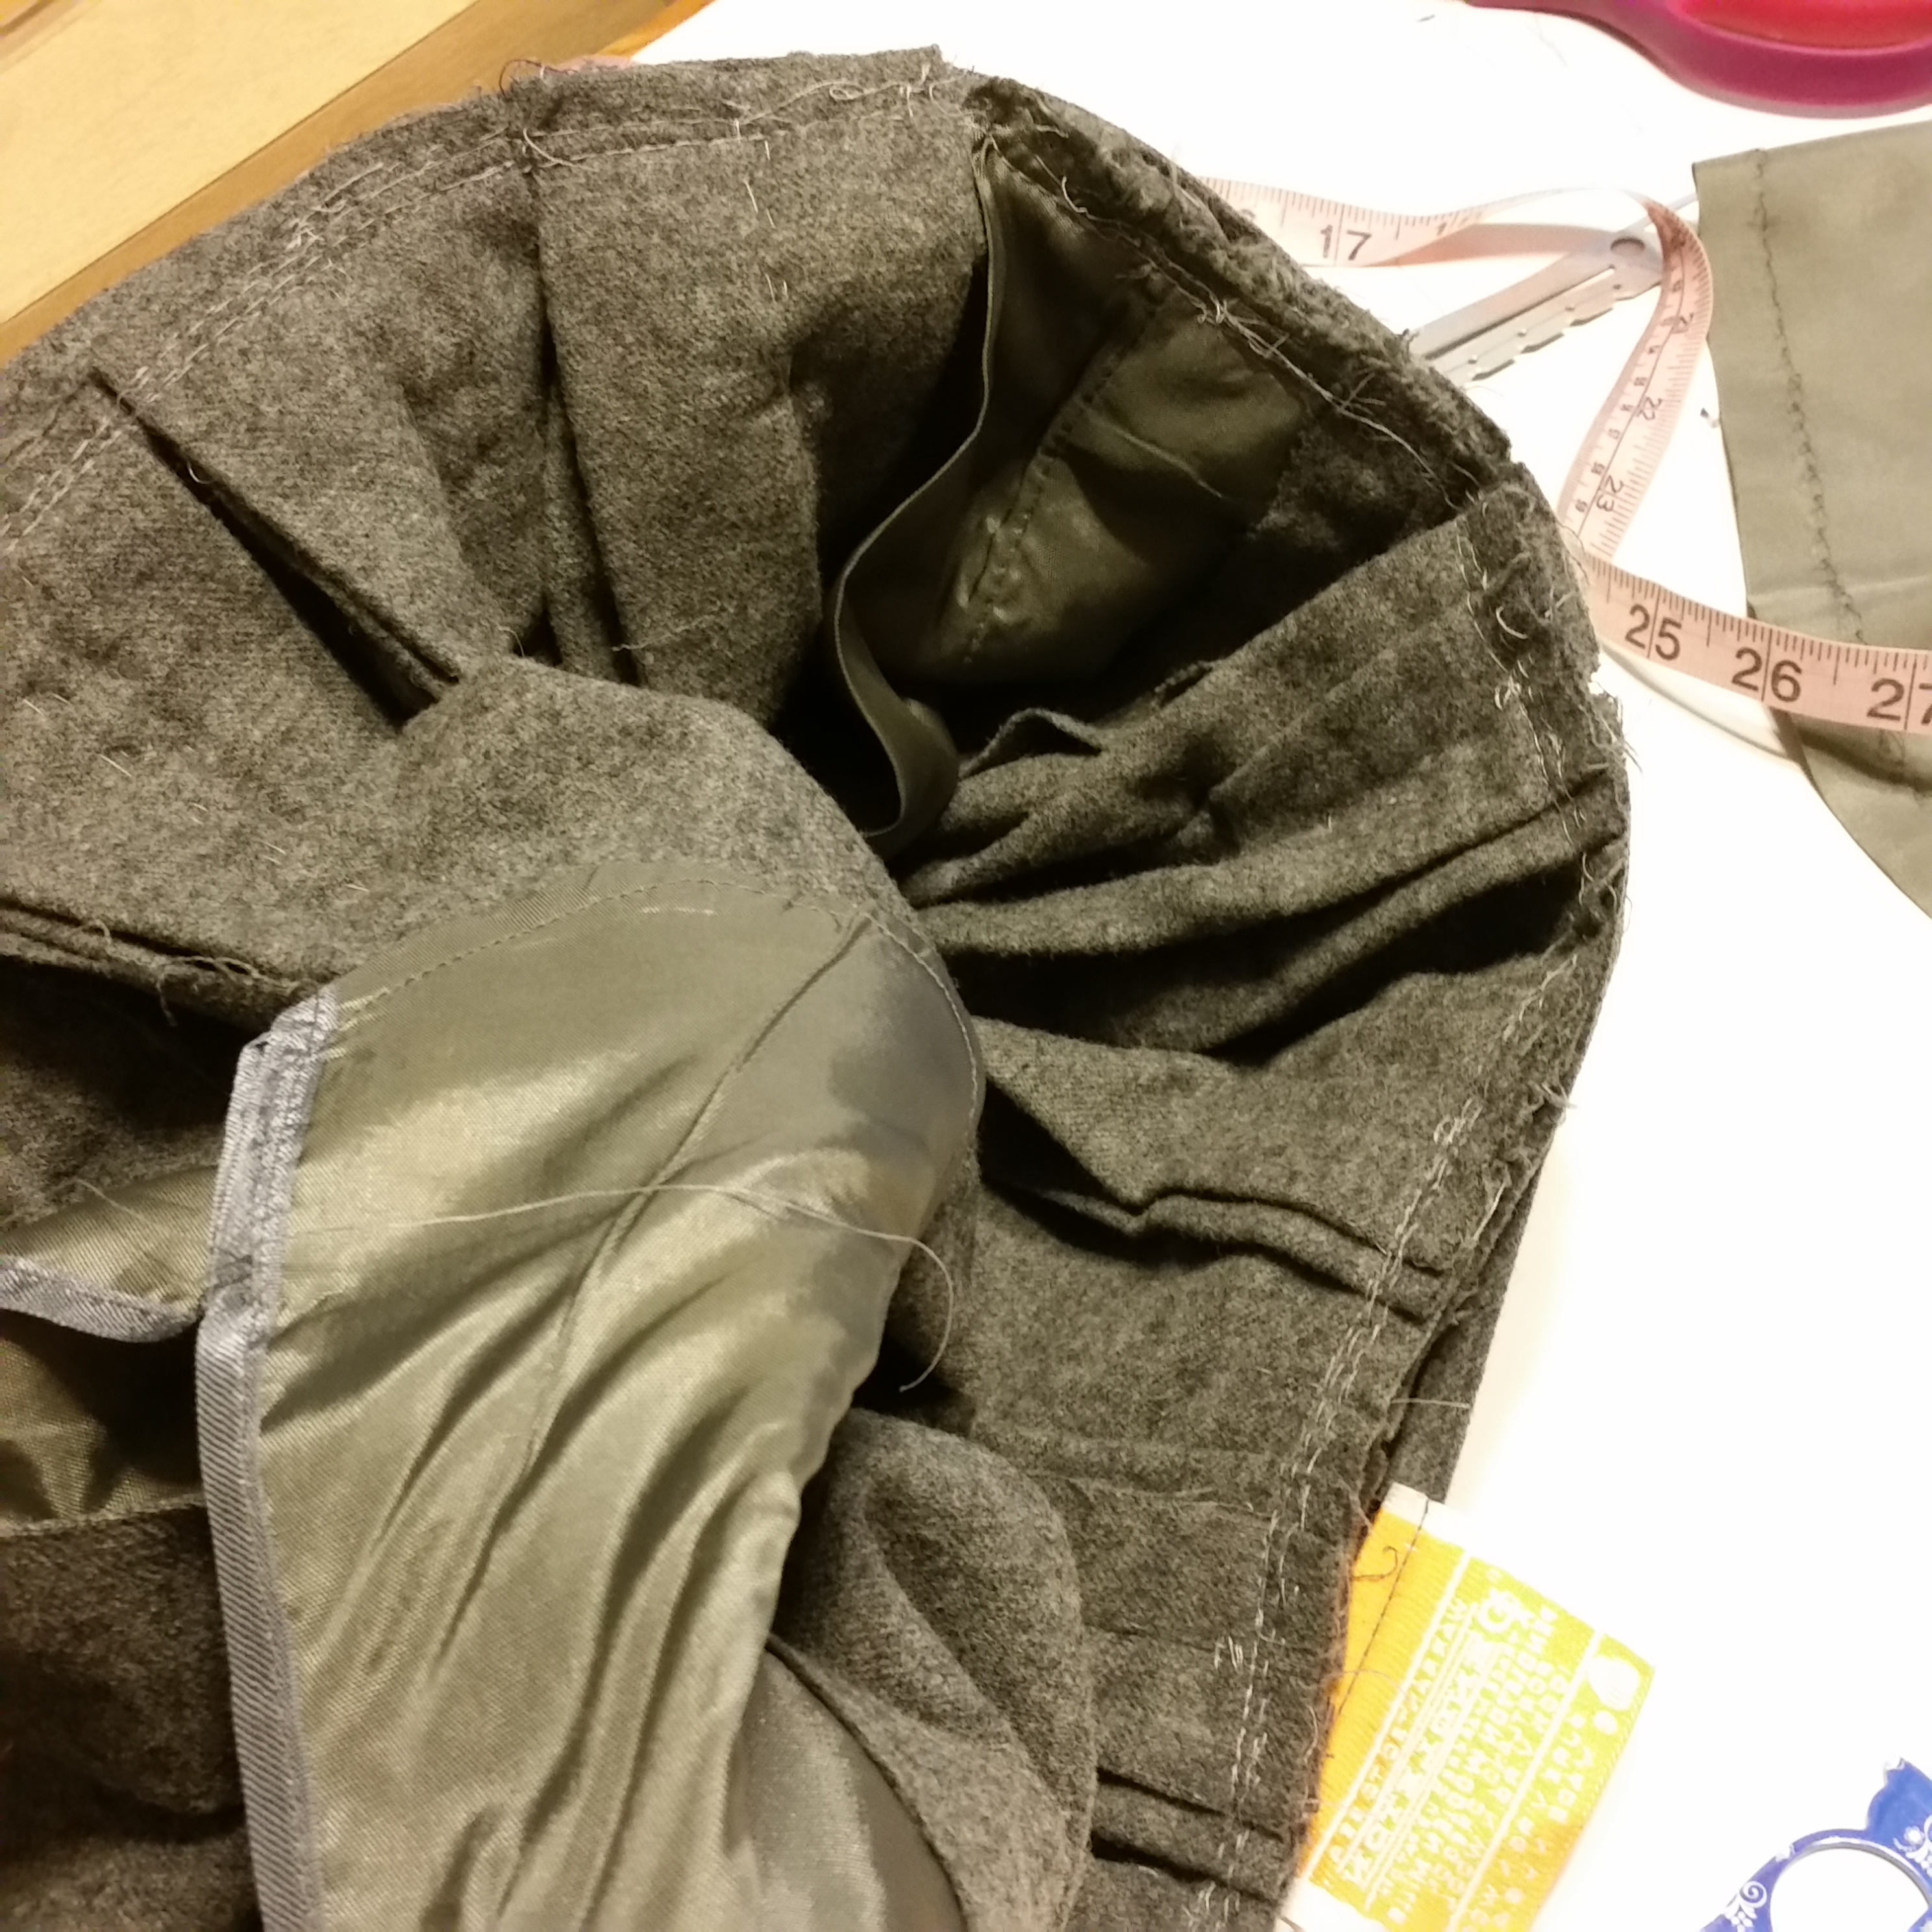
The width of the skirt is now 100″! Matching that up to the 32″ waistband is going to take some serious pleating!
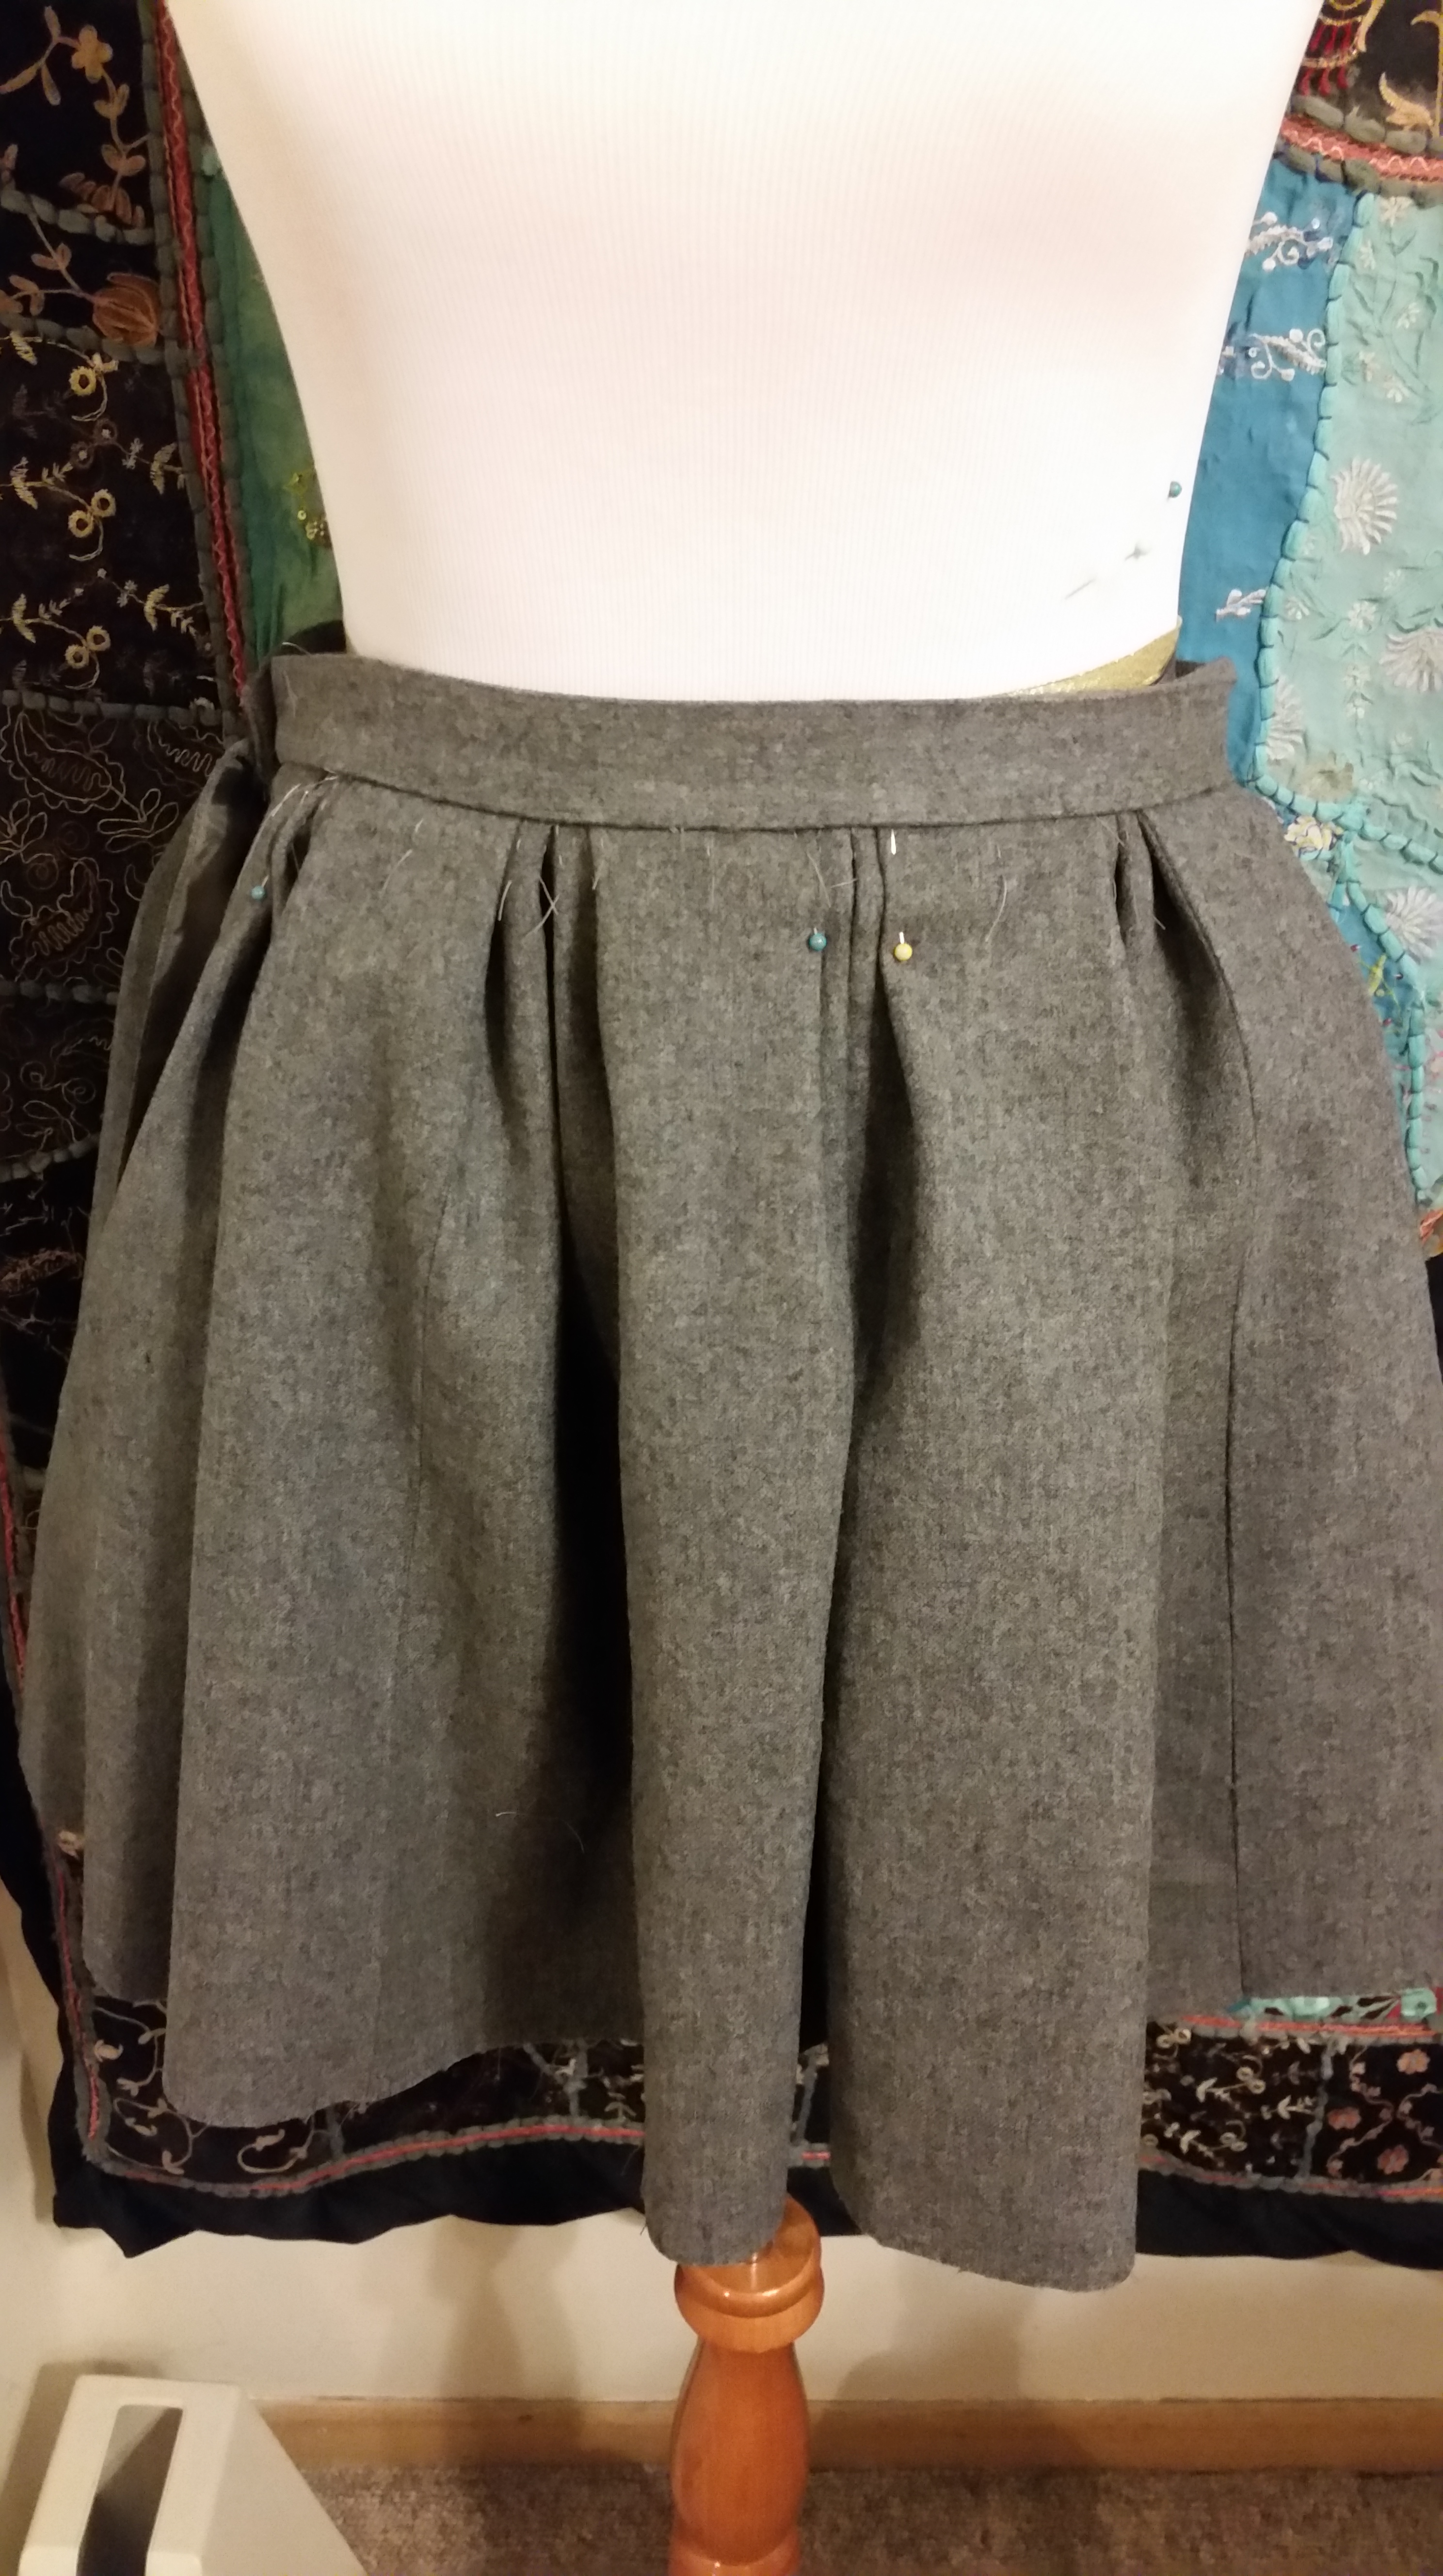
Step 7. Experiment with different pleating styles and intervals until you find one that you like. I tried knife pleats at first (left), but finally settled on these doubled box pleats (center, right).
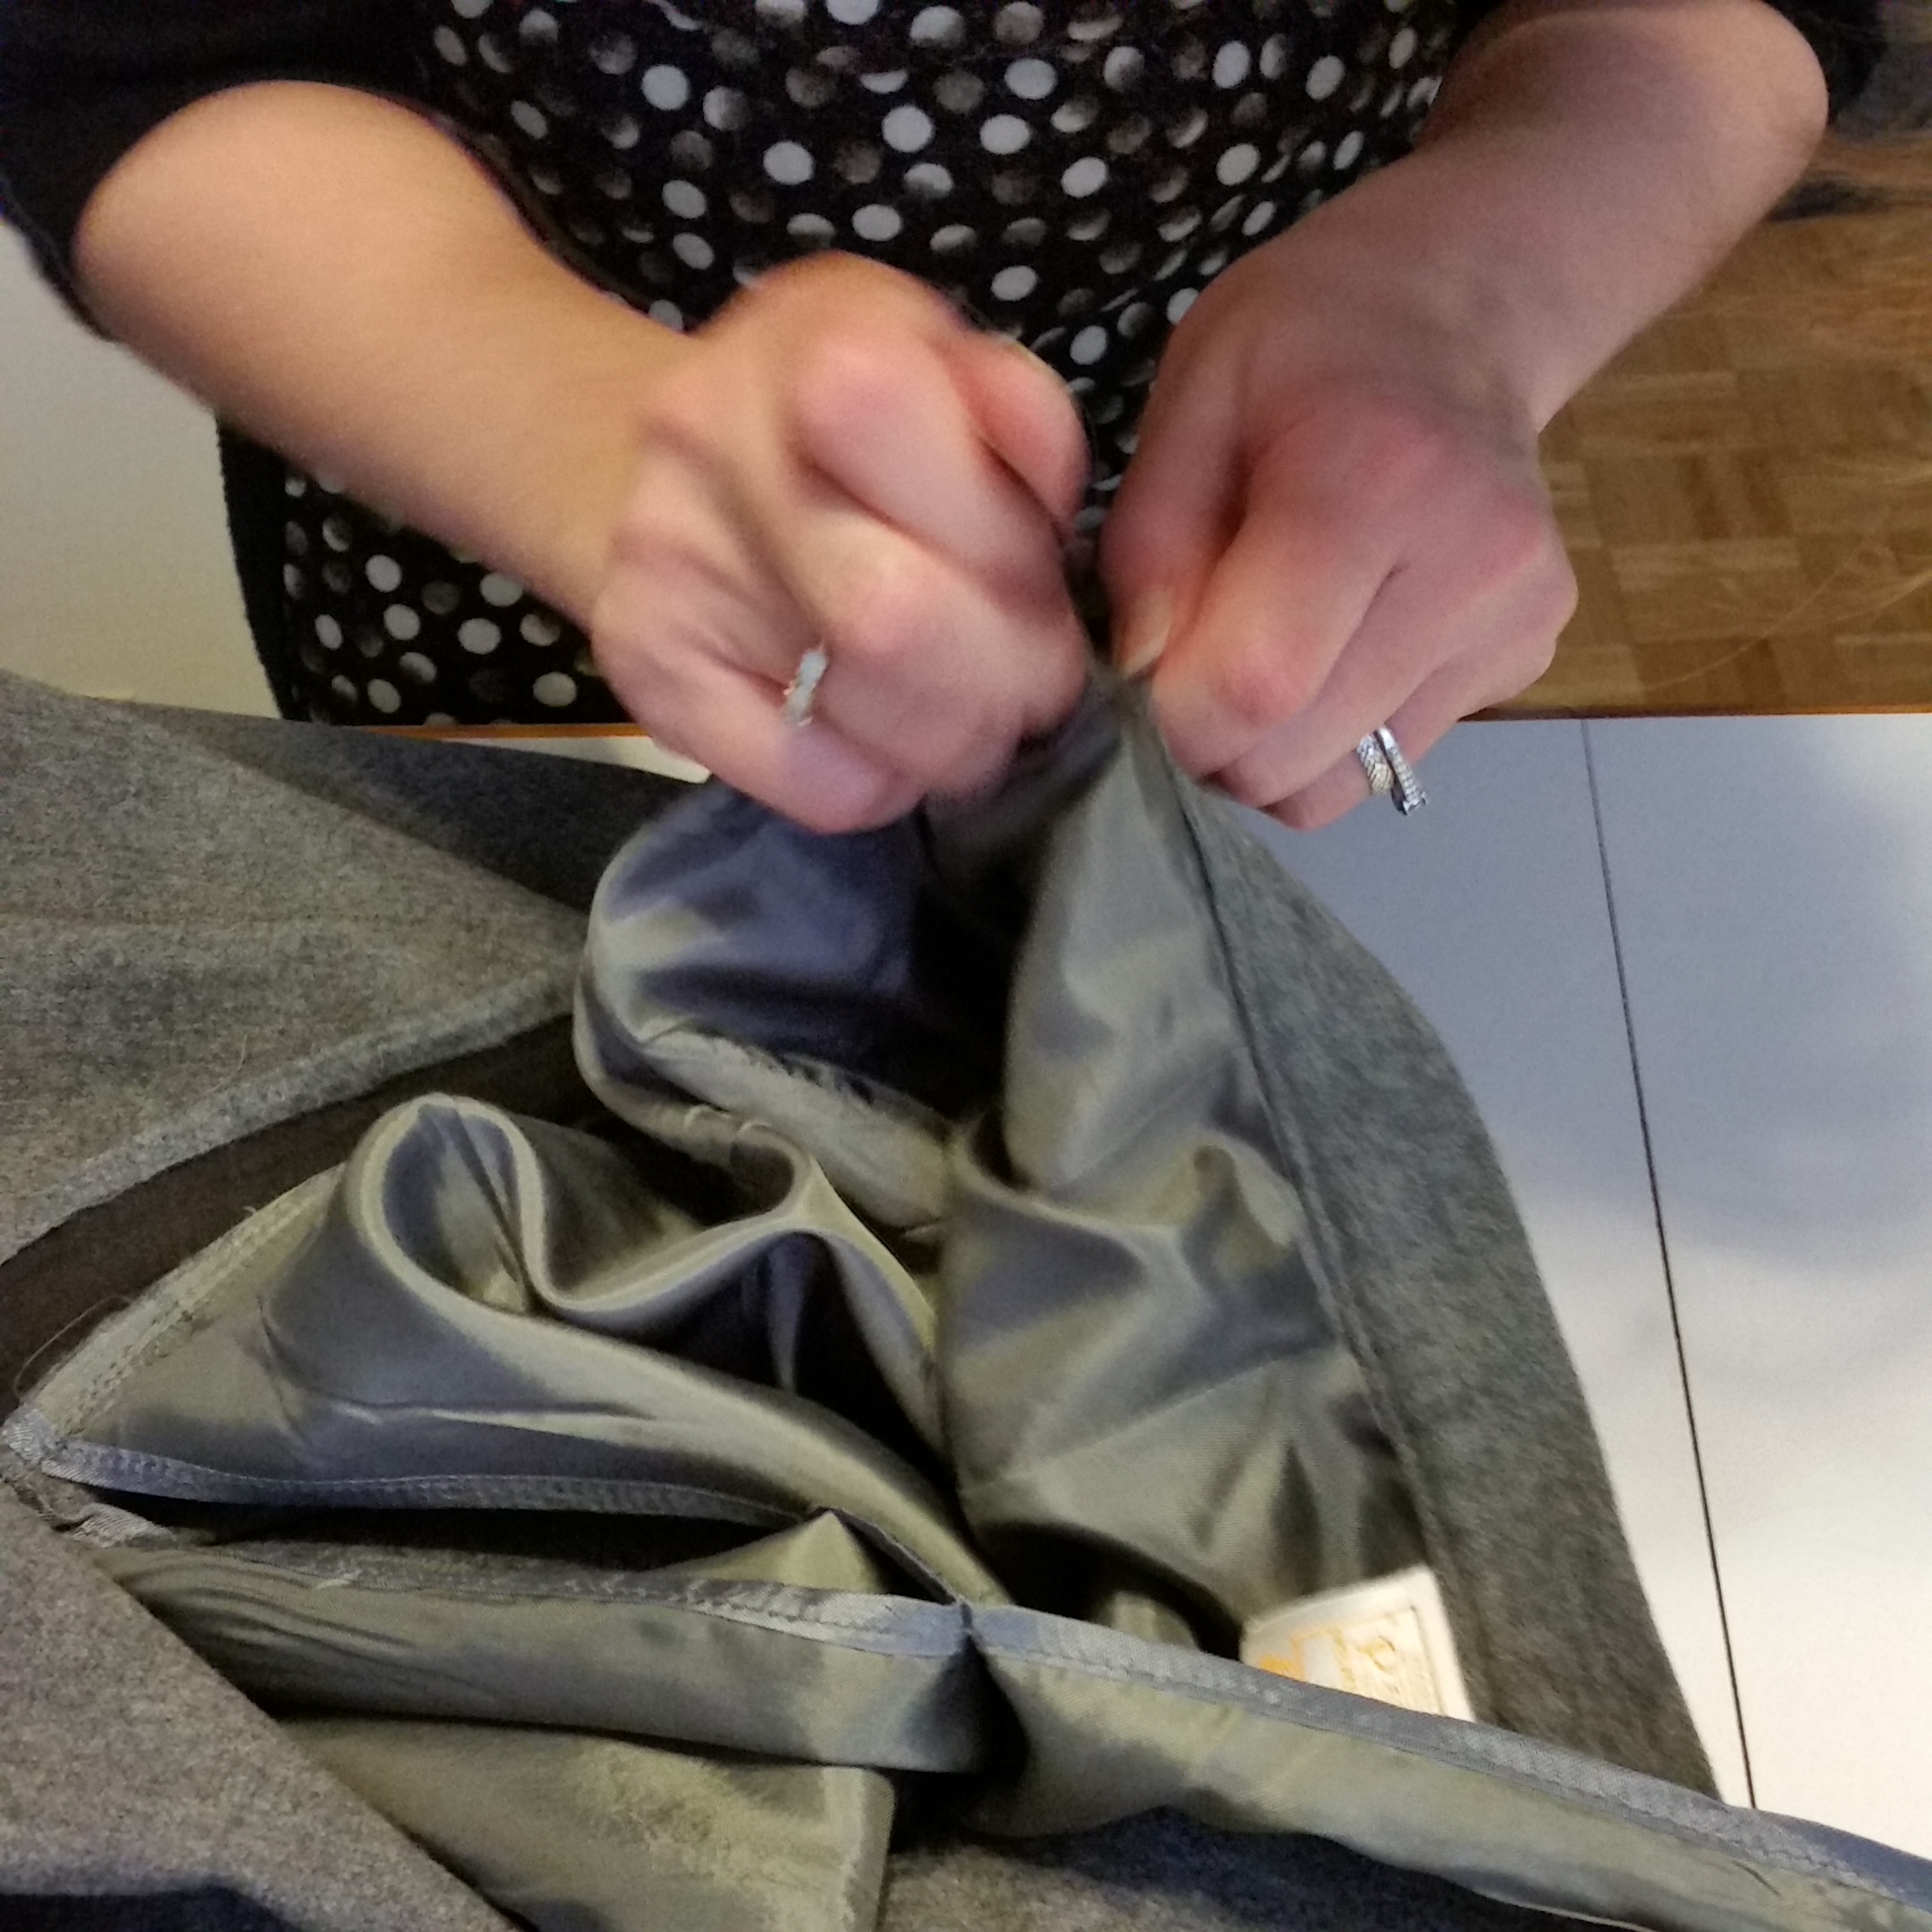
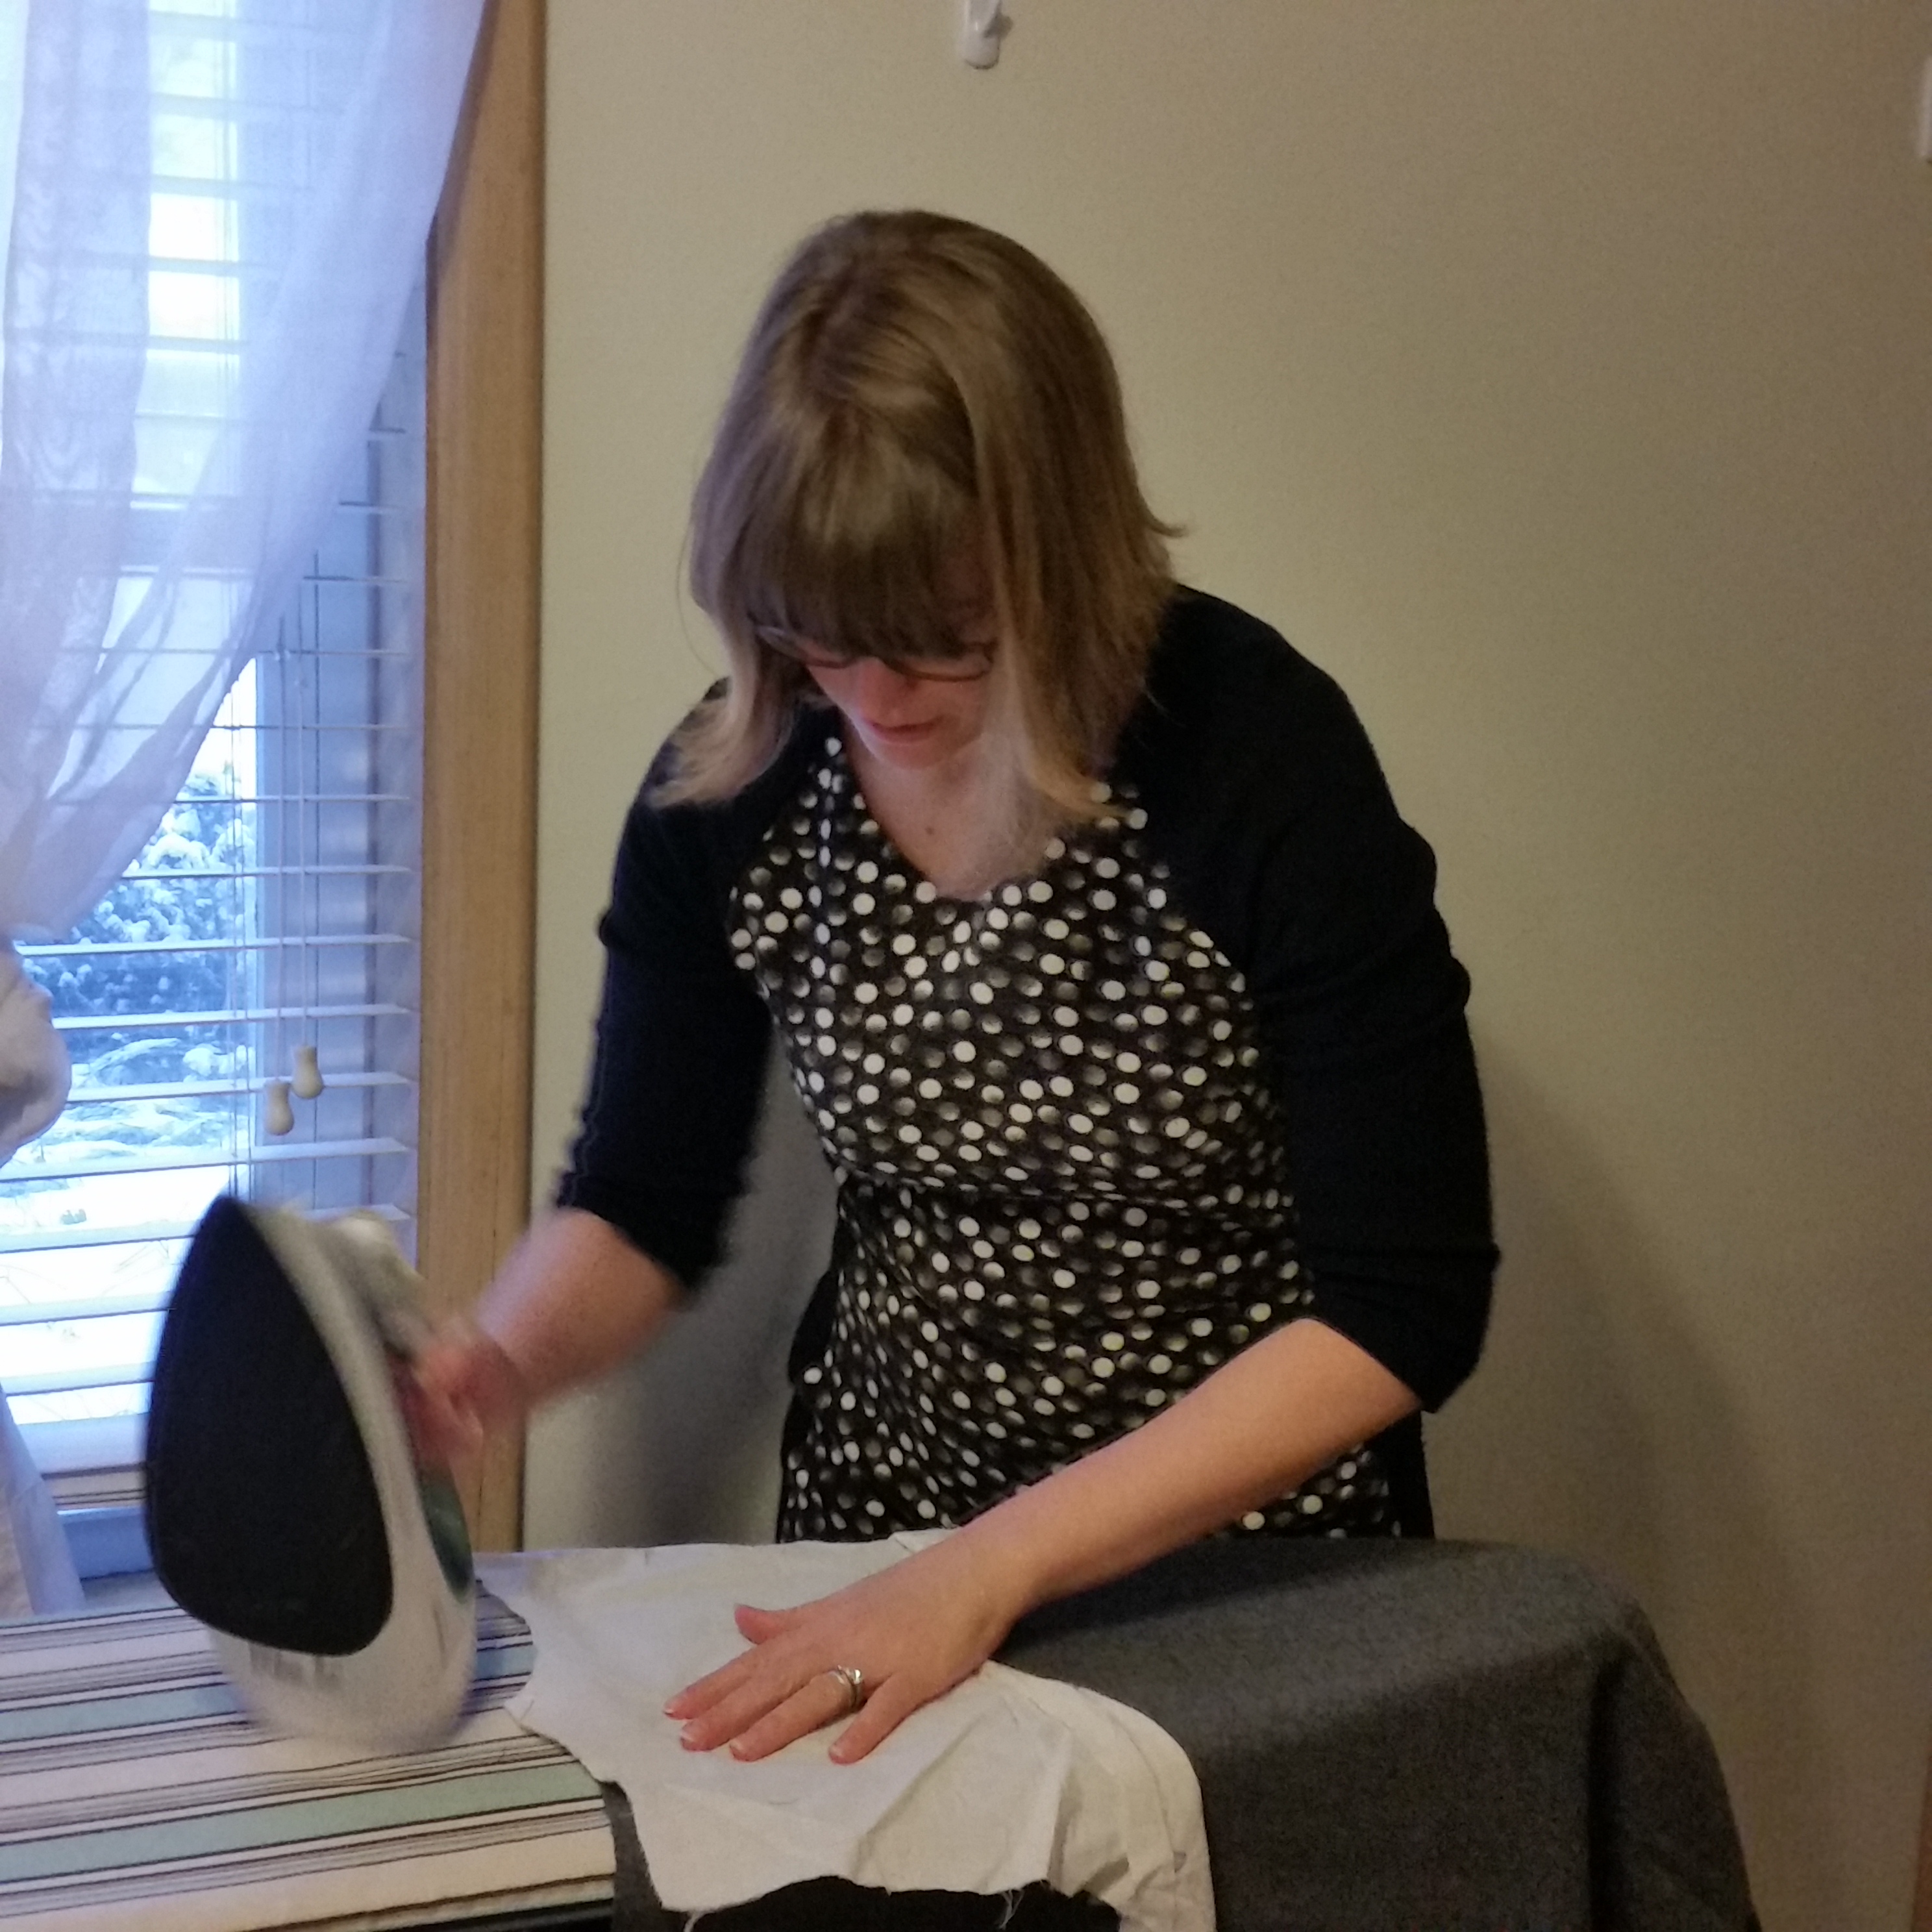
Step 8. Baste the pleats in place and put the waistband back on the skirt. Press well and remove excess stitching….
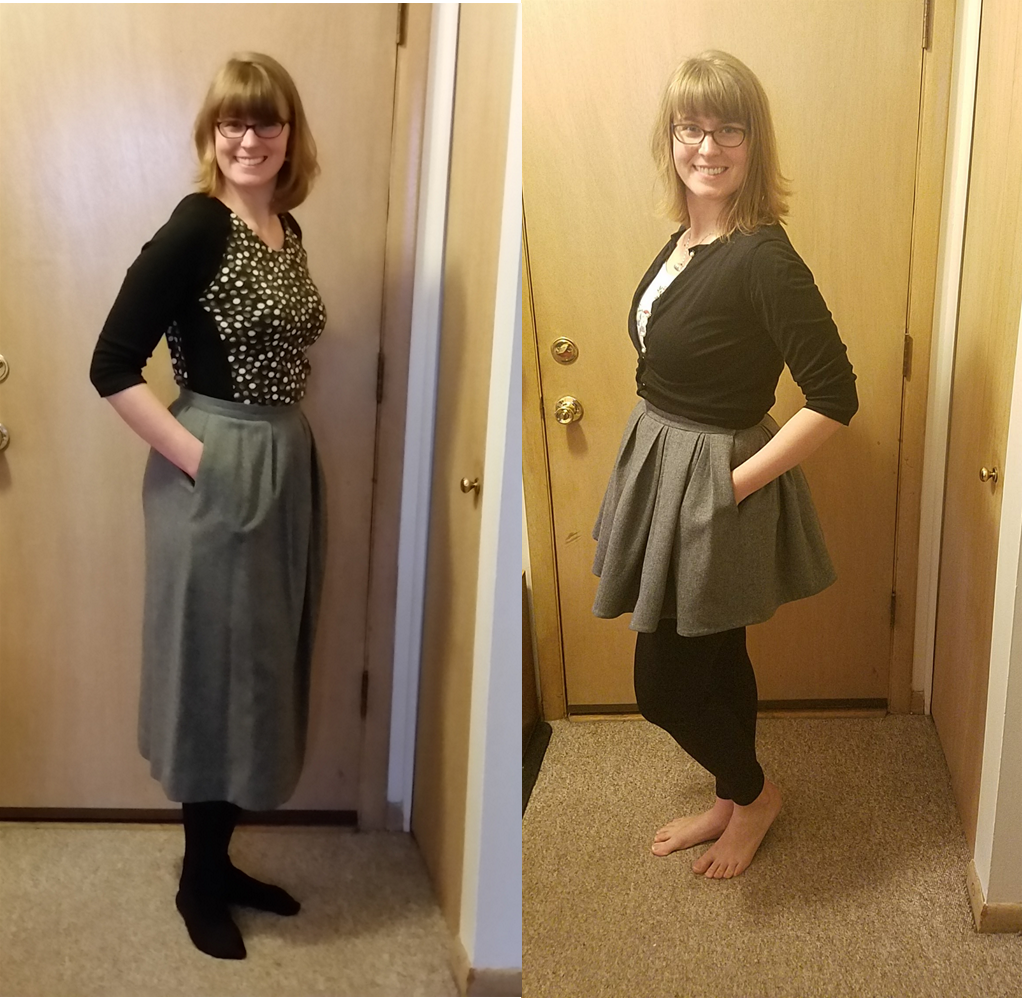
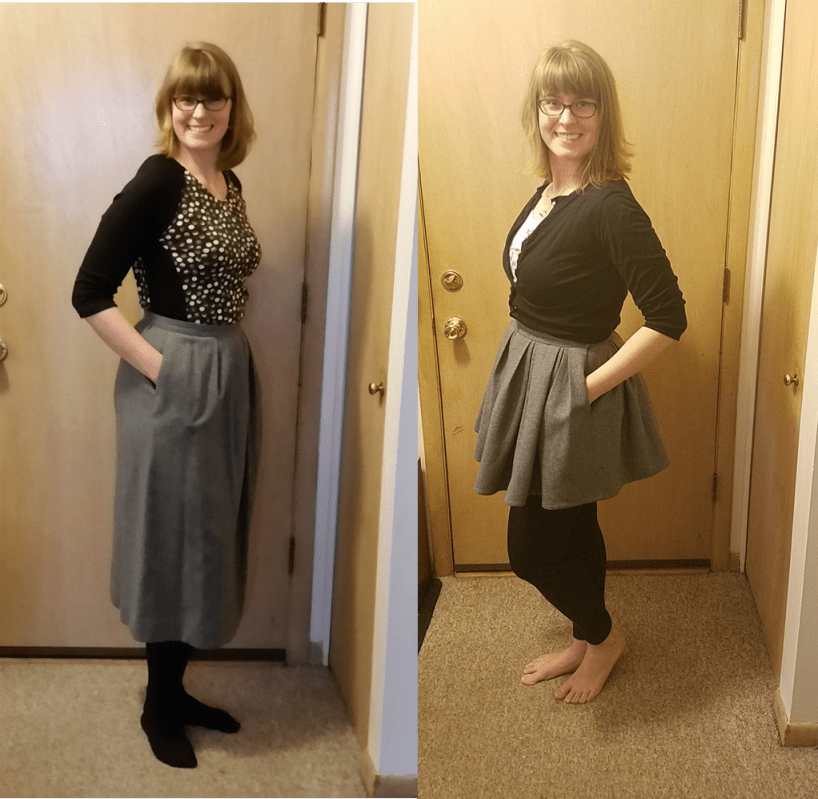
Behold! The transformation of this maxi schoolmarm to this full, flirty, flouncy wonder! As you may ascertain from the photo, it is VERY short–for when I’m feeling especially feisty.
I’m very proud to say that I did not discard even an inch of the original skirt: 100% of it has simply been re-arranged into this new configuration!
Feel free to message me if you have any questions, or to share any of your own refashion adventures!


What a great look and a refreshing way to bring new life into an old skirt!
LikeLike
Thanks!
LikeLike
Love your blog! You have so many cool ideas!
LikeLike
Thanks so much! I’m happy you are enjoying it! Sorry for the late reply! (yikes!)
LikeLike