In undergrad the most frequent critique I received from my sculpture professor was along the lines of, “This is interesting, but how could you take this further?” At that point I felt like I didn’t have enough time or resources to always explore projects fully, I was working on so many other things!
Looking back, this project definitely attempts to address this question. It started from exploring something I’d never tried before, making paper beads, and just kept growing and growing into a project that ultimately lasted something like a year and a half. Each step of the process was a discovery! The only downside of how organically this project grew on itself, is that I don’t have a lot of pictures of the early stages, nor a real record of how many hours it took, which would be really interesting to know now. Do you have any suggestions for a good app for tracking project hours?
Jewelry making has never been a particular interest of mine, but I’d seen paper beads before in single strand necklaces and bracelets and had admired their colors and texture. Then I helped teach a paper bead class at the library where I work, so all of us learned how to roll long strips of colored paper into beads. We quickly found that rolling beads around a toothpick gets tedious FAST. Luckily, someone came up with contraptions like this little beauty. The library class was a hit, and it got me thinking about how different the beads turned out depending on the type of paper, shape, length, etc.
So when the library was getting rid of some oversized magazines, I tore out a bunch of pages in color palettes that I liked….I wondered how much of the colors I liked would remain if I turned these pages into beads? How many beads would these 20-ish pages make? There was only one way to find out.
I cut the magazine pages into strips, a process which I tried to make more efficient by stacking pages, but the strips were so small and the magazine paper so thick that if I combined more than 2 sheets the pages would slip, and the strips would be crooked. I wish I had some photos of this stage; as I finished a few pages, I gathered the strips into bundles like long leaves. It seemed like a lot of strips at the time, but I didn’t bother counting them.
At a certain point the “completion-ist” in me took over. Much of this work was repetitive and rather tedious, but my goal was clear: I would make all of the sheets of paper into strips, and all of the strips into beads. If I had strips, they would be turned into beads, no strips left behind. From there I didn’t know where the project would go, and that was okay. I tended to watch Netflix or listen to an audiobook while I worked. I worked through many seasons of The Walking Dead this way. 🙂
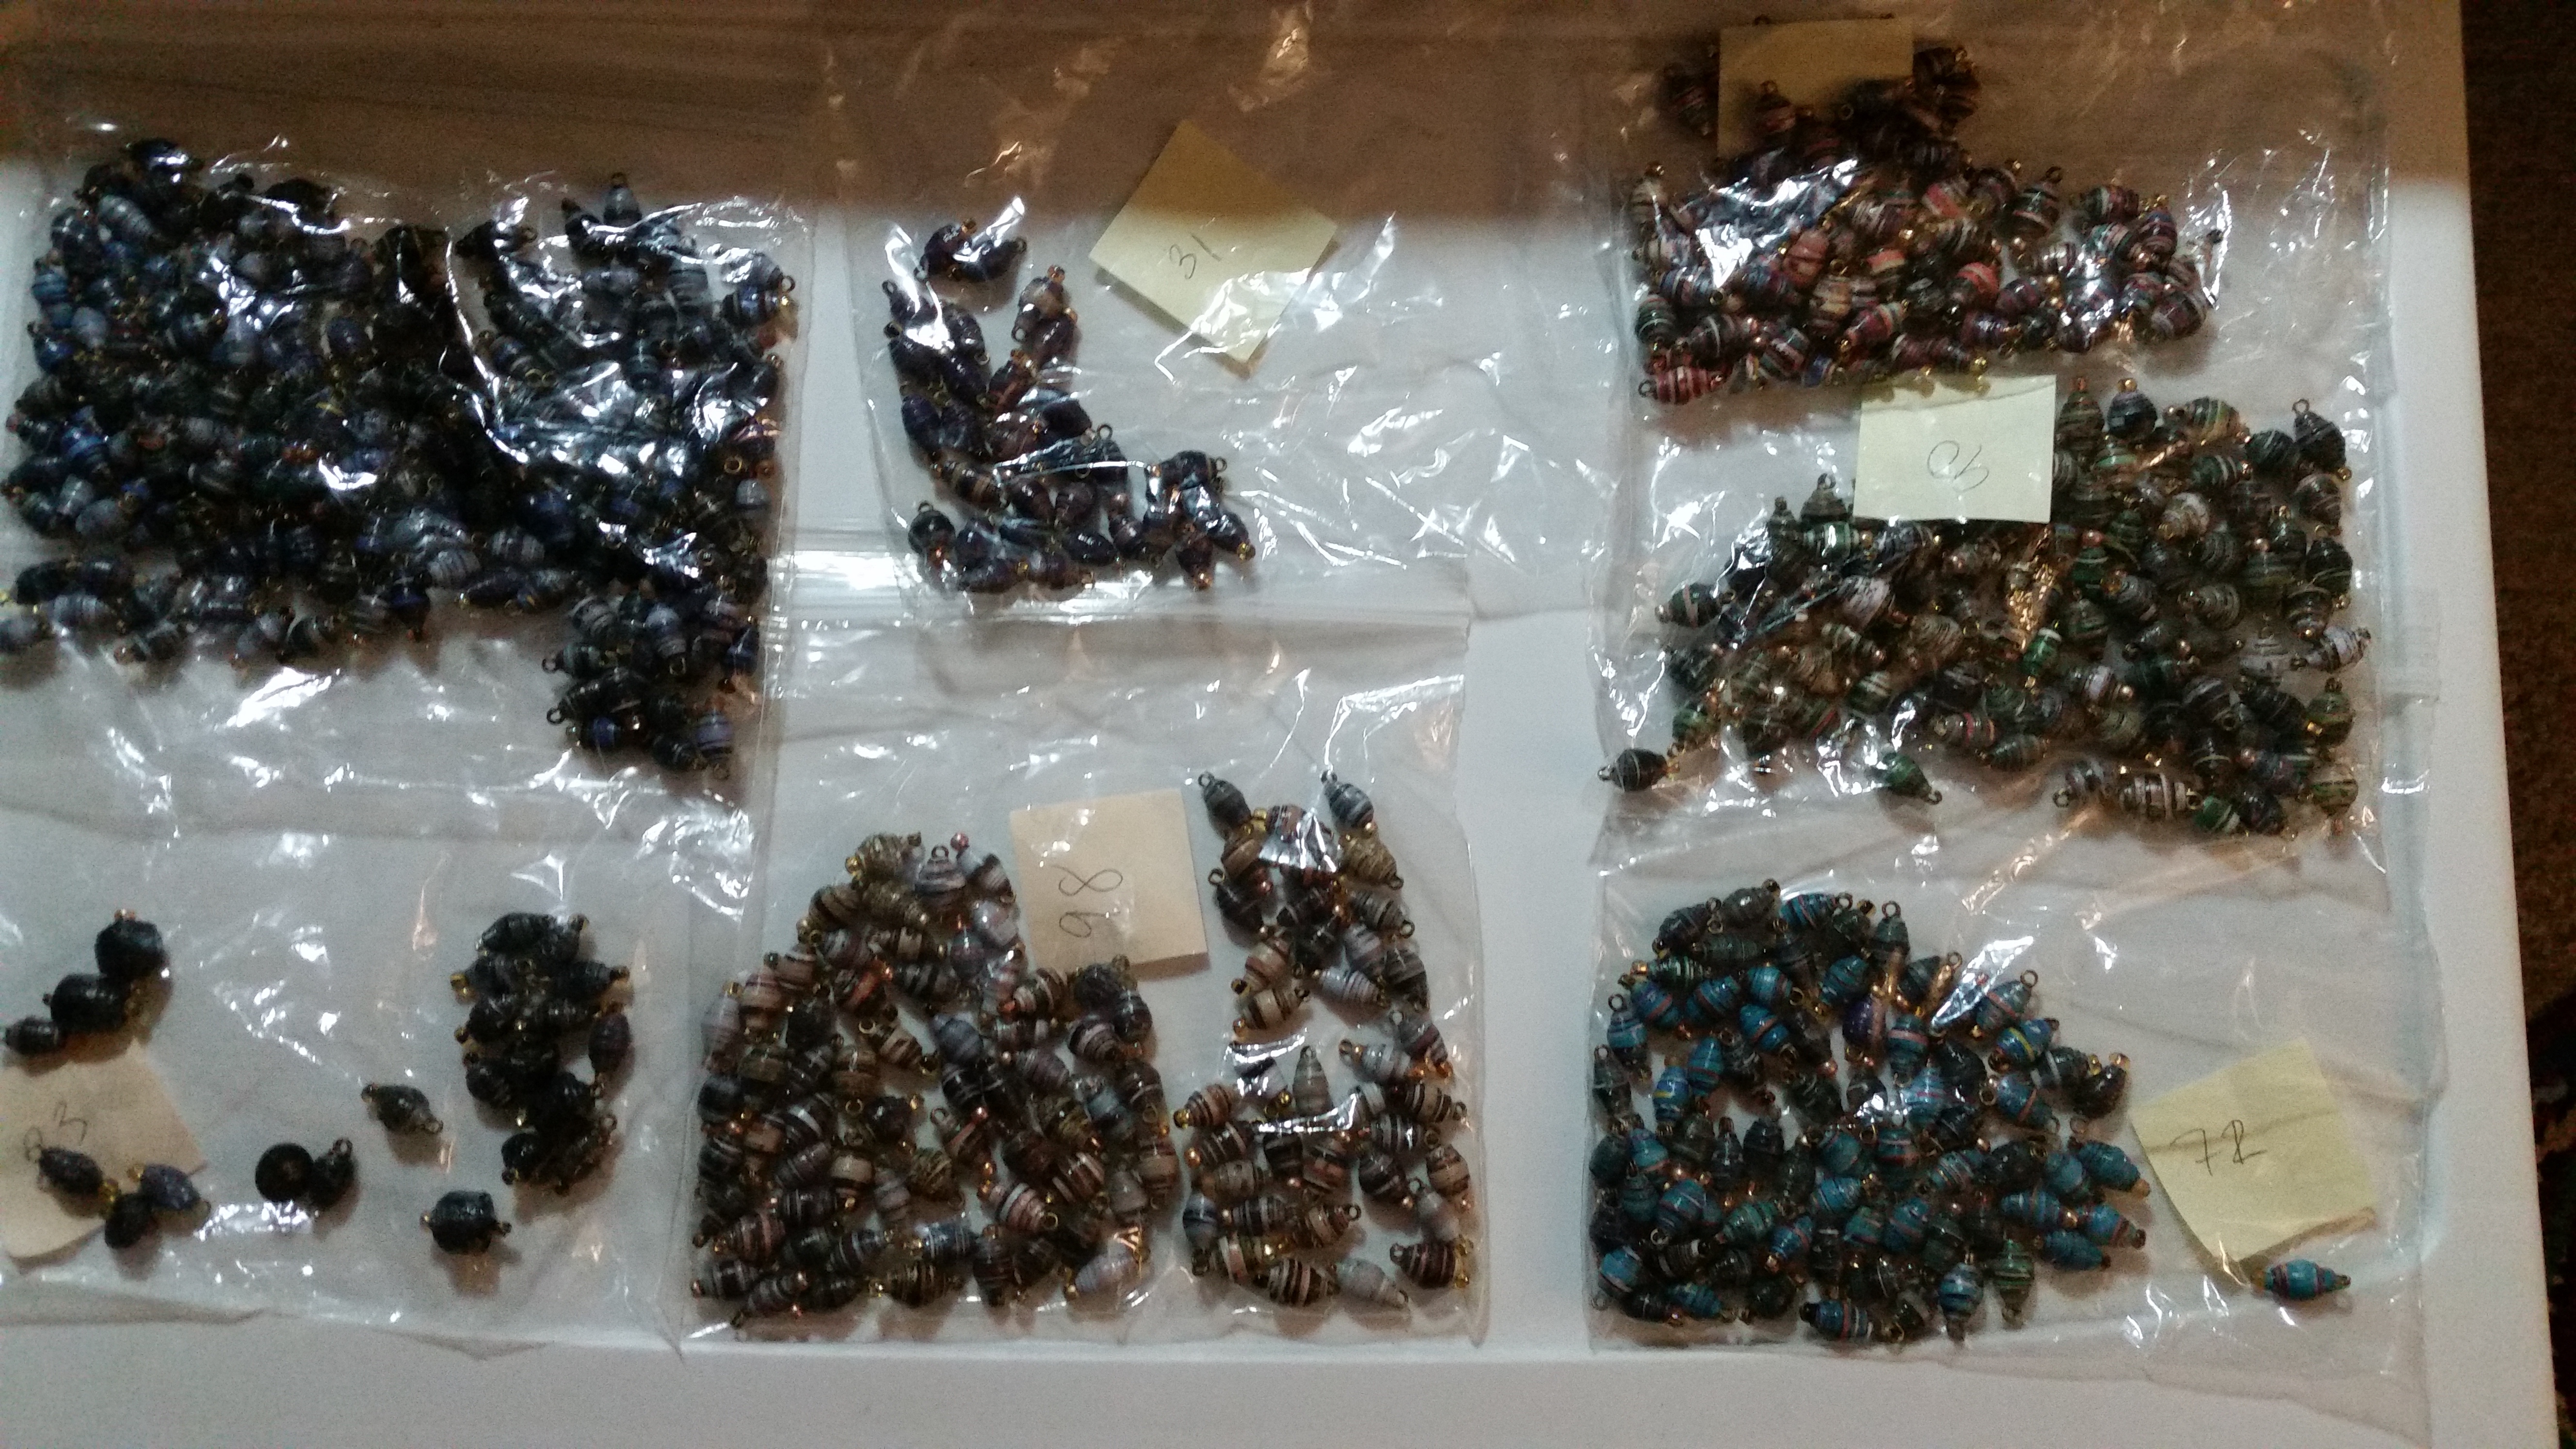
After I cut all the strips, I began rolling them one by one on the little green winding contraption from work. And rolling. And rolling. For weeks, anytime I sat down at home, I was rolling beads, until I had no more strips left. At that point it was time to take stock of what I had. Most of the original color palettes were lost, but beads made from the same sheet of paper definitely looked similar. I grouped the bluish-greenish beads together, the turquoise ones together, the ones with a little strip of coral running through together, etc. It was at this point that I counted them: 523 beads total!
So what was I going to make with 523 beads? Sure, I could make anywhere from five to ten different pieces of jewelry with all those beads, but it seemed somehow easier to make one big something. A long single strand that I could wind around and around? It seemed a little ungainly. Searching for inspiration online, I ran across images of statement necklaces made out of pearls and other large beads, which often included upward of 200 beads, just the direction I was headed. They were dense, dimensional pieces that seemed really intriguing.
I researched how to take the paper beads and make them attachable individually, buying the corresponding number of head pins, jump rings, chain, and glass beads–for texture and to keep the paper beads on the pin. Using rounded-nose pliers I curled the tails of the head pins into tight circles for all 523 paper beads, each with a little glass bead on the end. I am especially indebted to Allie from Miss Lovie, and Rebecca from My Girlish Whims for their wonderful tutorials.
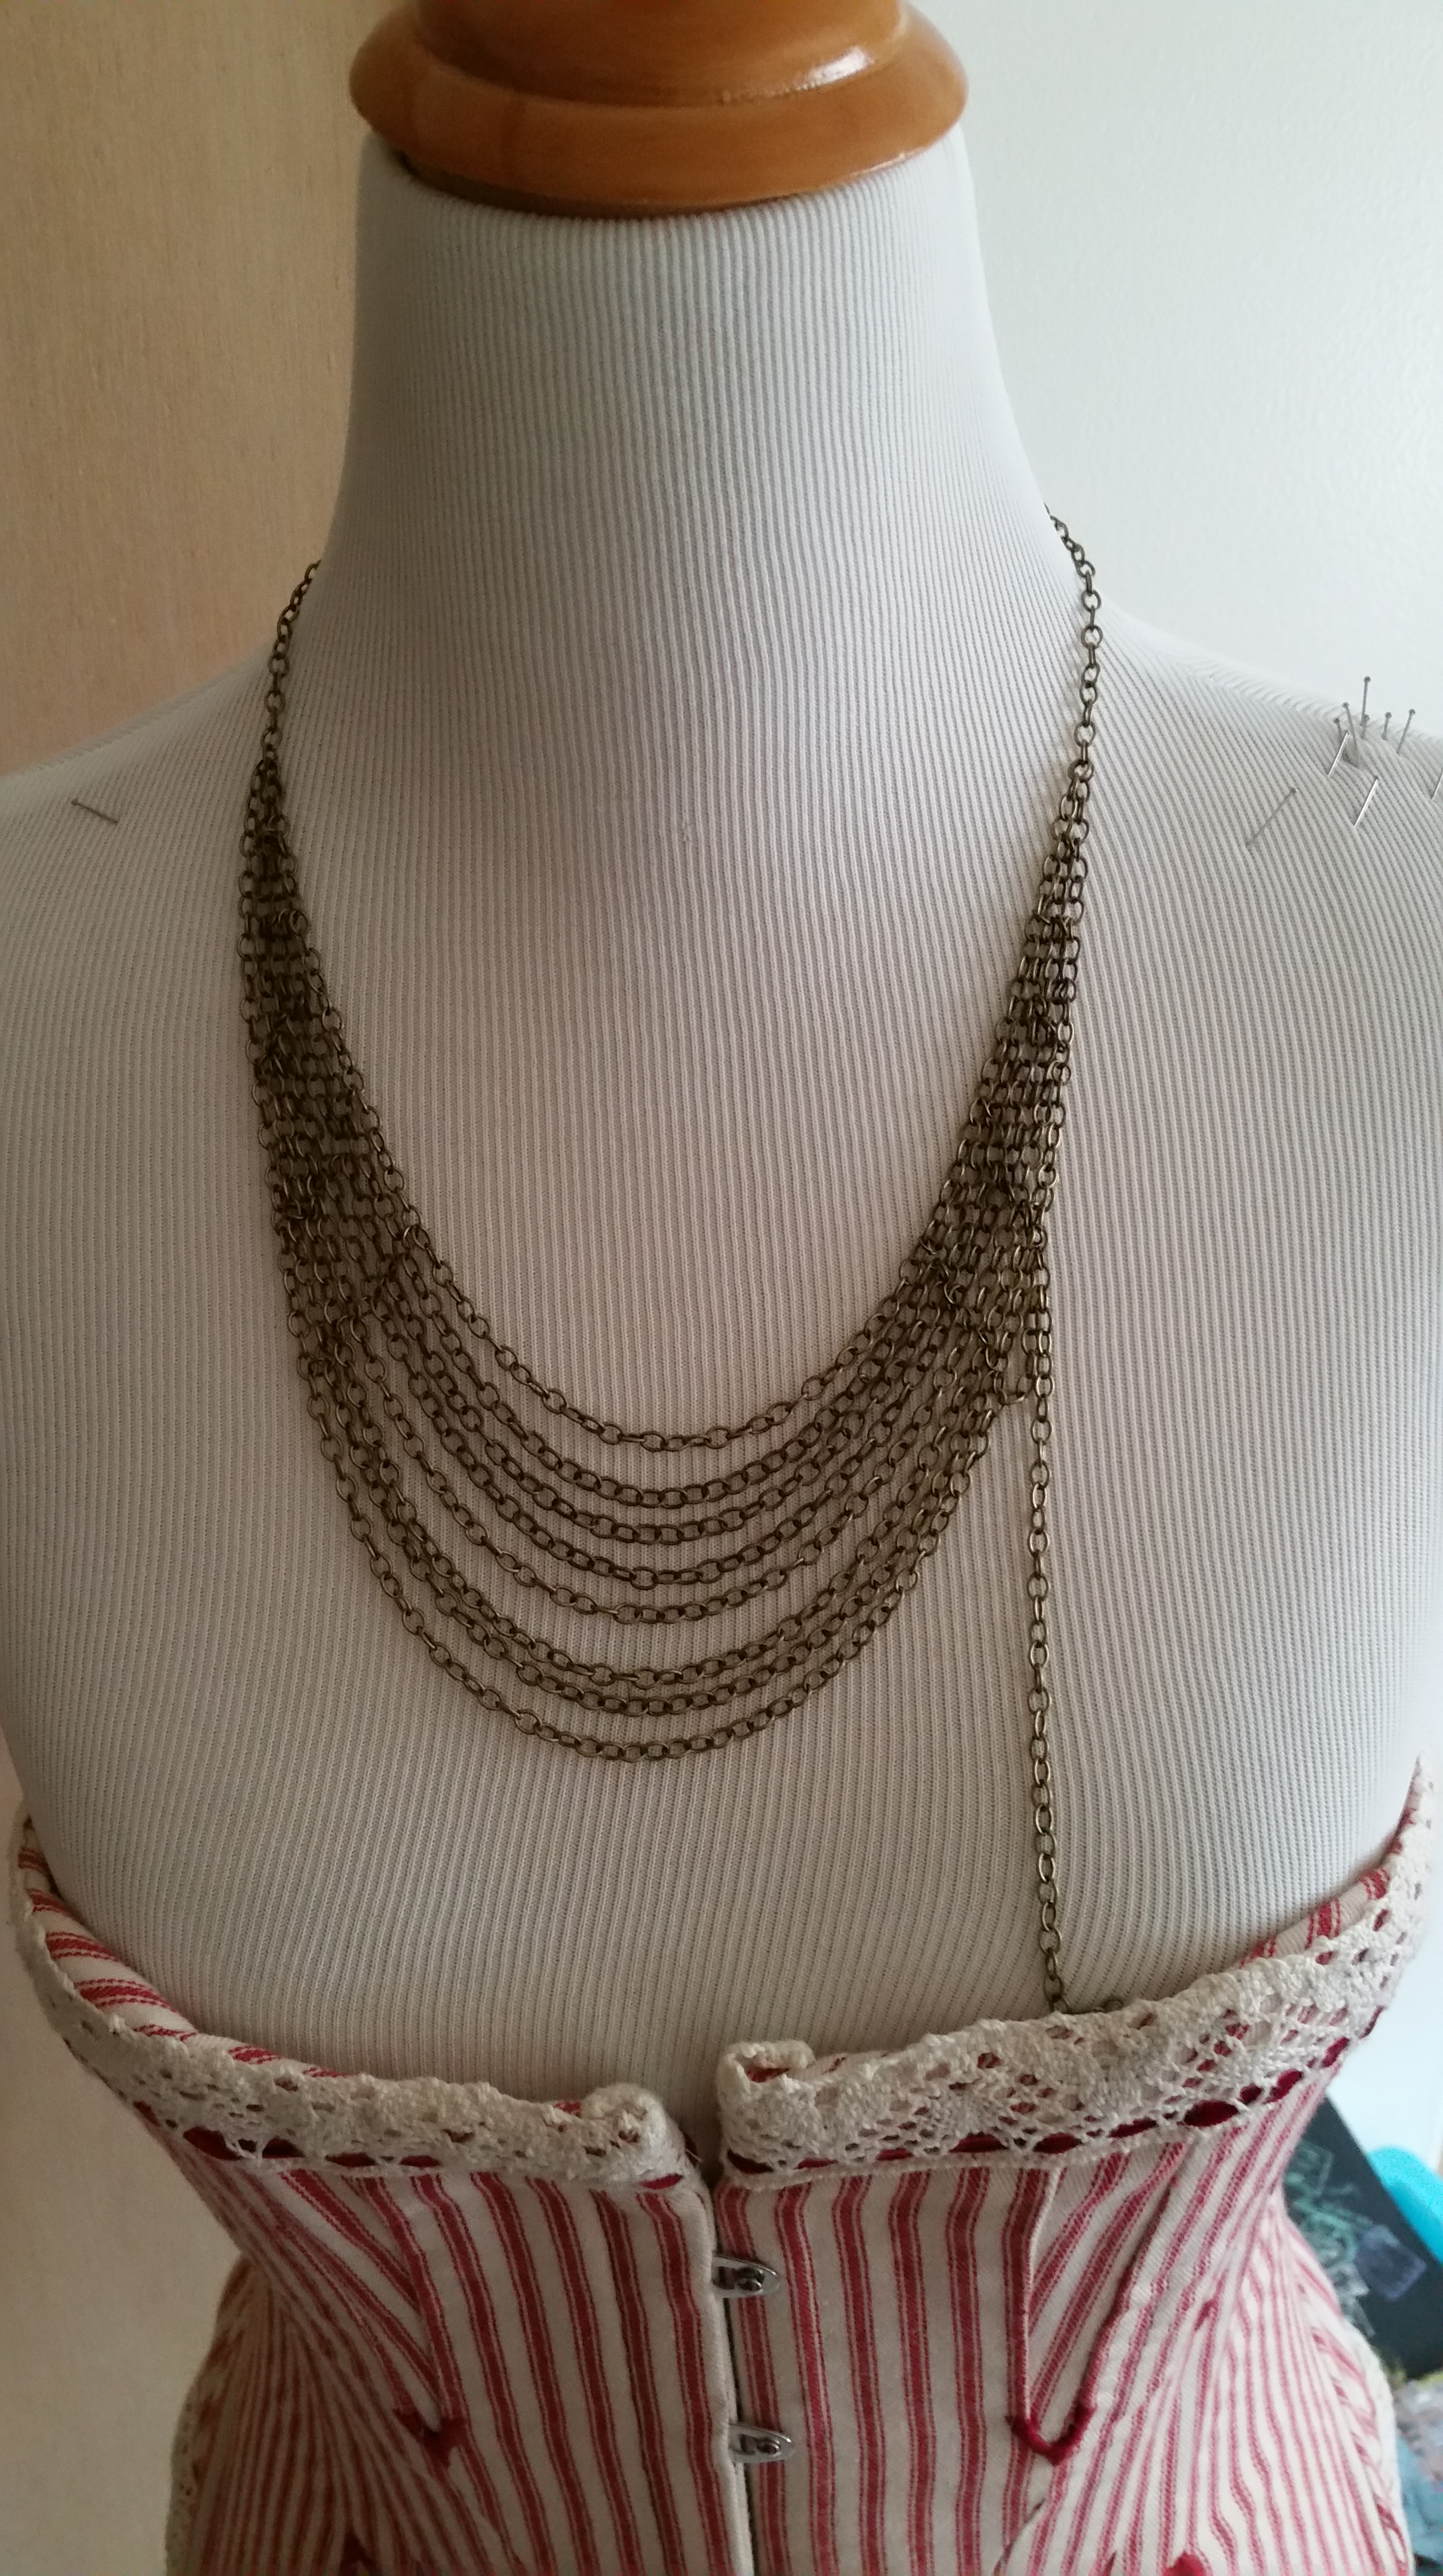
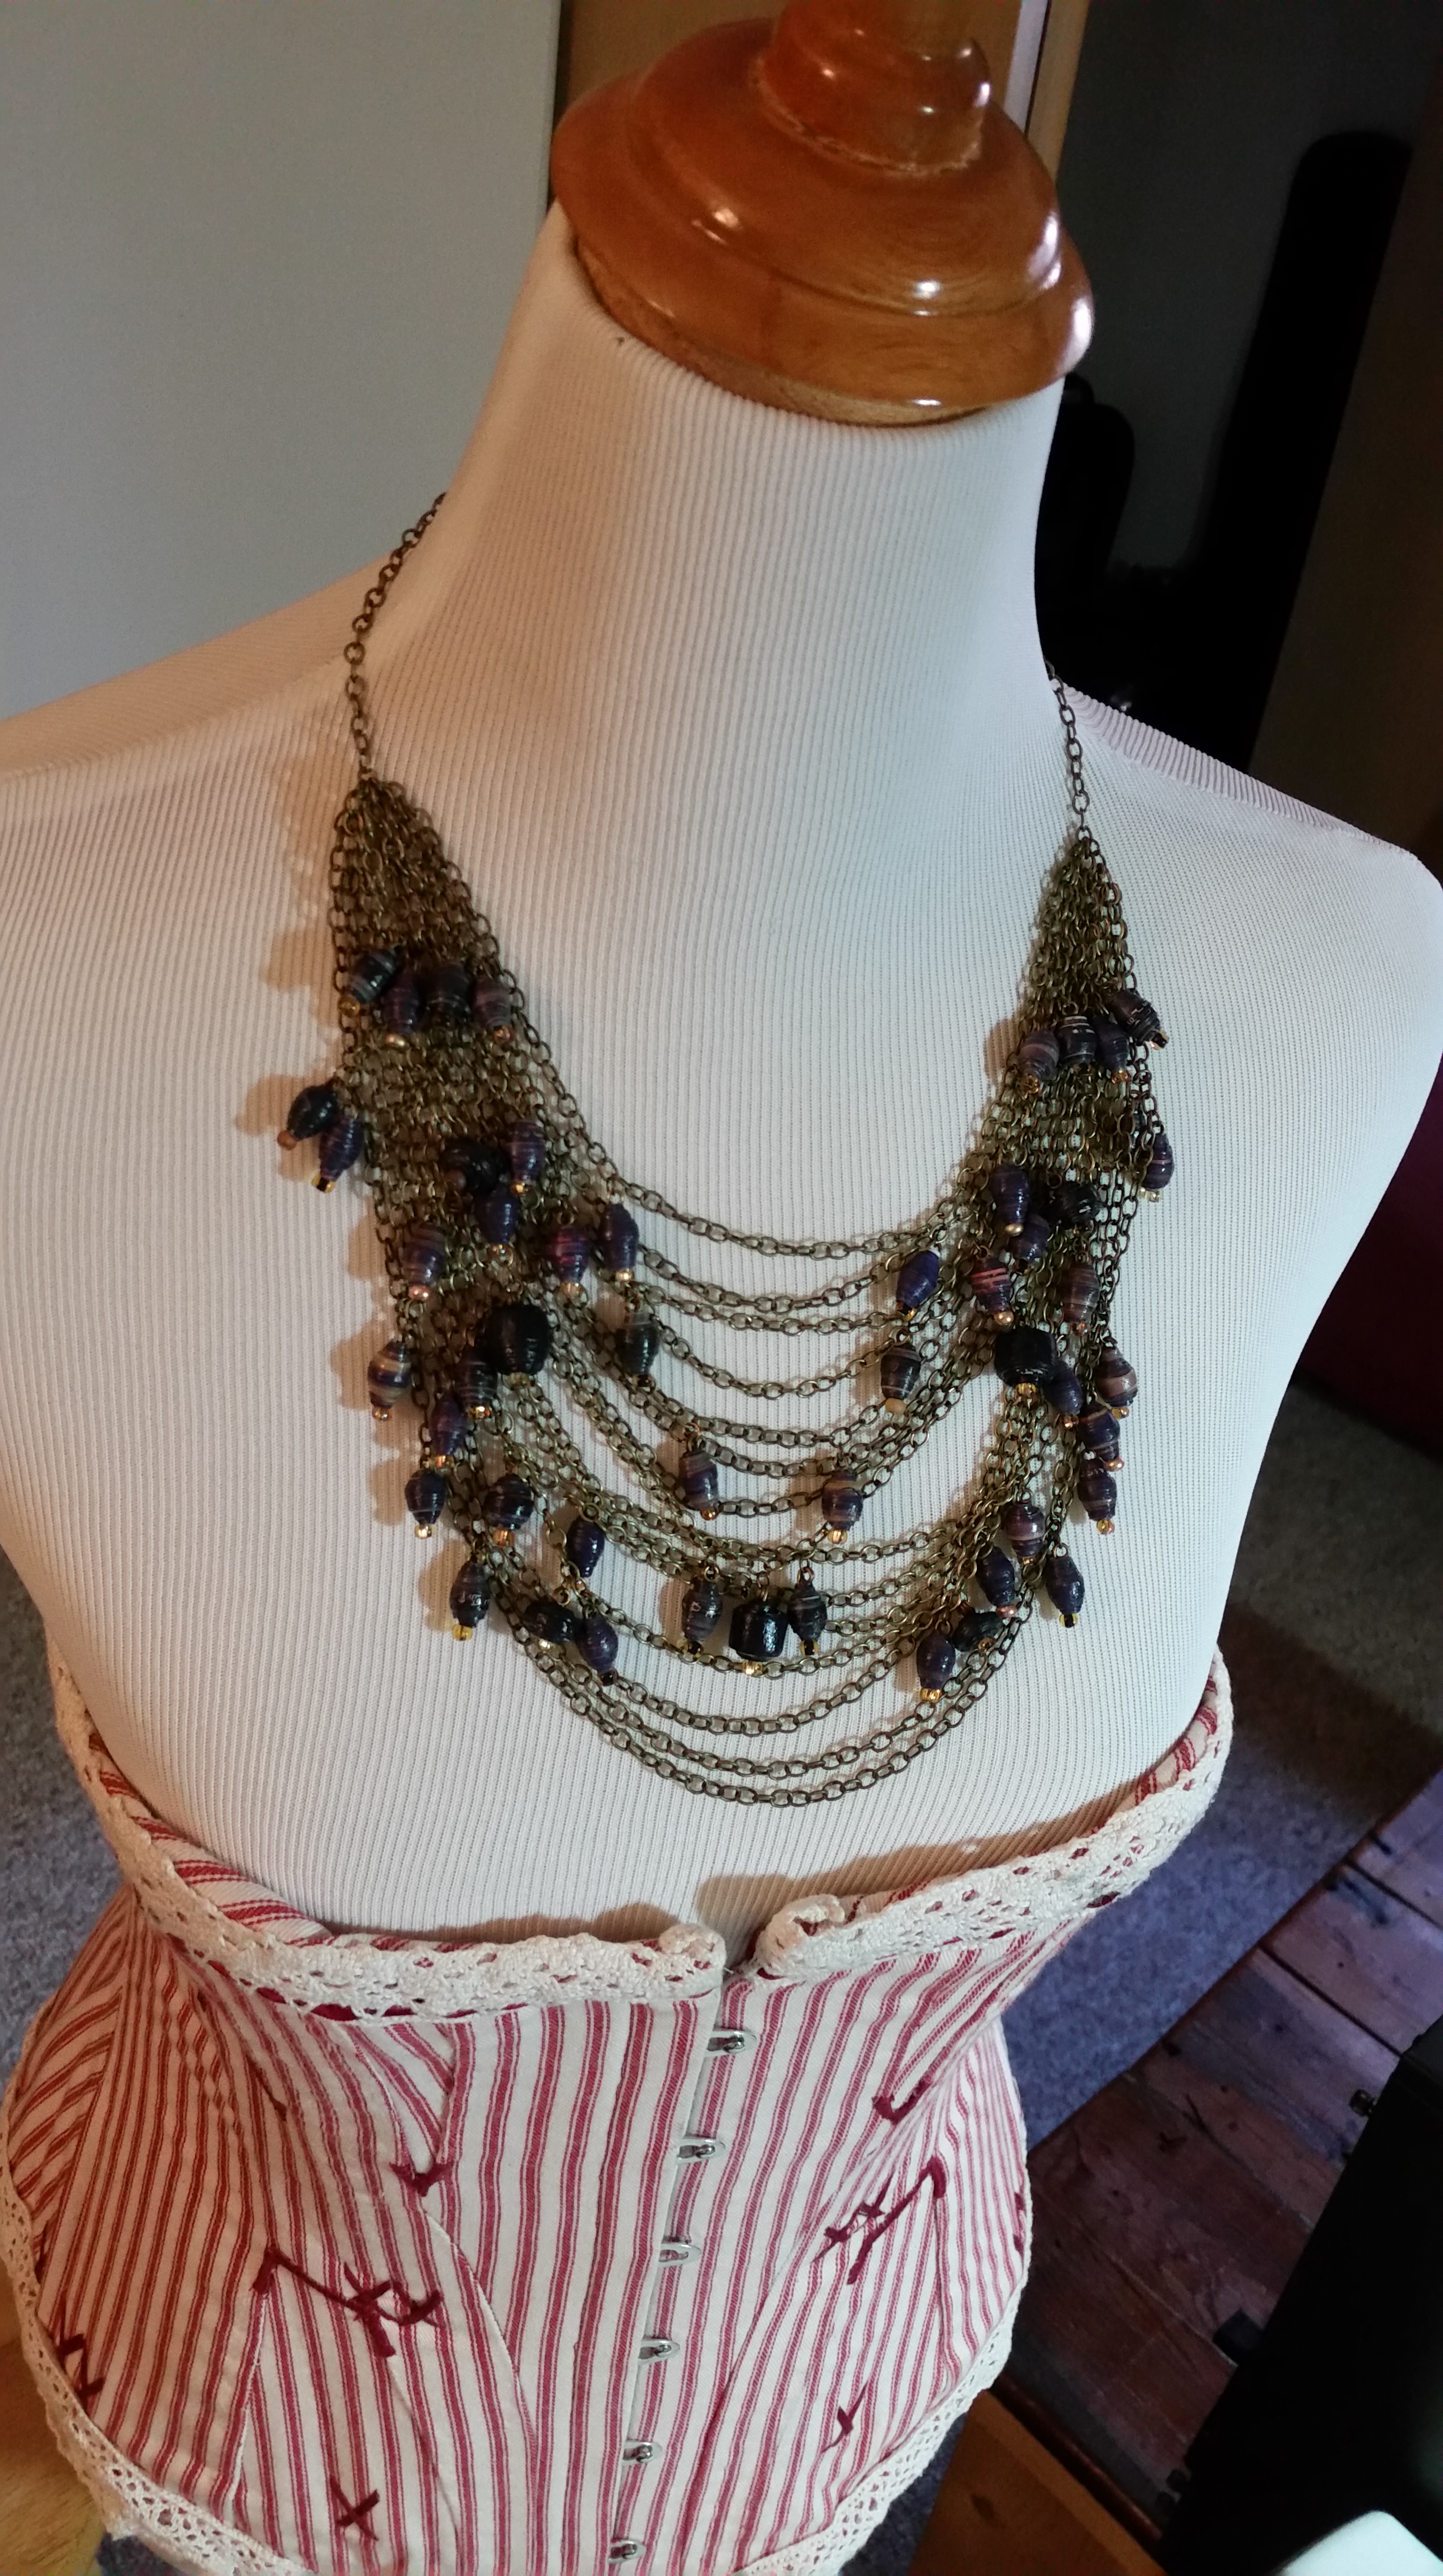
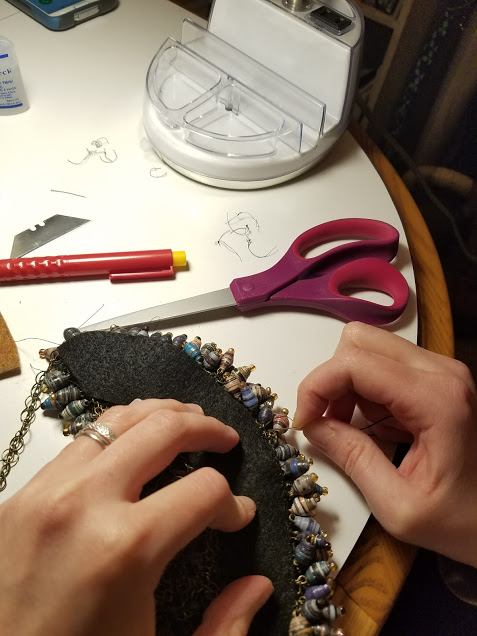
From there I built the apron of the necklace, adjusting the different lengths of chain so they fell evenly one after the other, with only a little space in between. I started with the black beads, and added them one at a time, starting on one side and then adding a corresponding bead symmetrically on the other side.
As I continued, I worried less about precise symmetry.
It was so heavy I didn’t trust all those little pieces of chain and rings to hold together, so I used heavy-duty nylon thread to weave through the links, which also kept its flexibility.
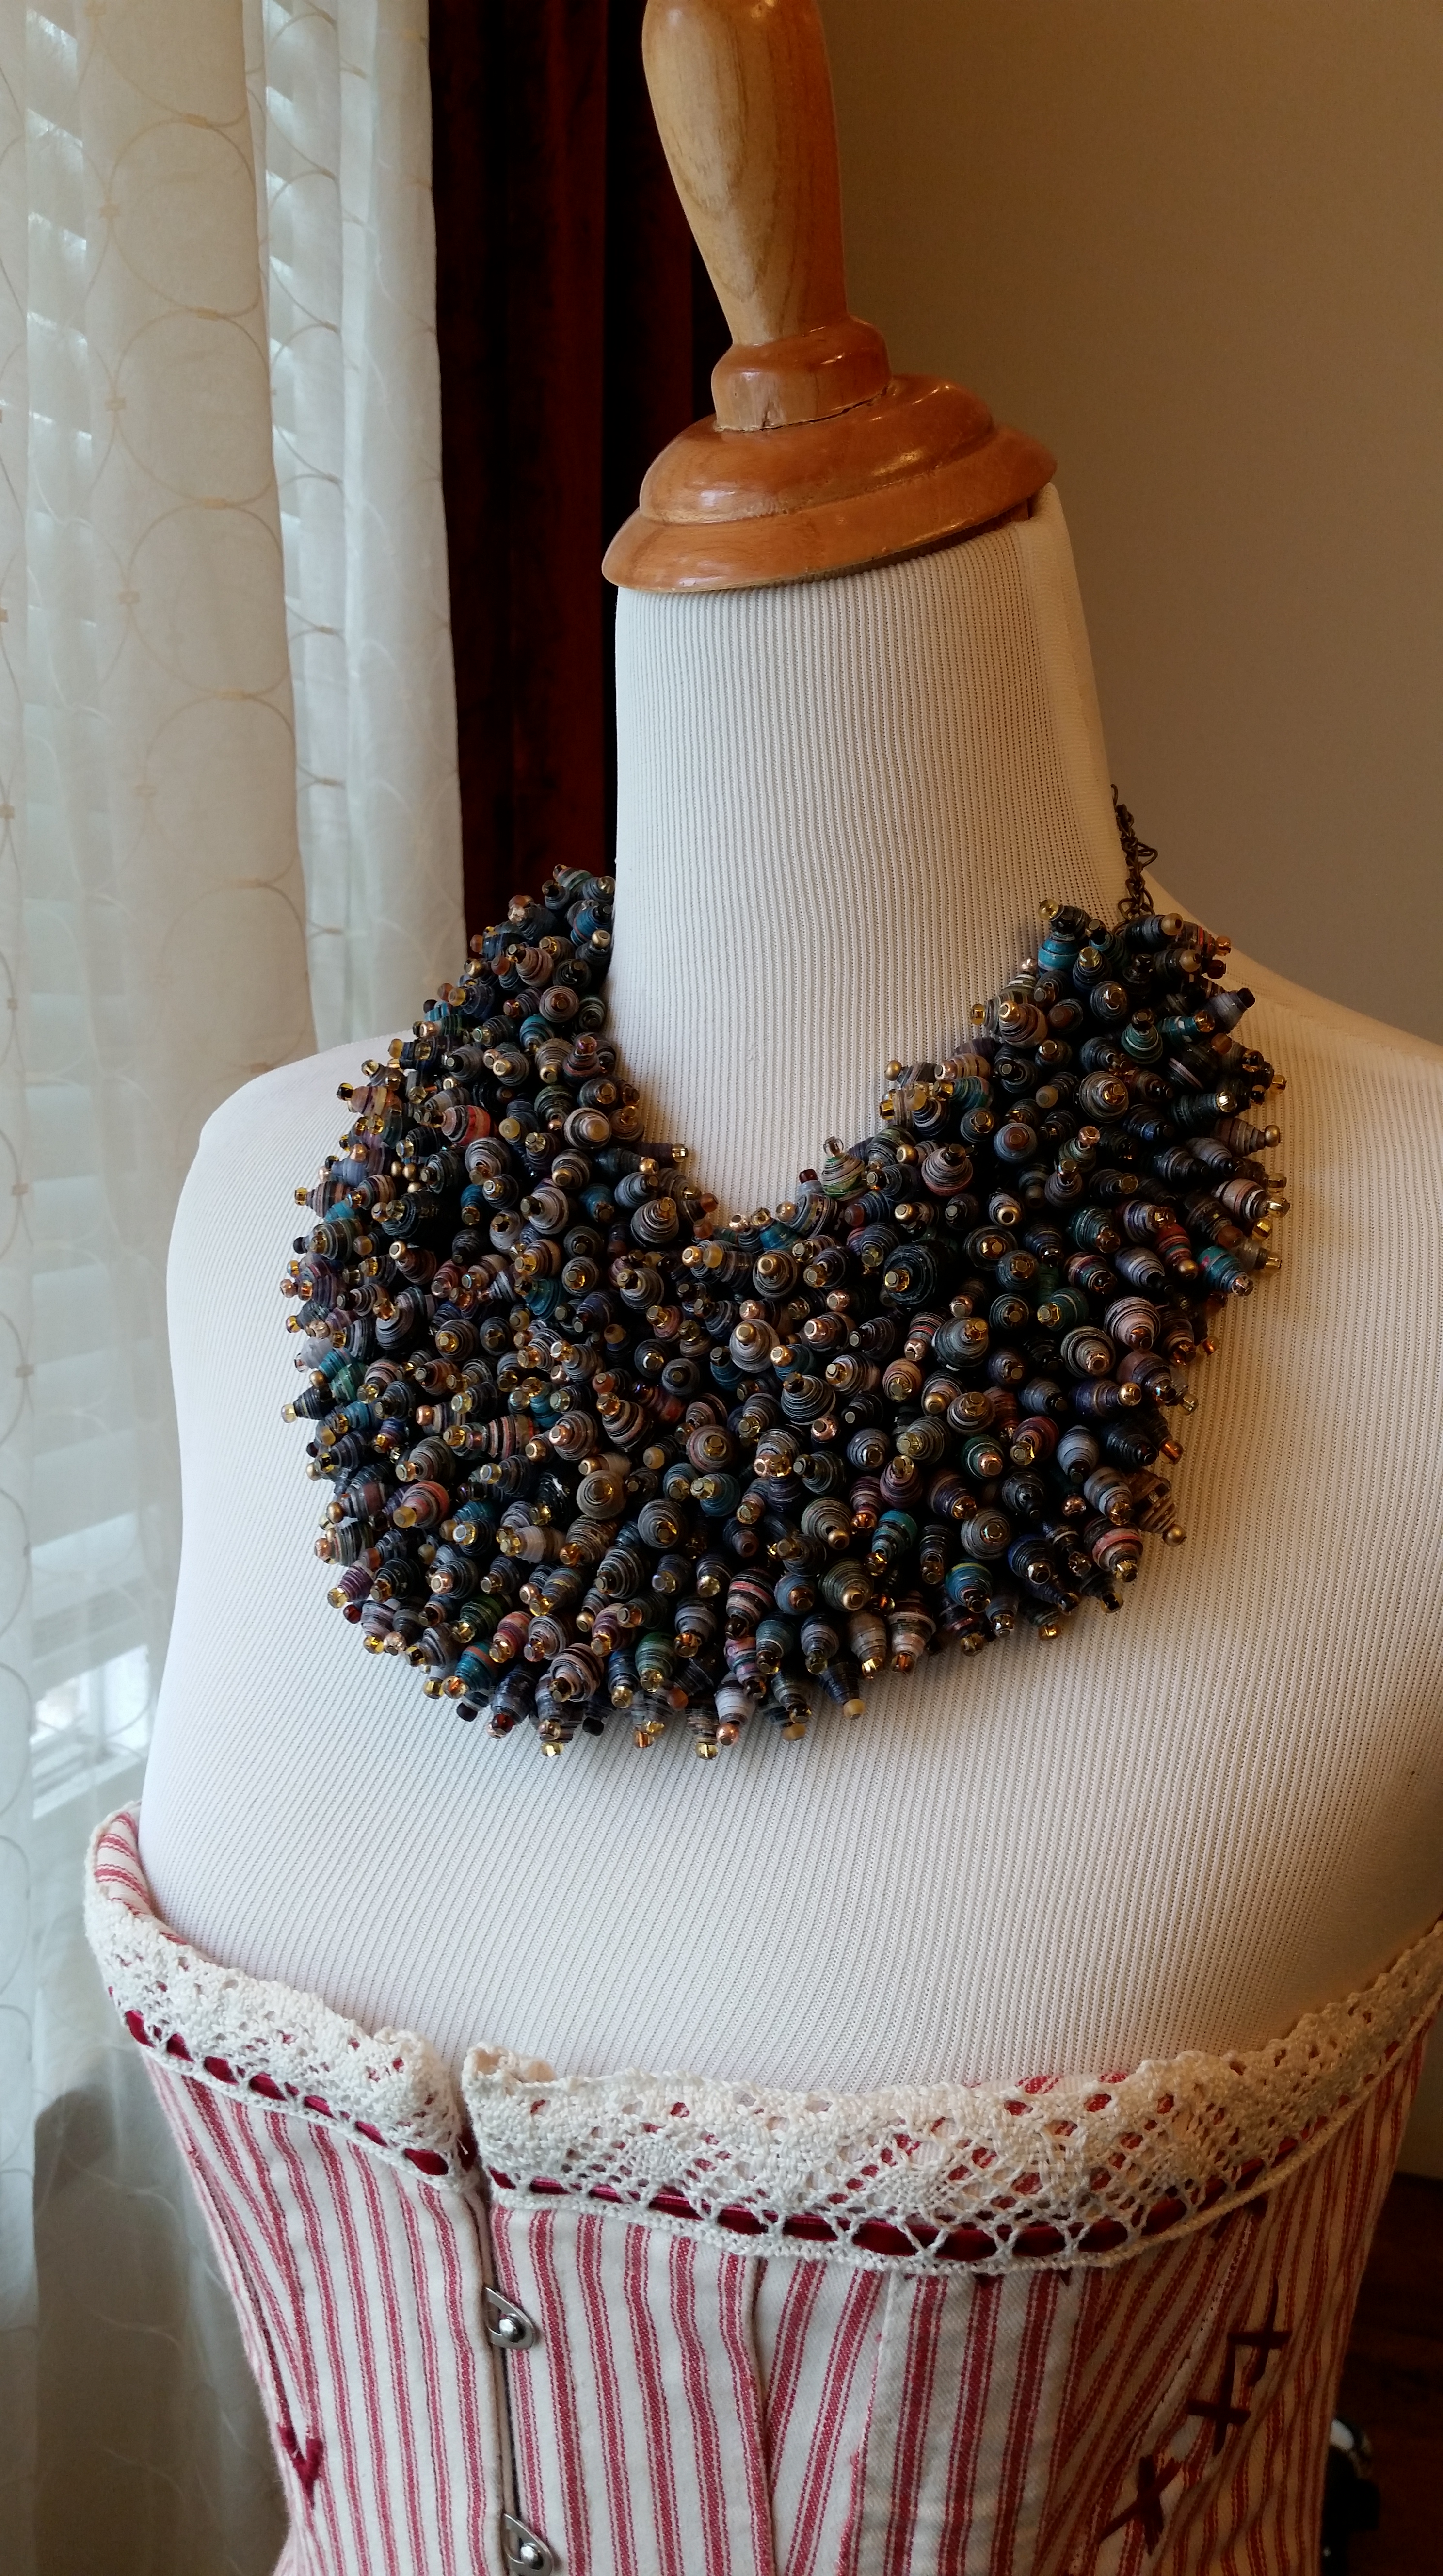
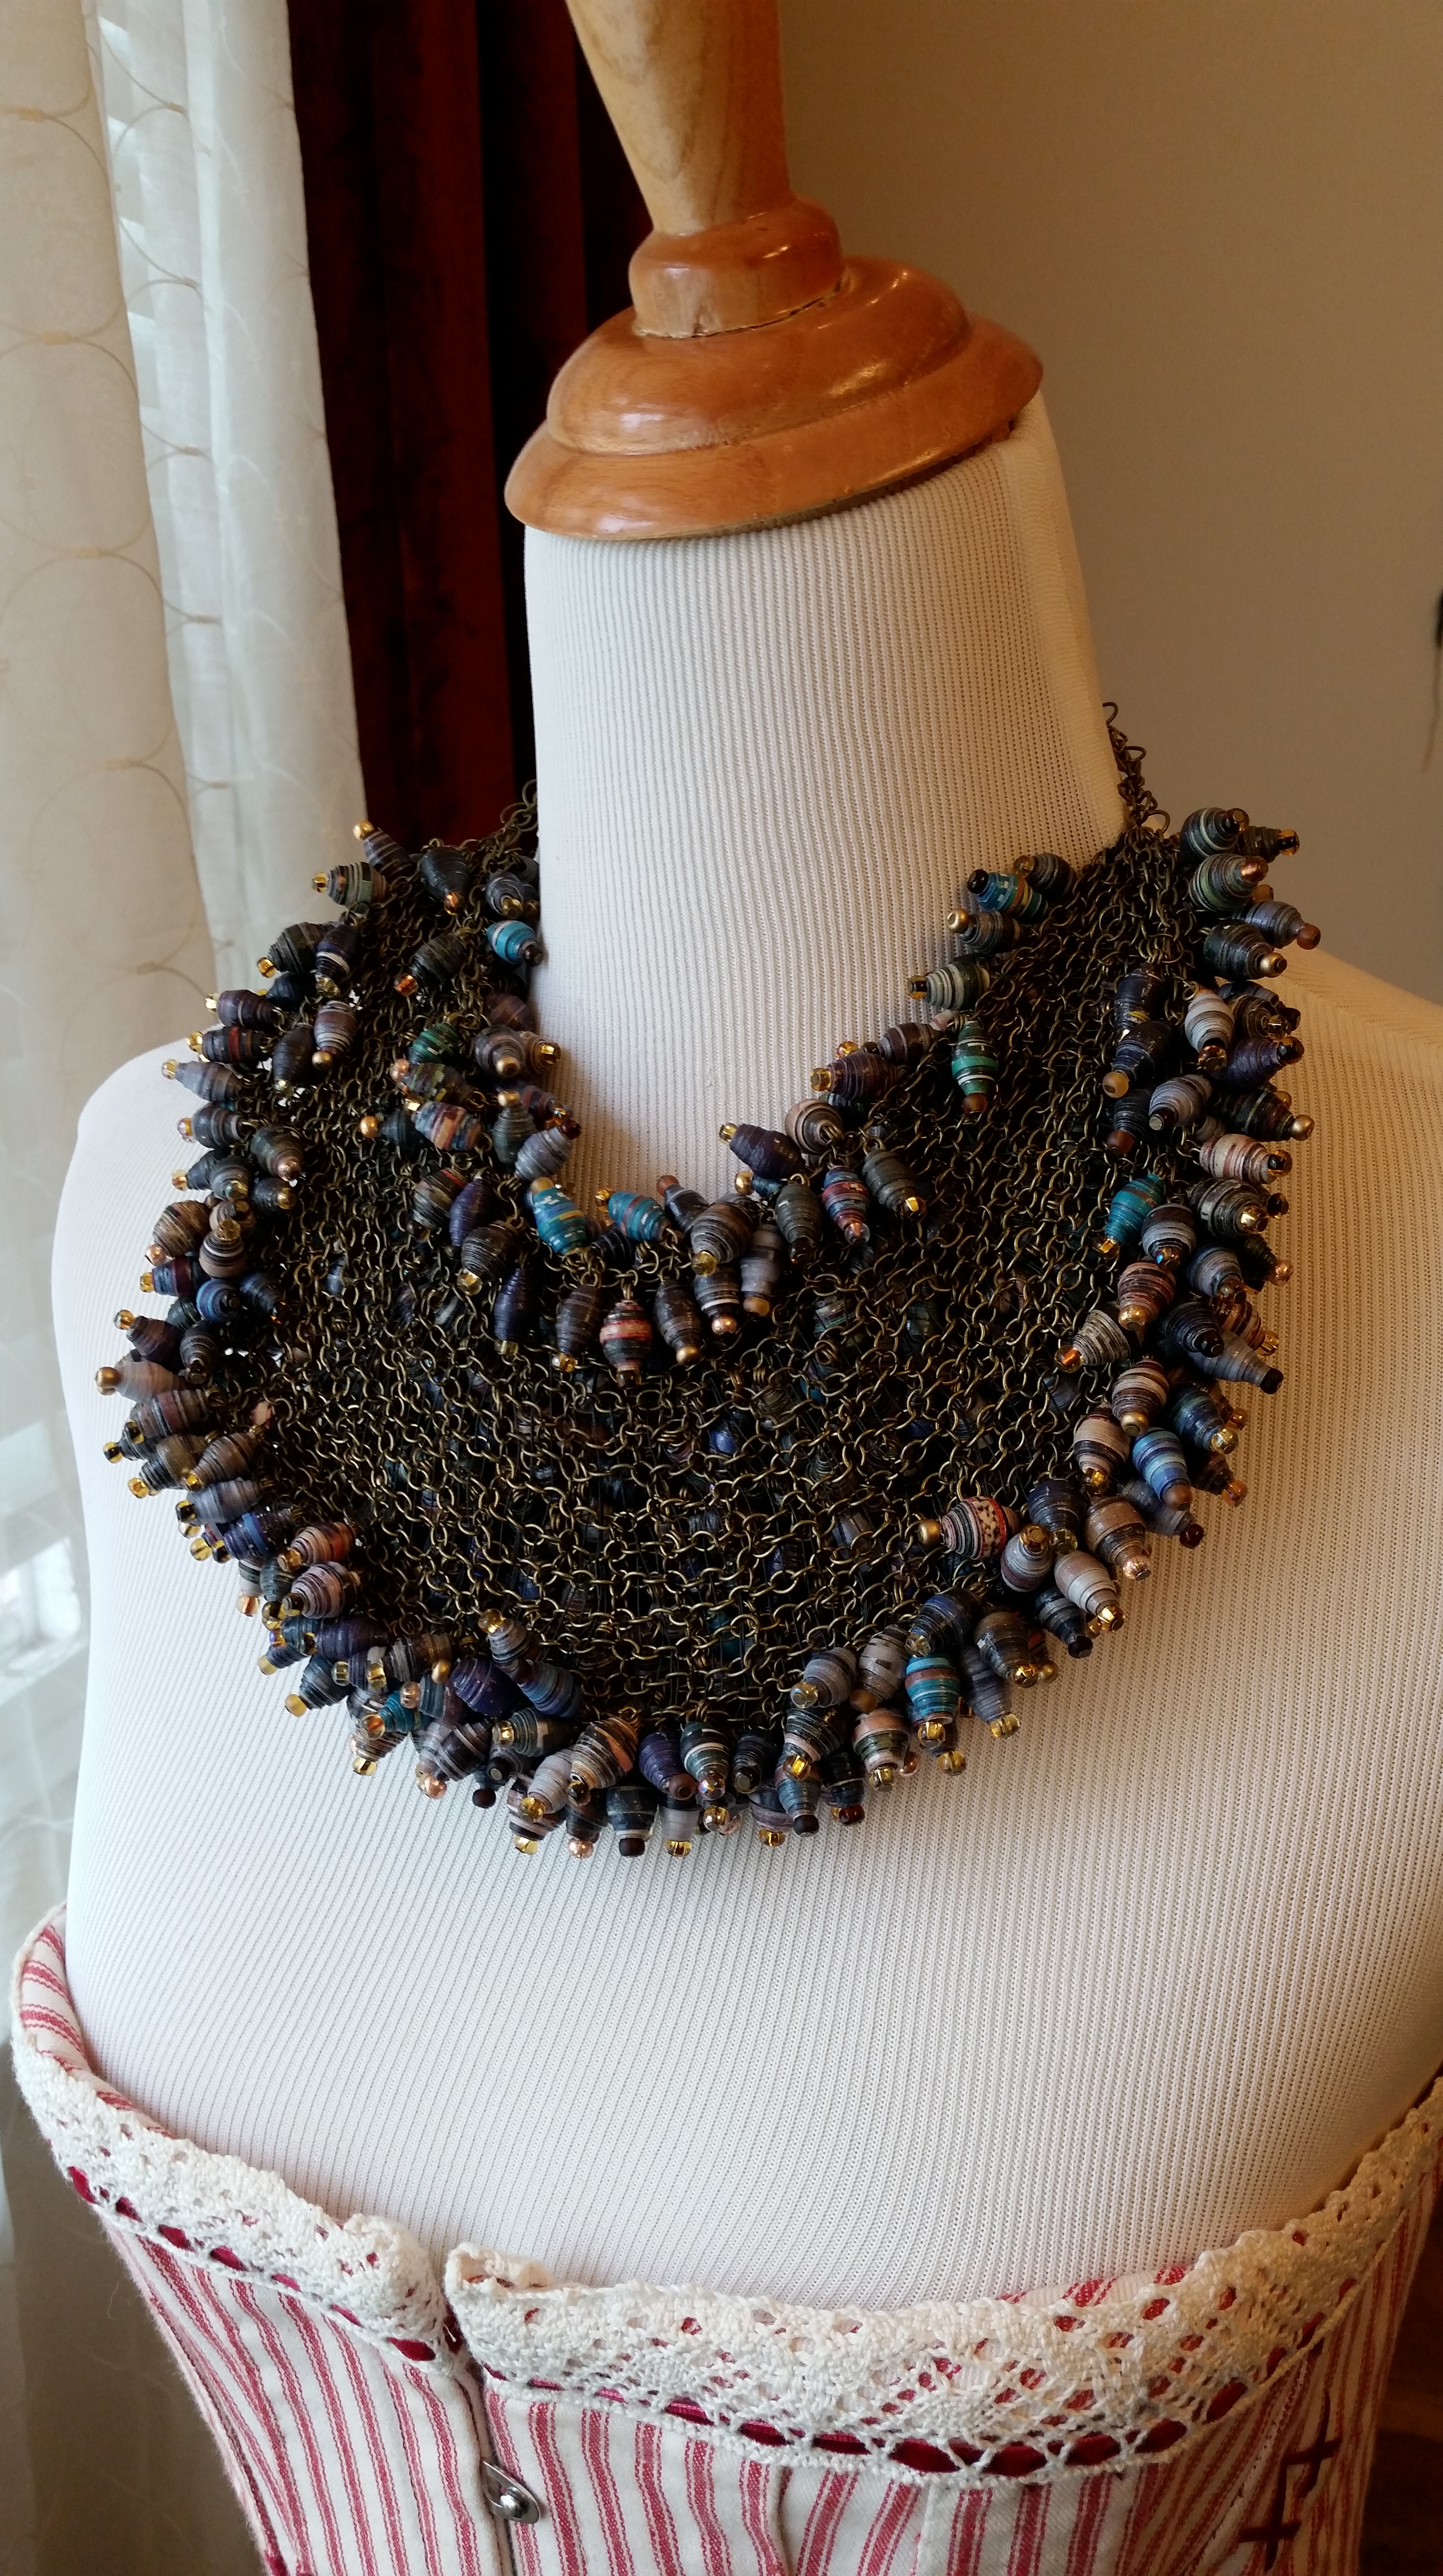
The true finishing touches were added after I wore the necklace to a wedding in October. I shared my process with a family friend (and experienced Maker), and complained about how the bottom edge was curling, and not holding its shape, but worried that a felt lining under all of it would change the fluid way that it moved and shifted on the wearer’s chest. She suggested that I add felt only to a few inches along the bottom, in a sort of curving, moon shape. I also changed the metal chain and clasp around my neck to a black velvet ribbon–the weight made the chain too uncomfortable on my neck.
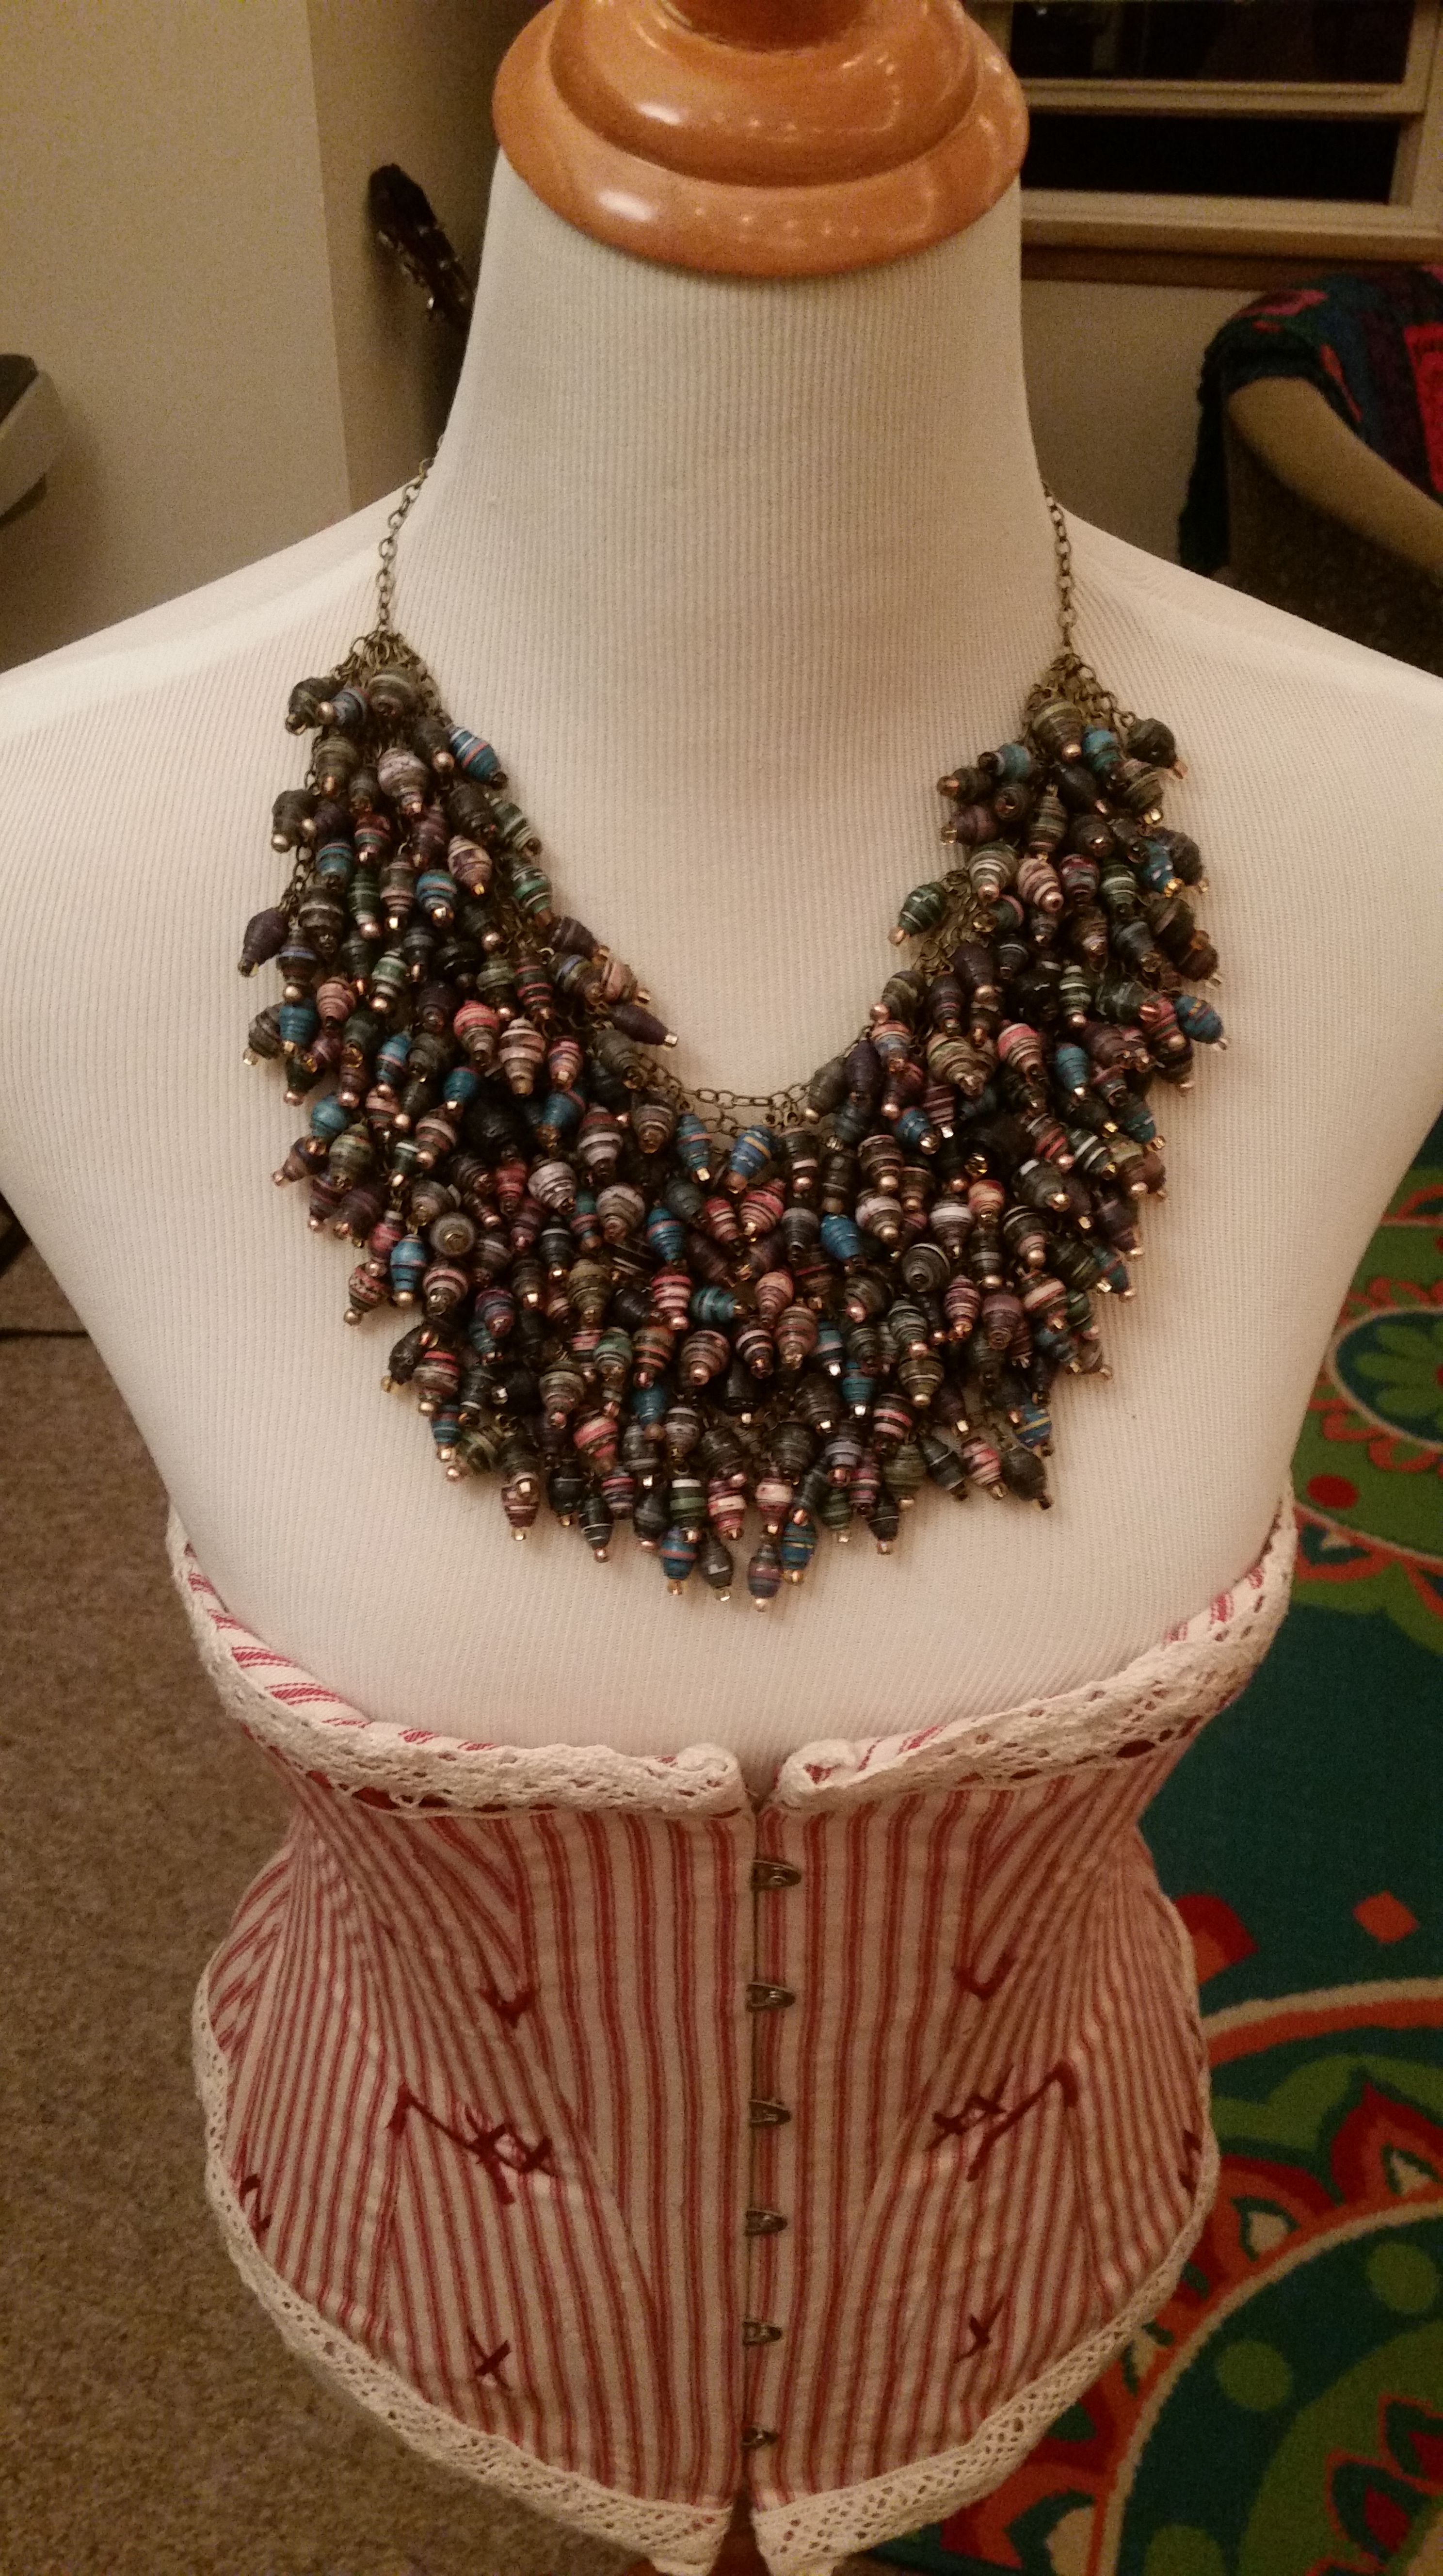
So without further ado, here it is, all 523 beads, reinforced and ready to wear!
If I had started this project with the vision of what this was going to be by the end, would I have had the perseverance to see it through to its enormous conclusion? I’m not sure, but I’m thrilled to have taken it as far as I did.
Since I didn’t take enough photos for this to be a true tutorial, feel free to message me if you have any questions about the process!